Insta360 X4 for Virtual Tours: 72 MP vs AEB
Camera analysis · 360 photos and travel video
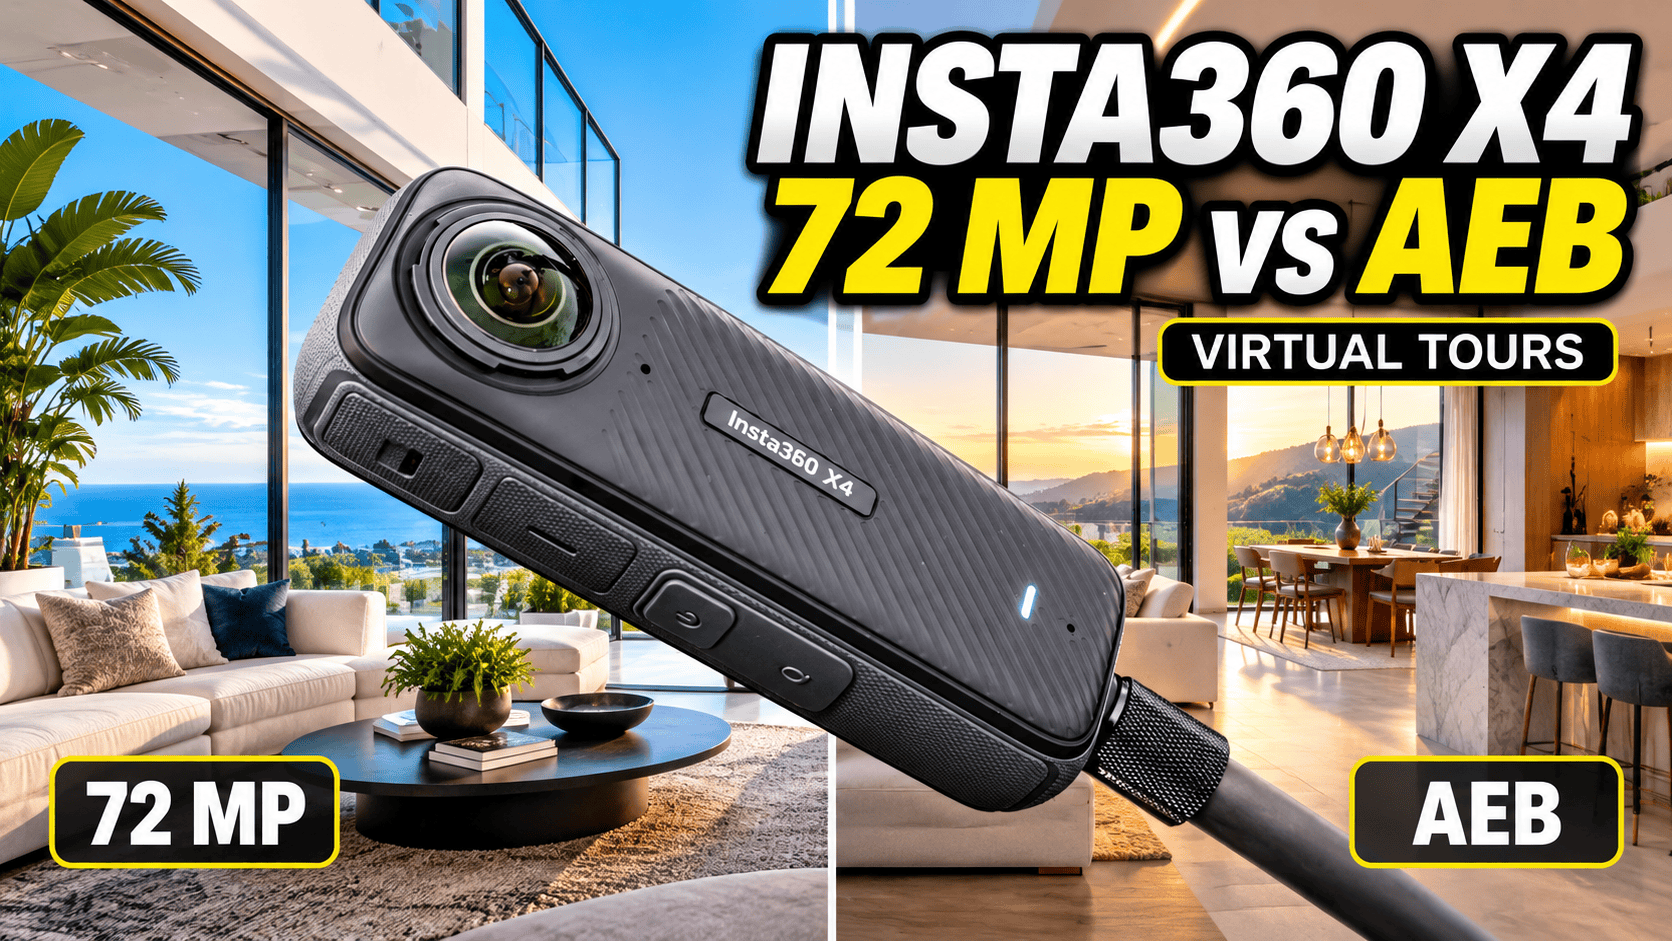
The X4 can capture large panoramas and 8K video, but its photo modes deserve closer attention before a property shoot. Maximum resolution and automatic exposure bracketing are not available together.
Our assessment
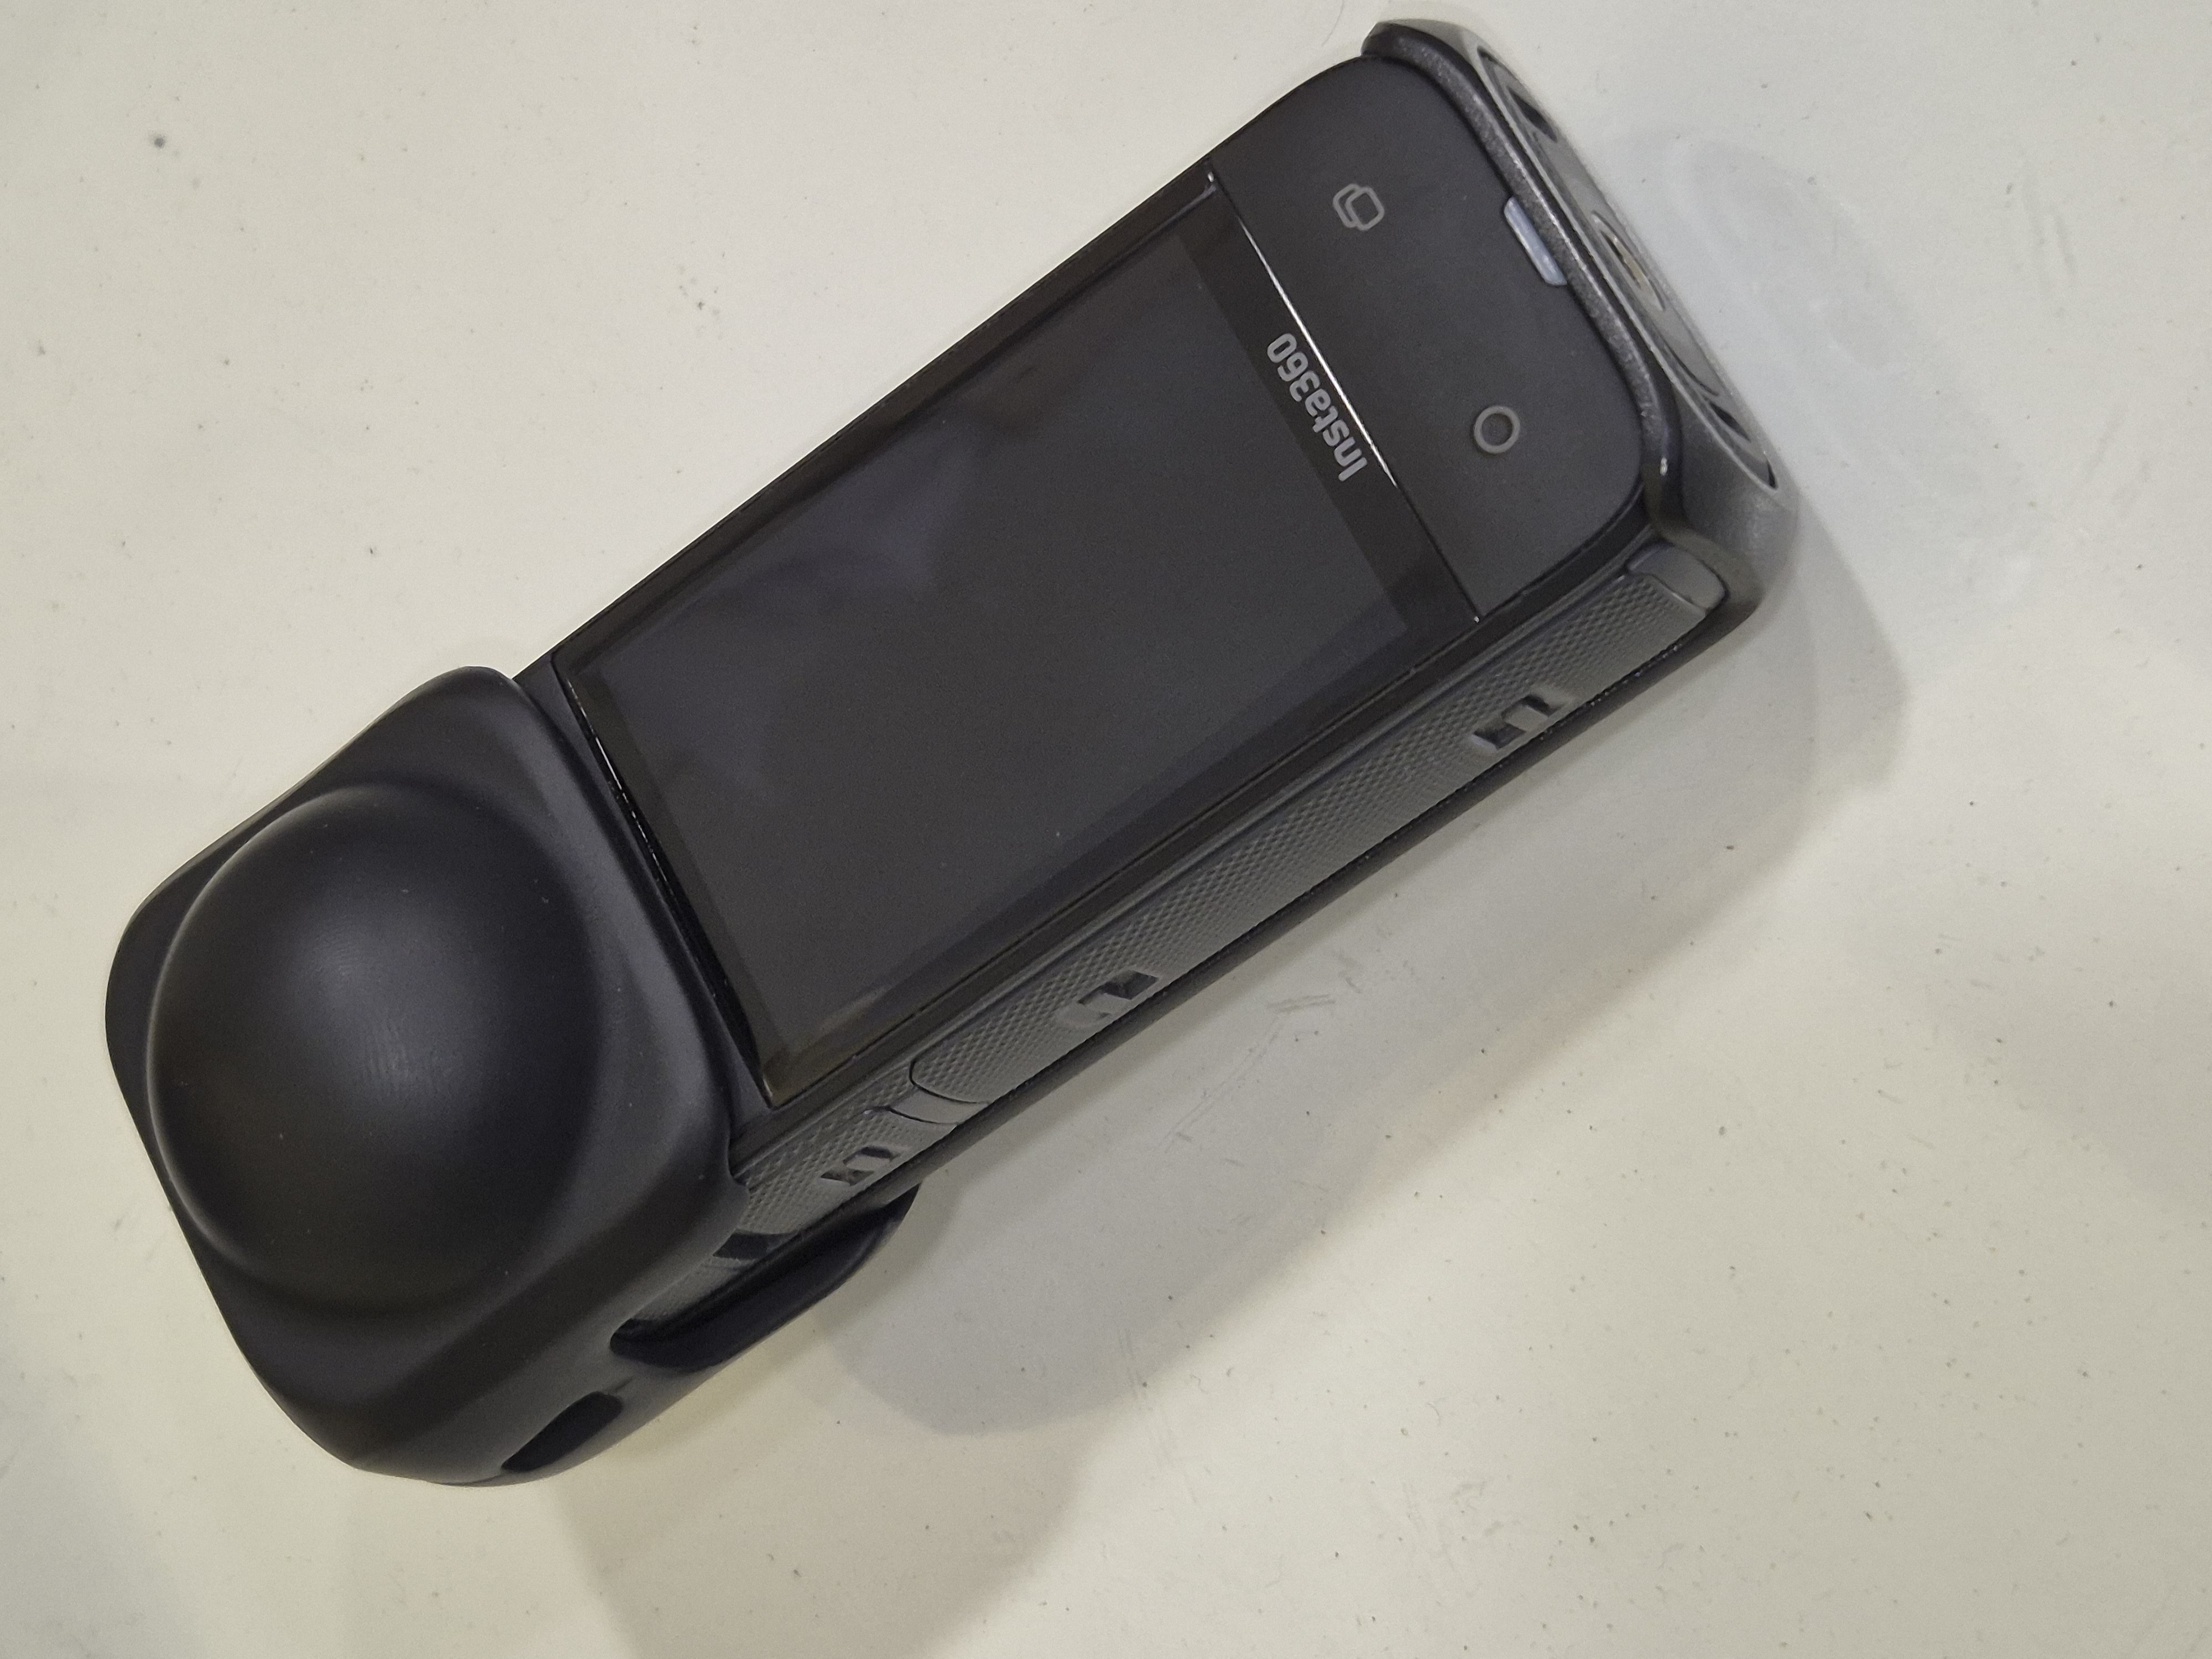
Consider the X4 when a single camera needs to serve both still panoramas and travel video, and when its actual exported photos meet the assignment's requirements. For a stills-only virtual-tour business, assess the exposure workflow before treating the 8K video capability as a reason to buy.
The decision is especially important in a room with bright windows. More pixels and more exposure flexibility are different benefits. Choose using a representative finished panorama rather than adding separate headline features together into a capability the camera does not offer.
The relevant specifications
| Feature | Insta360 X4 |
|---|---|
| Higher-resolution photo | 11904 × 5952, marketed as 72 MP |
| Lower-resolution photo | 5888 × 2944, marketed as 18 MP |
| Photo formats | INSP and DNG; INSP export through the app or Insta360 Studio |
| 360 video headline | 8K capture |
| AEB photo restriction | 18 MP HDR Photo workflow; not supported at 72 MP in the documentation checked |
Sources: X4 product page, official X-series shooting table and manufacturer AEB guide. These shared support pages contain several cameras; the X4-specific entries are the ones relevant here.
Bracketing: follow the X4 instructions
Insta360's AEB guide directs X4 users to select 360 HDR Photo, switch to 18 MP, and choose PureShot + RAW before setting the bracket count and exposure range. Its FAQ explicitly says AEB is not supported at the 72 MP setting. The instructions for X5, X6 and X4 Air are separate and should not be substituted.
Our practical interpretation is that a property photographer should test two distinct routes: the larger photo mode and the supported bracketed workflow. Inspect bright window edges, dark furniture and movement in the scene. A bracketed image is not automatically better if combining exposures creates other visible problems.
The output-size trade-off
Specified horizontal samples by photo resolution
72 MP setting — 11,904 pixels
18 MP setting used for AEB — 5,888 pixels
A viewer displays only part of the sphere at once. Compare both results at the same view and zoom level inside the tour, not as differently sized flat previews. Decide what the client actually needs to read or inspect before choosing a capture mode for the whole location.
Independent review context
An independent May 2024 X4 review reports more reframing latitude from 8K video and warns that the premium lens guards can produce flare in strong sunlight. The reviewer recommends keeping subjects at least three feet away to reduce stitching problems. These are attributed observations, not measurements made by GoThru.
Our application to property work: check a guarded camera against a bright window before photographing every room, and keep door frames and furniture away from the seam where possible. Three feet is a reviewer's practical guideline, not a guarantee of clean joins around every object. For construction documentation, a cramped position between scaffolding tubes deserves a separate stitch check even if the rest of the scene looks sharp.
Scott Gilbertson's May 2024 WIRED review praised the X4's reframed video and editing software, while identifying low light as a weakness. He explicitly describes his testing as oriented toward reframing, rather than immersive viewing. That is useful travel-video evidence, not a substitute for a controlled real-estate still-photo comparison.
When evaluating additional reviews, look for the date and the exact photo mode. A launch-era description may not reflect later firmware, and a well-produced travel sequence does not establish how a window-lit room will look. We have not assigned a virtual-tour score by borrowing a reviewer's overall rating.
Real estate: inspect the difficult surfaces
Choose a test room with a window, a mirror and a nearby vertical edge. Check both the lens-facing areas and the seam. A clean stitch helps a room feel credible; a distorted door frame can undermine that impression even when the file is large.
Build an exposure and color check into the workflow. Compare adjoining spaces and retain the original files for revisions. If a capture mode requires noticeably more processing to meet your standard, include that time when quoting a property job.
Business tours and mixed deliverables
A restaurant or hotel may want both a navigable tour and short social clips. Treat these as separate outputs. Export a complete 360 photo for the tour, and make reframed compositions for the promotional material. Confirm the tour export in the actual viewer before handing off a large batch.
Arrange a quiet capture window, confirm which areas should be excluded and inspect reflections for staff or documents. GoThru operates this publication; this guide does not claim that every X4 mode has been integration-tested with a particular hosting plan.
From the X4 to a client-ready panorama
The official X4 transfer guide documents a direct computer route: connect the USB-C cable, switch the powered camera to USB Drive Mode, and copy the files from DCIM/Camera01. Insta360 identifies its app and desktop Studio as the editing and export tools. Copying the camera files alone is not the same as delivering a stitched panorama.
- Archive first. Our suggested job folder separates untouched camera originals from processing files and final exports. Include the capture date and property or site identifier without exposing confidential client information in public filenames.
- Finish a representative image. Use the selected photo workflow, then inspect the complete sphere: ceiling, floor, both lens directions and the seam. Record the software version and capture settings so the remainder of the job can be processed consistently.
- Export for the deliverable. A navigable tour needs the complete spherical image, not a cropped social-media composition. Confirm the receiving platform's current file requirements; do not assume it accepts INSP or DNG originals.
- Check the hosted result. Inspect room transitions, horizon alignment and readable details on a phone and a desktop. Reopen the exported file as well: this separates an export problem from additional compression applied by the viewer.
For recurring construction visits, retain the capture mode alongside each viewpoint identifier. Switching between the high-resolution and bracketed modes can change the visual appearance of a scene; that difference should not be mistaken for a change in the building itself.
Construction-site documentation
For a repeat-visit plan, see our construction-site virtual-tour workflow. Assign stable viewpoint names before photographing with the X4, then preserve the capture settings and originals alongside the finished panoramas.
For repeat visits, assign stable viewpoint identifiers and retain dates, locations and untouched originals. If barriers or active work prevent the same position, record that difference rather than presenting the views as directly equivalent.
Exposure bracketing involves successive captures, so consider movement before selecting it around people or machinery. Capture must fit the site's access and safety arrangements. No survey accuracy, automatic progress measurement, BIM alignment or hazardous-location certification is established by this article.
Travel: make the most of the video emphasis
The independent review evidence makes travel-video reframing a sensible use case to investigate. Test the intended lighting and movement, especially if evening walks are part of the brief. Avoid assuming a daylight result predicts low-light performance.
Protect both lenses and plan file offload before a long journey. A destination panorama and an edited highlight reel tell different stories; preserve the original captures so you can produce either. Owner-operated Panorra provides panoramic travel inspiration, but no X4-specific upload test is claimed here.
Should you choose the X4?
For a stills-led business, compare the X4 with the Theta Z1's RAW-development approach and the Theta X's JPEG and HDR-DNG workflows. These are different capture-and-processing choices, not just competing megapixel counts.
| Your assignment | What should decide the choice? |
|---|---|
| Property tour plus travel clips | Test the X4's still export and video-editing workflow separately. Both deliverables must justify their processing time. |
| Window-lit interiors | Compare the supported 18 MP X4 bracketed route with a processed Theta panorama. Judge window edges, dark furniture and moving objects at the same viewing size. |
| Repeated construction visits | Choose a capture mode the team can repeat consistently. Record mode changes rather than confusing processing differences with changes on site. |
Shortlist it for mixed photo/video work when its supported still workflow satisfies the brief. Compare other options when maximum-resolution bracketing, different low-light behavior or a simpler still-delivery process is essential. If buying used, inspect lens condition and request original files; a discount is not helpful if the camera cannot produce the deliverable you need.
Research checked 21 September 2026. No invented test results or performance score is included.
Considering the next generation? Read our Insta360 X4 vs X5 technical comparison for sensors, HDR, recording modes and upgrade costs, or browse the comparison directory.
Technical head-to-head comparisons
Compare specifications and workflow tradeoffs with these alternatives. These are source-based comparisons, not our own controlled camera tests.
- Insta360 X3 vs X4: Specs, 8K Video and Virtual Tour Tradeoffs
- Insta360 X4 vs Ricoh Theta Z1: Specs and RAW Tour Workflow
Browse all published pairs in the comparison directory.
Compare the two-generation upgrade in Insta360 X4 vs X6, including photo bracketing, recording modes, storage, batteries and phone requirements.
Considering a still-tour alternative? Our Insta360 X4 vs Ricoh Theta X comparison explains AEB restrictions, HDR-DNG, video limits and field hardware.
Additional technical comparisons:
- GoPro MAX2 vs Insta360 X4: Full Specs and Tour Workflows
- DJI Osmo 360 vs Insta360 X4: Full Specs and Tour Workflows
Our Insta360 X4 vs QooCam 3 Ultra comparison contrasts supported RAW/HDR modes, video specifications, carrying weight and recording storage.
Read our Insta360 X4 vs QooCam 3 comparison for detailed photo, video, RAW processing and field-hardware differences.

Comments ()