Construction Site Virtual Tours: A Practical 360 Photography Guide
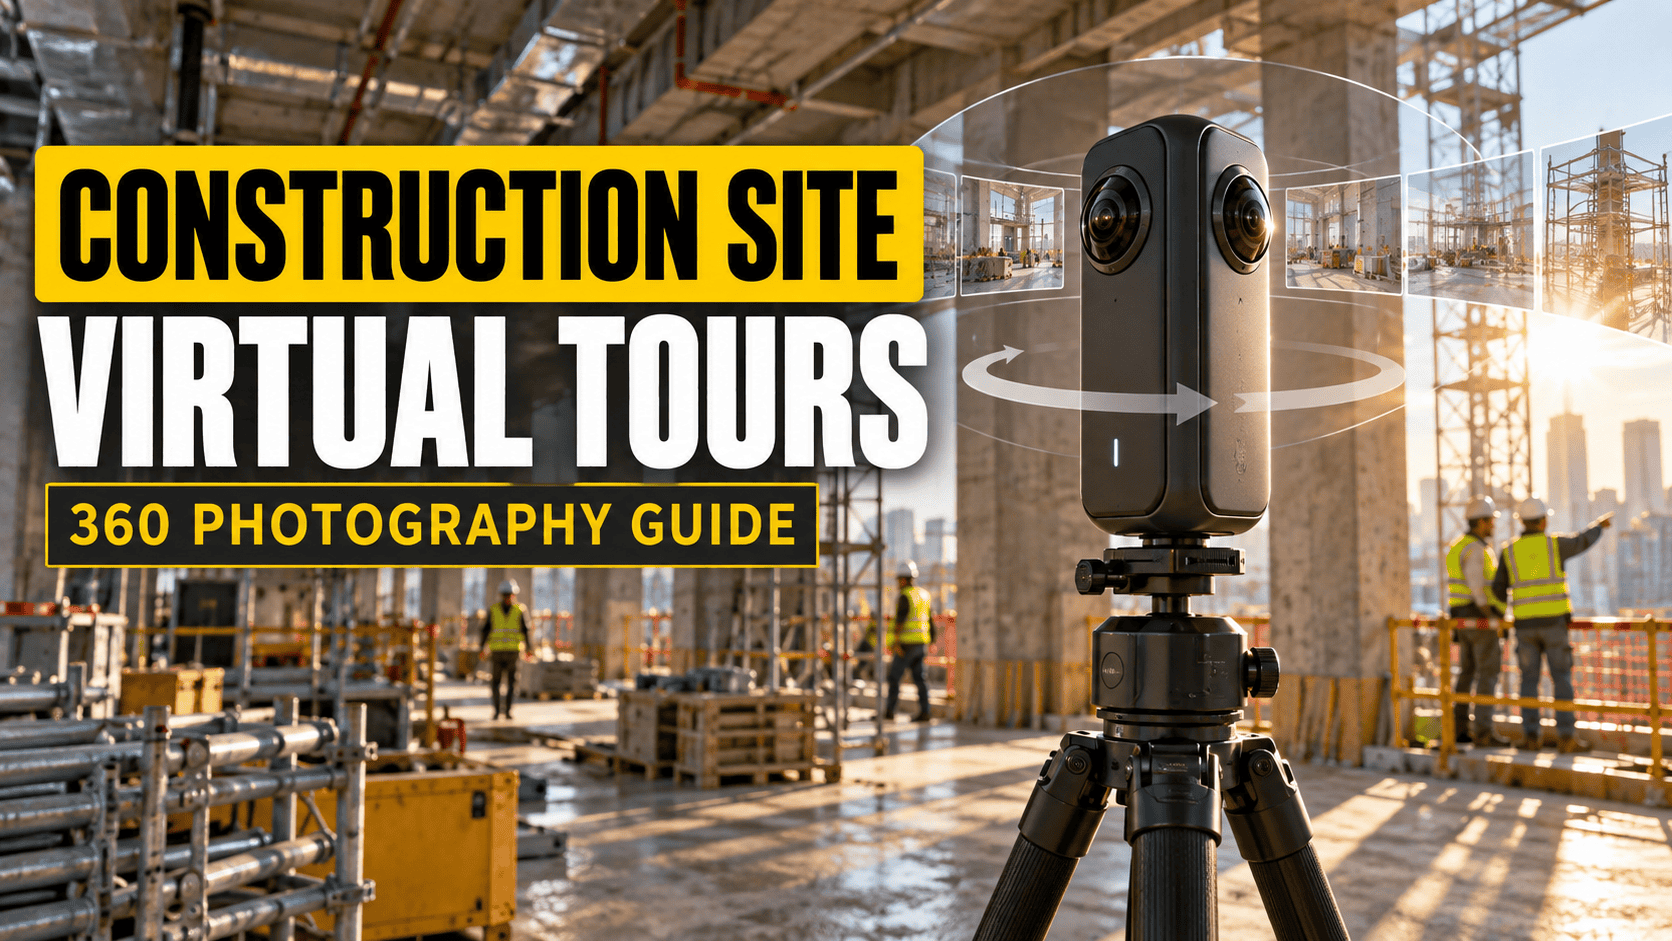
Construction documentation · Camera and workflow guide
A construction site virtual tour lets remote stakeholders look around recorded viewpoints. Its usefulness depends on consistent coverage, clear dates and trustworthy images—not simply the camera's megapixel count. Start with the decisions people need to make, then design a capture routine that supports them.
Define the record before choosing a camera
Agree whether the commission is a weekly overview, a milestone record, a remote client walkthrough or a handover reference. Identify the intended viewers and the areas they need to understand. A tour that shows overall room progress may still need separate photographs of labels, fixings and concealed-service details.
Set a capture schedule with the site team. Record missed areas and access restrictions rather than filling gaps with older photographs without explanation. Different visits should remain identifiable even when the same room name appears in every tour.
Build a repeatable viewpoint register
Choose named positions that can be revisited safely. Use floor and zone identifiers rather than relying only on room names that may change. Record approximate camera height and a short placement description; note any move caused by stored materials, new partitions or restricted access. These records aid comparison but do not establish survey accuracy.
| Field | Example or purpose |
|---|---|
| Viewpoint ID | L02-Z04-P03: floor, zone and position |
| Visit date and time zone | Keep the capture date distinct from publication date. |
| Position and height | Describe a repeatable location; mark estimates as estimates. |
| Coverage note | State blocked directions, omitted rooms or changed access. |
| Source and delivery files | Connect original captures, edits and the published scene. |
Keep the register outside the tour as well. A platform change should not erase the connection between a viewpoint, its date and its original files.
Choose a workflow, then evaluate the camera
The following guides help compare different production approaches. They are not a ranking of cameras tested on the same building. Evaluate a representative unfinished interior, including an exterior opening, a dark corner and nearby structural edges, before selecting a kit.
| Workflow to investigate | Guides and acceptance question |
|---|---|
| RAW-oriented indoor processing | Ricoh Theta Z1: does the editing effort produce the required window and shadow detail? |
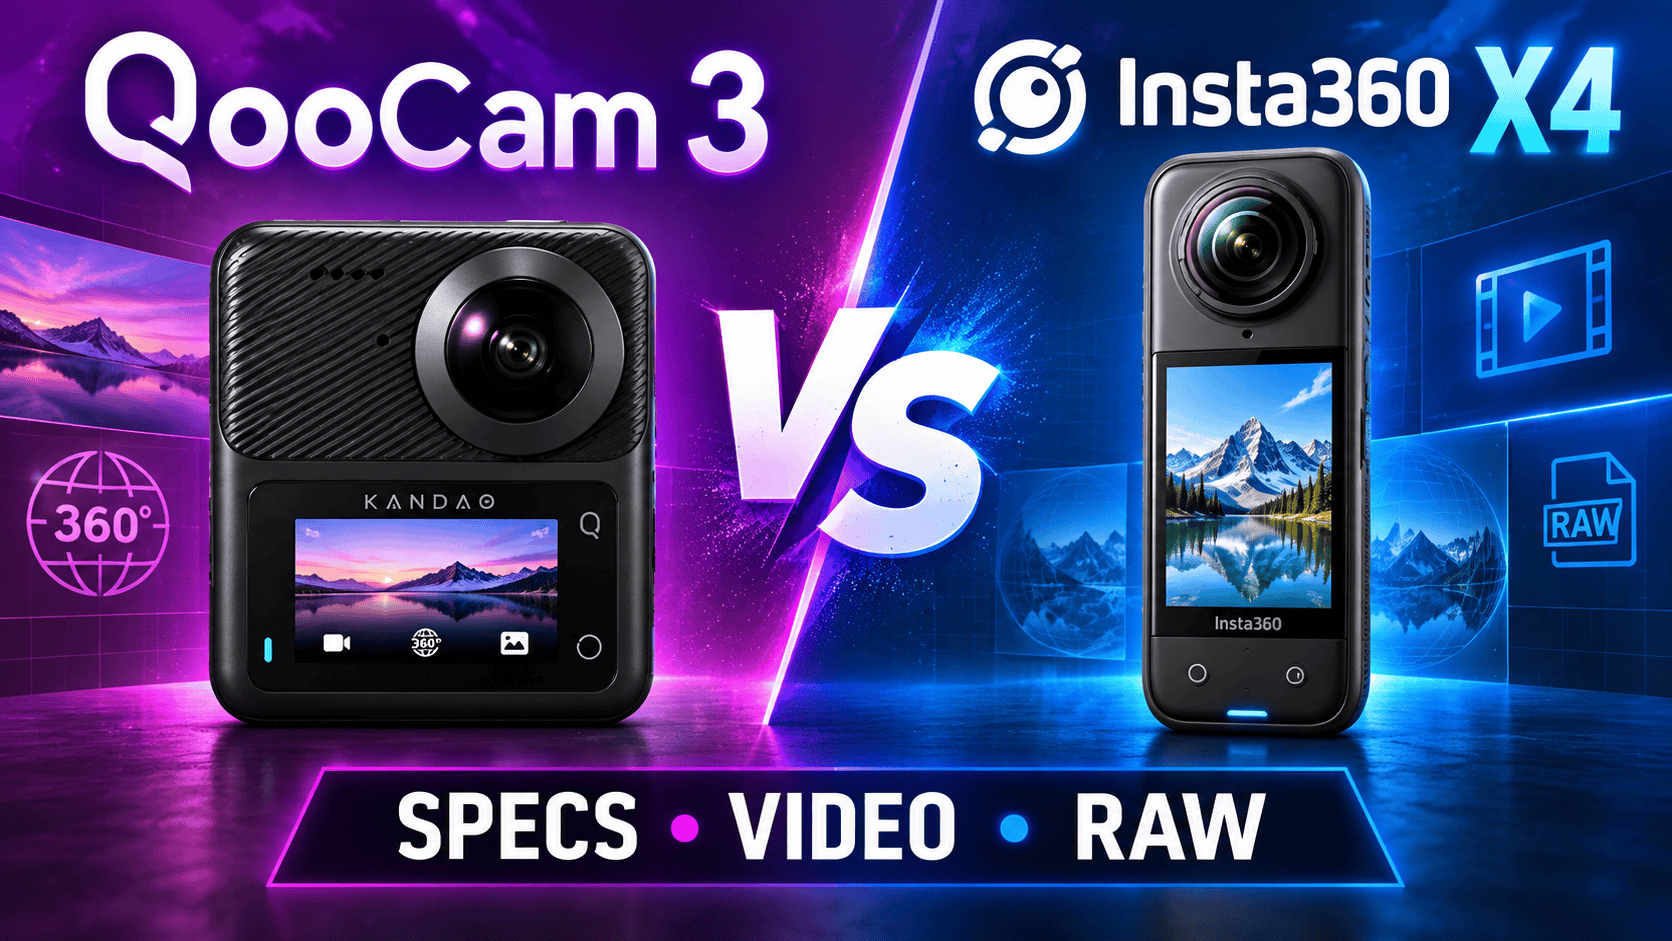
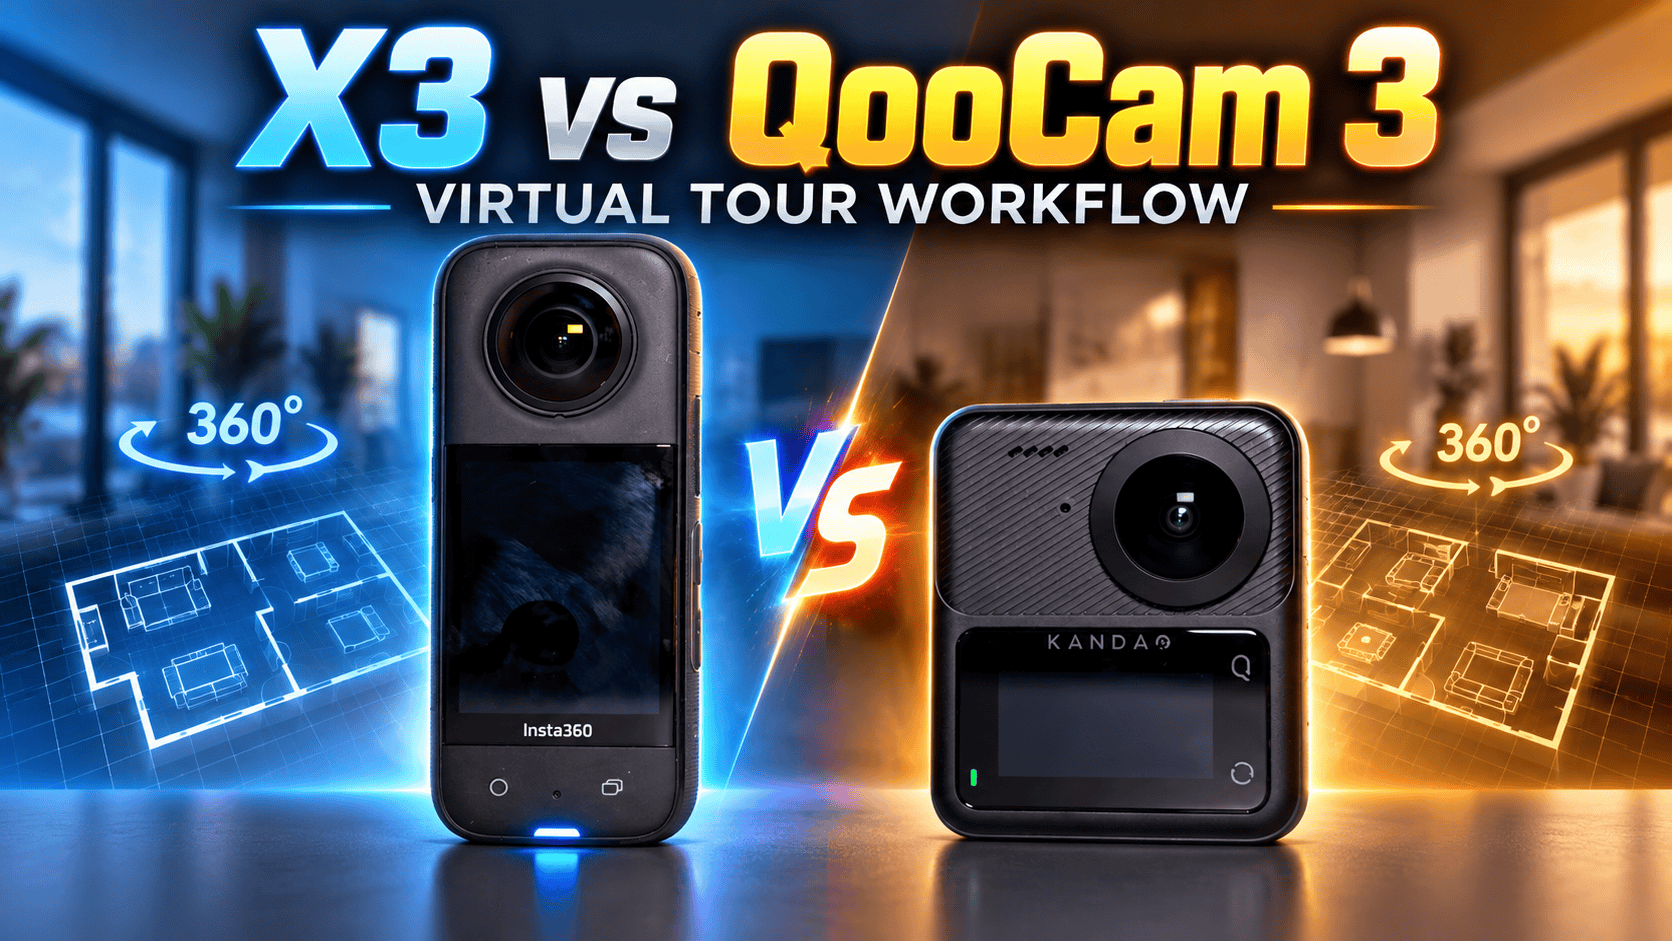
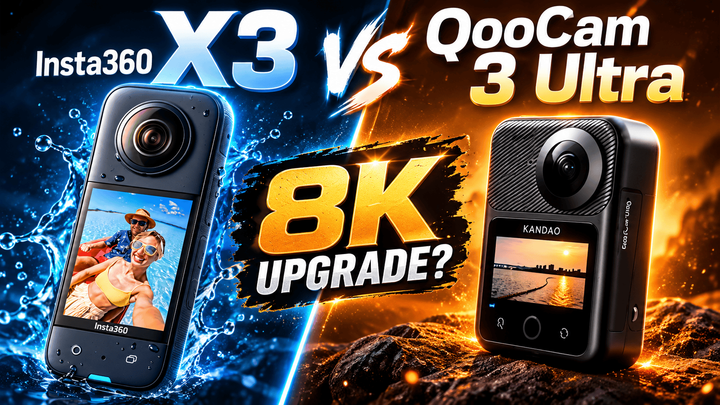
| Multi-image still capture | QooCam 3 and QooCam 3 Ultra: can the scene remain stable through the chosen capture sequence? |
| Compact still/video kit | Insta360 X4 and DJI Osmo 360 II: can you deliver a full spherical still with acceptable seams, rather than only an attractive reframed clip? |
| Larger immersive-production system | Pro 2 and Titan: do the finished deliverables justify support, storage and processing requirements? |
| Exterior aerial context | DJI Avata 360 and Antigravity A1: does a separately planned aerial overview add useful context? It does not replace interior viewpoints. |
Check each model's actual environmental rating and operating guidance. “Professional” does not mean waterproof: Insta360 explicitly says the Pro 2 is not waterproof. Its manual also warns about reflective surfaces and repetitive patterns affecting stitching. Scaffolding and railings therefore deserve deliberate placement and review, not a blanket promise of clean joins.
For the Pro 2 specifically, Insta360 lists a 0.5 m safe distance for optical-flow stitching and 1.5 m for template stitching. These distances apply to that model and stitch mode; do not transfer them to another camera. Source: manufacturer documentation.
Capture without losing the connection to the site
- Coordinate access. Follow the site's arrangements for permitted areas, escort, equipment and timing. Do not enter an active or restricted area to preserve a planned viewpoint.
- Prepare the complete kit. Check lenses, support, power, storage and remote controls. Rehearse operation with the gloves and protective equipment required for the visit.
- Stabilize the scene. Where practical, choose a quiet moment for exposure brackets or multi-image processing. Record unavoidable movement.
- Check capture success. Verify that files were saved, and inspect representative full-resolution results rather than relying solely on an app thumbnail.
- Add detail photographs. Link close-ups to the viewpoint and describe what they show without implying that the panorama establishes hidden conditions.
Keep support and cables out of working routes, with arrangements agreed with the site team. Remote triggering can remove the photographer from view, but walls and equipment may affect the connection. Test the intended control position before relying on it.
Inspect seams, exposure and the full sphere
Look around every direction: ceiling, floor and the joins between lenses as well as the initial view. Examine door frames, scaffolding, reflective metal, workers and machinery. A bracketed image can contain movement artifacts; a high-resolution panorama can still have a broken structural edge.
Keep processing consistent enough that viewers do not mistake a color or exposure change for a material change. Preserve original captures and record substantial edits. Do not silently synthesize missing scene content in a progress record. If an image cannot represent an area clearly, flag the limitation or recapture it when access permits.
Deliver dated walkthroughs with controlled access
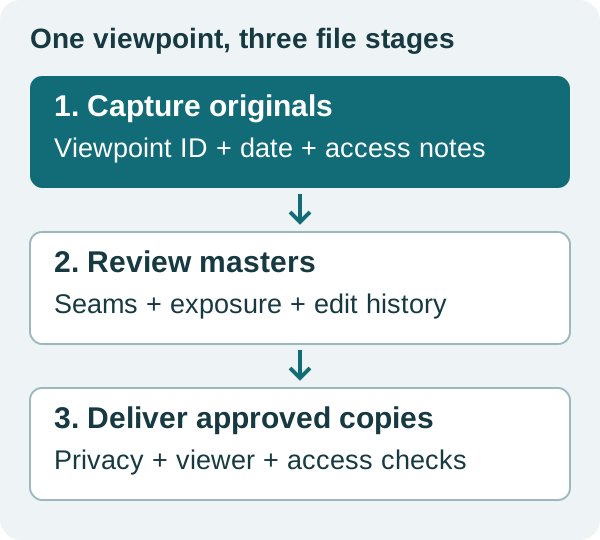
Archive originals, processed masters and delivery copies separately. For ordinary spherical viewing, verify that the output is a complete panorama rather than a flat crop, little-planet image or stereo pair. Check the hosted result on desktop and phone: opening direction, navigation, readable labels and usable detail.
Agree who may access and share the tour. Review faces, vehicle plates, access codes, documents, screens and sensitive equipment before release. Verify the actual hosting service's access controls and retention arrangements; an unlisted link should not automatically be treated as private.
GoThru operates this publication. This guide does not certify a camera integration or promise automatic timeline comparison, georeferencing or building-model alignment. Any such capability needs its own documented evaluation.
Budget for accepted scenes, not shutter presses
A useful quote includes access coordination, travel, capture, backup, stitching, exposure work, privacy review, hosting and corrections. Run a small pilot and record these stages separately. We have not measured a standard minutes-per-room figure, and a manufacturer's recording runtime does not establish how many site viewpoints a crew can deliver.
Success is a record that stakeholders can navigate and interpret, with its date, coverage and limitations intact. Keep those acceptance criteria fixed when comparing cameras or changing software.
Research and editorial scope checked 21 September 2026. Proposed workflow; no in-house deployment results claimed.
Comments ()