Antigravity A1 for Real Estate & Construction Virtual Tours
Aerial camera guide · Property and construction overviews
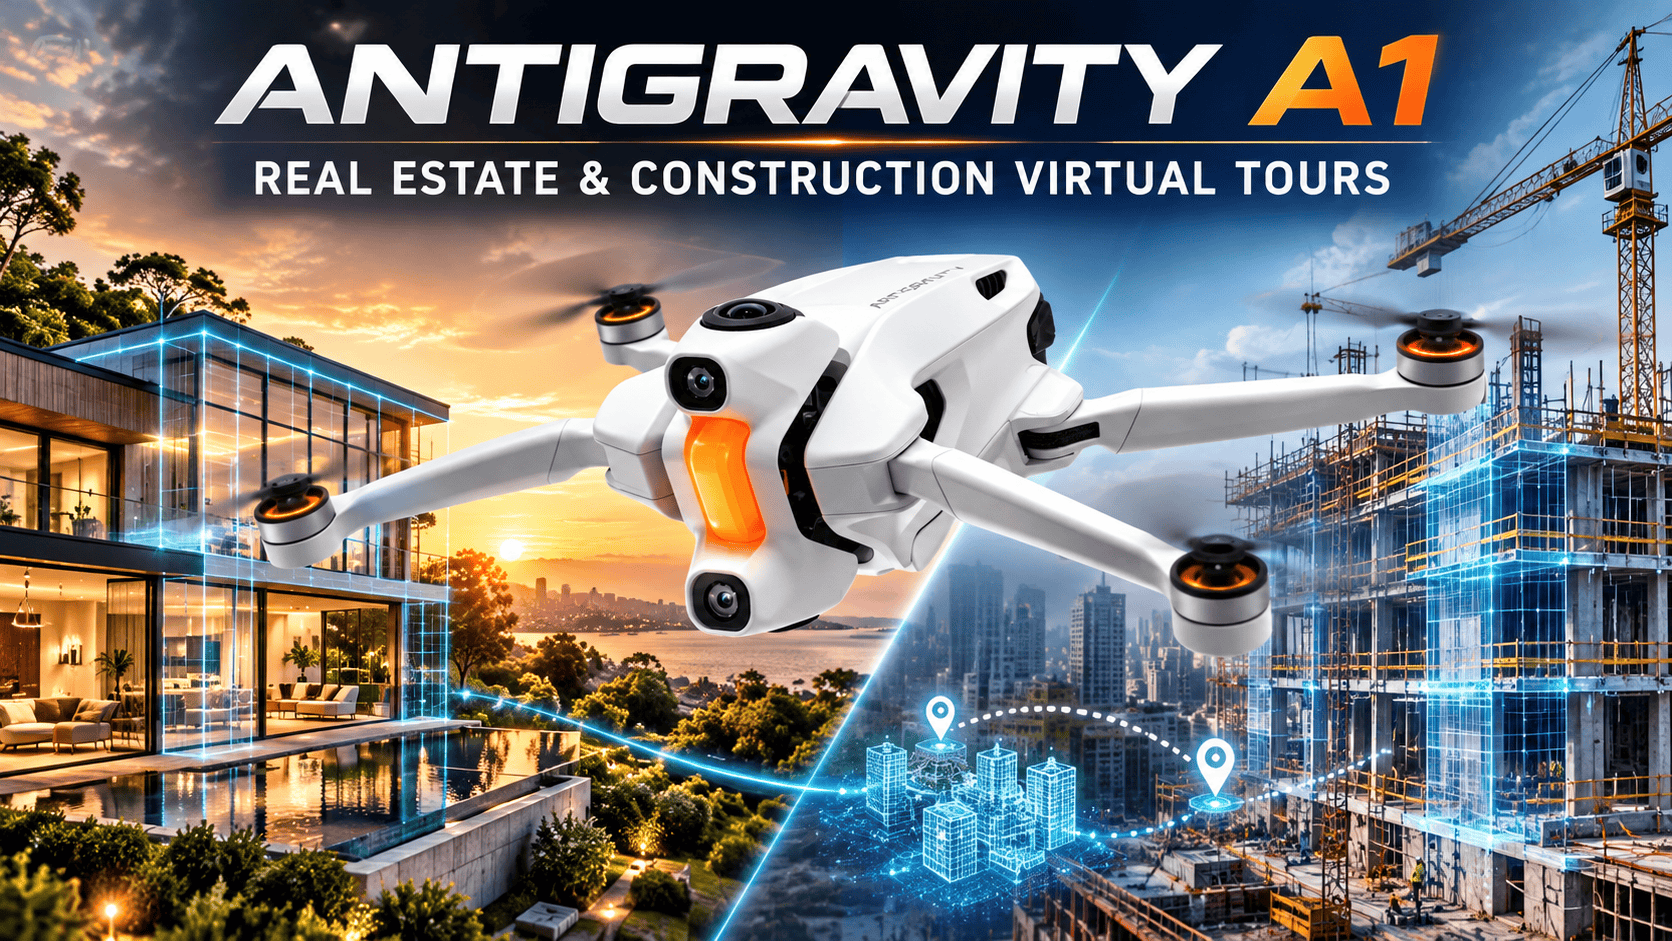
An aerial panorama can explain a property's surroundings in a way a room photograph cannot. The Antigravity A1 belongs in that exterior storytelling role: assess it as an addition to a ground-level virtual-tour kit, not a replacement for one.
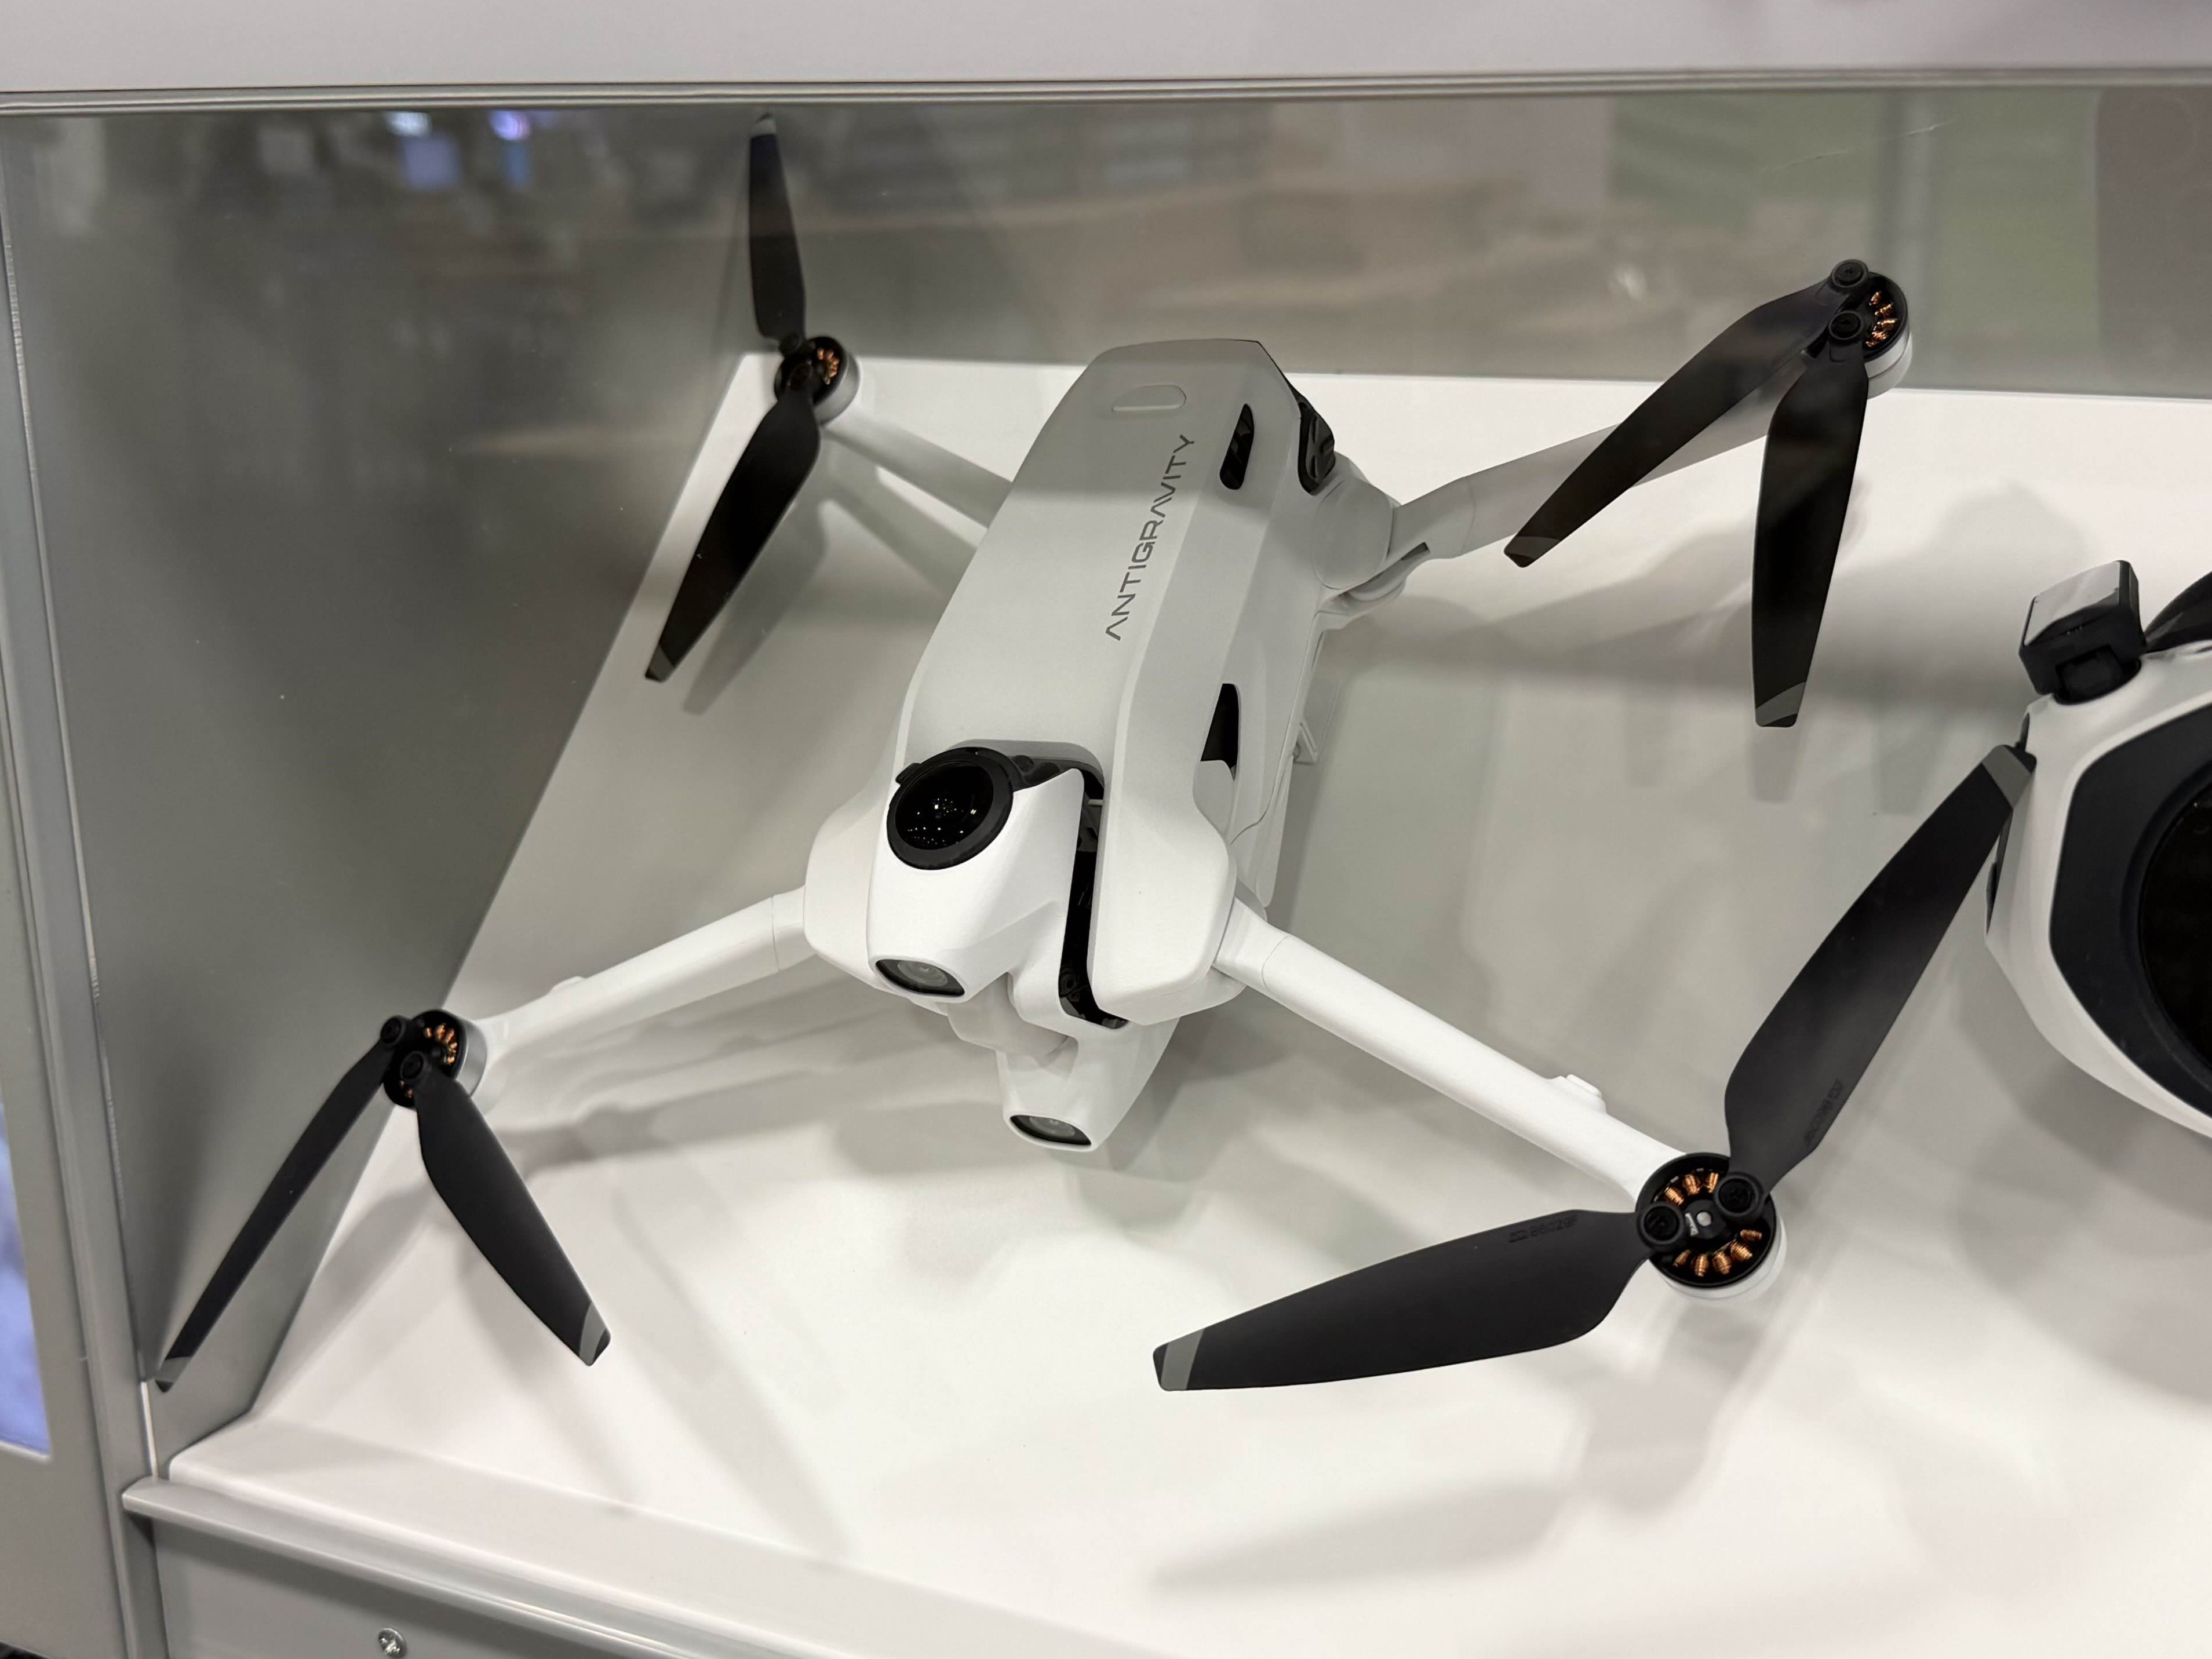
Our assessment: establish the site, then enter the building
For real-estate marketing, the useful deliverable is an overview that helps a prospective buyer understand the building, access and surrounding landscape. Connect that scene to ground-level entrances and room panoramas. A spectacular aerial viewpoint is less useful when a visitor cannot work out which doorway leads into the property.
Our buying recommendation is conditional: consider the A1 when aerial spherical photography is a recurring, authorized part of your work. If most assignments are apartments, shops or occupied offices, prioritize the interior camera and delivery process first. Flying equipment adds a separate operational workload that is not justified simply by wanting a higher viewpoint.
The photo specifications that matter
| Feature | Specification |
|---|---|
| Still output | 55 MP: 10496 × 5248; 14 MP: 5248 × 2624 |
| Photo files | INSP, exported with Antigravity App or Studio; DNG |
| Photo modes | Standard, HDR, burst and AEB |
| Sensor and aperture | 1/1.28-inch type; f/2.2 |
| Shutter range | 55 MP: 1/8000–1/20 second; 14 MP: 1/8000–1/2 second |
| Storage | 20 GB internal; microSD up to 1 TB |
| Takeoff weight | 249 g with standard battery; 291 g with high-capacity battery |
Source: Antigravity's official specifications. The format list does not establish every resolution/HDR/AEB/DNG combination. Confirm the required combination on the current firmware before committing to a job.
Photo resolution: a meaningful comparison, not a sharpness score
Horizontal pixels across the complete sphere
55 MP mode — 10,496 pixels
14 MP mode — 5,248 pixels
Our interpretation: compare exported originals at the same viewing angle, not merely at the same percentage zoom. Inspect distant roofs and vegetation, then check the horizon and stitch boundary. More samples are useful only if the scene remains sufficiently sharp and the export preserves them.
What first-hand reviewers found
In his May 2026 A1 versus Avata 360 comparison, Hugh Hou reported sharper-looking A1 footage with artifacts under heavy magnification. He found flare on both cameras, favored the Avata for close-distance hover stitching, and favored the A1 for distant stitching during forward flight. His A1 used April firmware. These are attributed video observations, not our still-photo measurements.
Oscar Liang's December 2025 first-hand review praised the immersive viewing experience but described darker footage as softer and noisier. He also found weaker transmission around obstructions than in open conditions. His article discloses affiliate links. Its launch-period observations should not be treated as a complete account of later firmware.
James Abbott's firsthand A1 review for Space provides still-photography context: he used Auto for both photos and video, reporting balanced exposures, and shows examples covering fields, an industrial site and allotments. He describes reframing photographs and making tiny-planet or animated outputs in Antigravity Studio. That supports the usefulness of the editing workflow for destination storytelling, but those presentation styles are not substitutes for the complete sphere required by a navigable property tour.
Abbott considers image quality good for a 360 camera while distinguishing it from a conventional camera drone's concentrated field of view. We retain the manufacturer's 10,496-pixel panorama width above: the review prints 10,486, so its dimensions are not used for our chart. His Auto results also do not establish performance for every HDR/AEB/DNG combination or a controlled comparison of difficult interiors.
For our audience, these reviews suggest a practical acceptance test: inspect the actual spherical deliverable, including awkward directions. A flattering reframed clip does not demonstrate that a client can explore every part of a property panorama without noticing defects. These sources do not supply a controlled still-photo window-exposure benchmark for this guide.
Watch Hugh Hou's accompanying comparison. The observations summarized here come from his written article; we have not independently verified every claim in the video.
Plan a still-photo trial before a paid shoot
Define the scene's purpose first: establishing location, showing the relationship between buildings, or documenting a particular construction phase. Select a lawful, site-approved viewpoint that supports that purpose. More altitude is not automatically more useful; it can make the property itself harder to examine.
At a suitable stationary capture point, make separate trials of the photo settings you intend to use. Compare bright sky, dark roof surfaces and shaded facades. Bracketed capture requires special scrutiny where objects or the camera move between exposures. Do not promise that HDR will remove movement artifacts or recover every highlight.
Keep a record of firmware, mode, exposure settings and export software with the test. Inspect the original and the final hosted panorama before standardizing a workflow. If the result is intended to show detailed condition rather than general context, commission appropriate supplementary photography instead of encouraging extreme zoom into an overview.
Construction-site virtual tours: repeatability over spectacle
Use the construction-site virtual-tour guide to plan how A1 exterior overviews connect to ground-level scenes. Record changes in coverage between visits so aerial framing differences are not mistaken for changes in the building.
Build an agreed viewpoint schedule for successive visits. Record a scene identifier, date, intended area and any change in access. If a planned viewpoint becomes unsuitable, document the substitution; otherwise a later viewer may mistake a framing change for a change in the works.
Use aerial panoramas to connect the overall site story, then use ground-level scenes for room-by-room progress. Keep separate close-ups of details that the overview does not resolve. A linked visual record is not, by itself, a survey, a verified measurement system, BIM alignment or an automated defect inspection.
The manufacturer's sensing specification lists forward and downward coverage with lighting and surface requirements—not all-direction protection. A spherical camera view should therefore never be confused with comprehensive obstacle detection. This guide does not recommend flights through scaffolding, unfinished interiors or close to workers.
Agree which parts of the site can be shared publicly and which require restricted access. Review the entire sphere for neighboring properties, people and sensitive operations. Capture completeness should mean an honest record of covered and missed areas, not a claim that one aerial photograph documents everything.
From camera original to business virtual tour
The A1 V2.0 manual, printed pages 63–64, documents two transfer routes. For the Quick Reader, power down before removing the microSD card, connect the reader to the phone and use the Antigravity app. Do not rename files during transfer. For wireless Quick Transfer, power on the aircraft, enable phone Wi-Fi and Bluetooth, connect through the app and select files from its album. Takeoff is unavailable during transfer.
The manual distinguishes the aircraft's media from Vision Goggles recordings: the Quick Reader does not export goggles data. These copying instructions do not establish a finished spherical-photo export format or every HDR/AEB/DNG combination. Keep the camera originals and check the actual stitched deliverable separately.
Documented INSP-to-spherical-JPEG export
A 21 May 2026 firsthand tutorial on hayase.tv demonstrates a still-photo route in Antigravity Studio: import an IMG_… .insp capture, adjust its appearance, open the export dialog and choose the 360-photo tab instead of reframed-photo export. The creator discloses that Antigravity supplied the aircraft. We inspected the tutorial's export screenshot: it shows JPG output at 10496 × 5248, supporting a full-size spherical JPEG route in that demonstrated setup.
This is evidence from a creator's workflow, not our own export test or a guarantee for every software version. It does not demonstrate DNG export, RAW exposure merging or every HDR/AEB resolution combination. The screenshot's estimated file size is scene-dependent and should not become a storage allowance per photograph. Follow the spherical-photo path for the tour master; a tiny-planet image or animated clip is a separate promotional deliverable.
- Preserve the originals. Archive files by project, visit and scene before editing. Keep export settings alongside them.
- Produce a spherical deliverable. A reframed flat photograph and an interactive panorama serve different purposes. Verify the chosen export retains the intended full sphere.
- Inspect independently. Check horizon, seams, nadir, highlights and privacy edits in a panoramic viewer, not only the editing preview.
- Test hosting. Confirm accepted format, dimensions, compression and navigation on the chosen tour platform. Check the result on a phone as well as a desktop.
- Connect the story. Give the aerial scene a clear label and a logical route into ground-level photographs. Avoid implying an exact walking route where the transition is conceptual.
GoThru operates this publication. An A1-specific upload/export test has not been completed for this guide; compatibility should not be inferred from that relationship.
| Client need | Deliverable to check | Do not confuse it with |
|---|---|---|
| Property context | Full spherical still linked to an entrance scene | A flat crop that cannot be explored |
| Construction progress | Dated overview with an identified viewpoint and retained original | A measurement or complete condition survey |
| Travel promotion | Chosen still composition or edited video, clearly labelled | A full-resolution spherical master |
Pair the aerial overview with a ground-level camera
The Ricoh Theta Z1 guide examines an interior still-photo workflow, while the Insta360 X4 guide covers a mixed still/video ground kit. The QooCam 3 guide discusses an alternative RAW-merging workflow. These are complementary capture roles, not a claim that flying and handheld cameras are interchangeable or that we tested a combined integration.
Travel photography and the actual cost of ownership
For destination storytelling, an aerial panorama can introduce the geography before a sequence of ground-level scenes. Owner-operated Panorra is a natural editorial connection for that kind of travel story; this guide does not claim tested A1 integration.
Budget for the complete field workflow: charging, spare power, storage, protective transport, software time, training and any applicable operational requirements. Check local rules, landowner access and site permissions for each assignment. A lightweight aircraft is not blanket permission to fly or publish.
Before buying, request a full-resolution still from a scene resembling your work and run it through the intended delivery process. The decisive question is not whether the drone can create an exciting clip, but whether its photographs add dependable, billable value to the tour you already produce.
Documentation discrepancy: printed page 101 of the V2.0 manual also lists a 10,486-pixel maximum width, whereas the current product specification gives 10,496. The chart follows the current specification, not the inconsistent manual value. The manual's general shutter range likewise does not replace the resolution-specific ranges in the specification table above.
Research checked 21 September 2026. The INSP-to-JPEG route is supported by a dated firsthand demonstration; RAW export, complete mode combinations and a GoThru upload remain untested by this publication.
Antigravity A1 vs DJI Avata 360: camera specifications and aerial-tour workflows.
Explore other head-to-head specifications with the 360 camera comparison selector.
Read our Antigravity A1 problems and complaints review for independent owner reports about transmission and goggles clarity, alongside evidence limits and positive experiences.
.jpg)
Comments ()