How to Make and Publish a Google Virtual Tour
A practical guide to making a connected Google Street View tour, from 360 photo capture through publication and a final check on Google Maps.
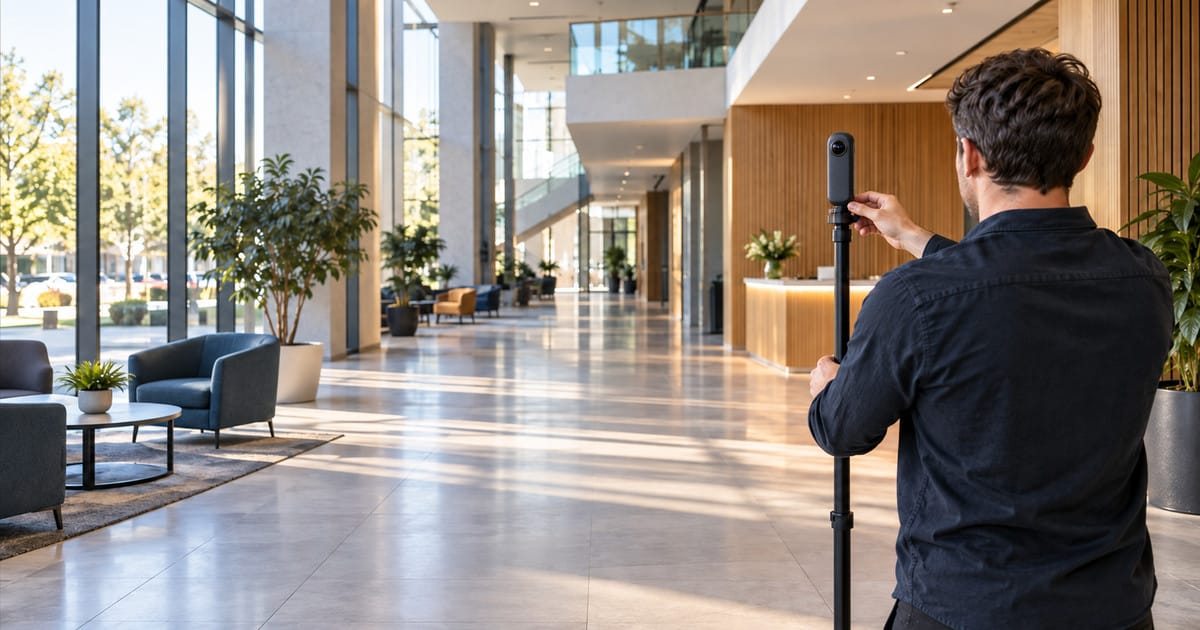
A connected Google virtual tour starts with 360 photos taken along a walkable route. You prepare the files, match them to the right place on Google Maps, position and connect the panoramas in a publishing tool, then submit the tour to Street View. The last step is to open the public result and test the route yourself.
This guide is for a 360 photographer or agency operator preparing a connected Street View tour for a business. A business team doing the work in-house can follow the same steps. If you are still deciding whether a tour makes sense for a location, read Google Street View for business first. If you already have the images, start with the project setup below.
If a client is still choosing who will make the tour, share how to find and evaluate a Street View photographer. Google's former Trusted Photographer list is no longer an active hiring directory.
Choose the right kind of Google tour
“Google virtual tour” can describe different outputs. This article is about linked 360 still images that let someone move through a place on Google Street View.
| What you want | Publishing route | Where to go |
|---|---|---|
| One 360 Photo Sphere on a Maps place | Upload through Google Maps on Android or a computer | Google's Photo Sphere guide |
| A connected walk-through made from 360 stills | Link and publish with a Street View publishing tool | Follow this guide |
| An outdoor route recorded as 360 video | Upload the video to Street View Studio | Google's Studio instructions |
| A branded tour with menus, hotspots, or a website embed | Create a separately hosted tour | Choose a hosting workflow, then decide separately whether to publish imagery to Street View |
You can upload one Photo Sphere to a Maps place through Google Maps. For a connected tour made from still photos, use a third-party publishing tool. A 360 video of an outdoor route belongs in Street View Studio. That video route is separate from the still-photo workflow below.
For a different outdoor workflow, you can create a blue-line route with GoThru from 360 video or panoramas. A blue line follows a road or path rather than attaching an indoor tour to a business. If the place has no business listing, use the separate location-based publishing workflow.
Older tutorials may send you to the retired standalone Street View app. Use Google Maps for a single Photo Sphere, Street View Studio for the video route, or GoThru for the connected still-photo tour covered here.
Prepare your images, account, and location
Get the location right before you upload. A tour attached to the wrong Maps place is harder to correct than a misplaced panorama in the editor.
Your preflight checklist
- A set of 360 panoramas captured along a route that visitors can actually follow.
- JPG files exported at a 2:1 aspect ratio, without gaps along the horizon.
- A GoThru account and access to the Google account that will publish the imagery.
- The correct business name, address, and Maps pin. Keep its CID or Place ID handy if search does not find it.
- Permission to capture and publish the location, with a plan to remove private details from every image.
For a Google Photo Sphere, export at a 2:1 aspect ratio, at least 7.5 megapixels (3,840 × 1,920 pixels), and no more than 75 MB per image. Google's Photo Sphere specifications also call for sharp, properly exposed images without major stitching errors. For publishing connected panoramas through GoThru, prepare .jpg files at a minimum of 5,300 × 2,650 pixels. Check the stricter GoThru size before exporting, even though Google's Photo Sphere baseline is lower.
Search for the business and check its address and map pin before uploading. If it does not appear, create the tour using its CID. A Place ID or CID identifies the destination on Google Maps. A panorama ID identifies one published image, so do not use it to choose the business.
For client work, decide which Google account should publish the tour. The client can connect their Street View account to GoThru through a request link without sharing a password. Publishing access, contributor attribution, and ownership of the original image files are separate decisions. Agree on them before the tour goes live.
Capture a route people can follow
The connections will only make sense if the photos reflect a sensible path through the space. Begin near the entrance, then move through each public area in the order a visitor would walk. Take additional images at doorways and turns so there is a clear view between neighboring positions.
For Photo Spheres, Google recommends placing the camera about 1.2 to 1.8 m high, spacing indoor shots about 1 m apart and outdoor shots about 3 m apart, and following clear, natural paths. Google also recommends limiting one indoor collection to 100 photos. GoThru's capture and Auto Link workflow suggests 3 to 5 m between images with a clear path for image matching. These are different recommendations. Cover doorways and turns, then inspect the connections in GoThru rather than assuming either spacing rule will make the links correctly.
Keep the camera height steady. Check reflections, backlit windows, the floor directly below the camera, and people who may have moved into the frame. Avoid staff-only rooms and no-photo areas. A door that is closed in one frame and open in the next can make a connection feel wrong even when the map positions are accurate. If you are choosing equipment for this still-photo route, compare 360 cameras for Google Street View before the shoot.
The capture video below shows route planning, doorway photos, sightlines, lighting, and scene preparation with one camera model. That model is an example, not a requirement.
Create a Street View project in GoThru
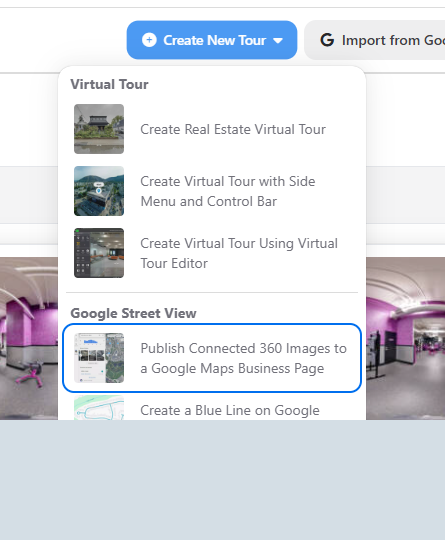
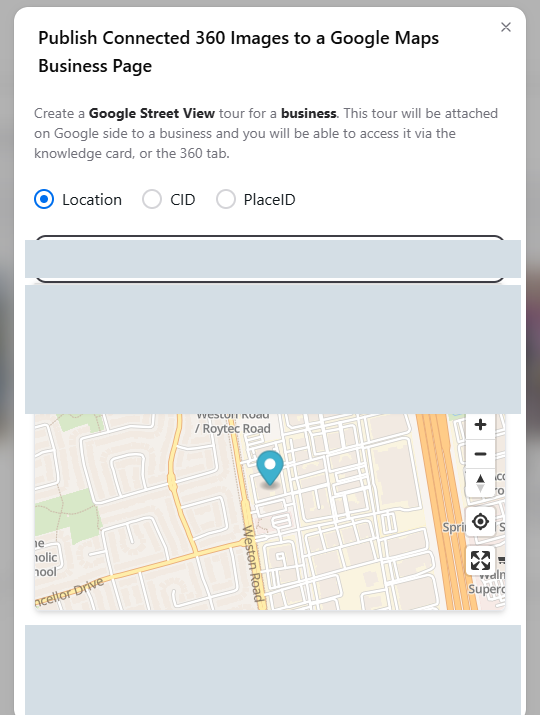
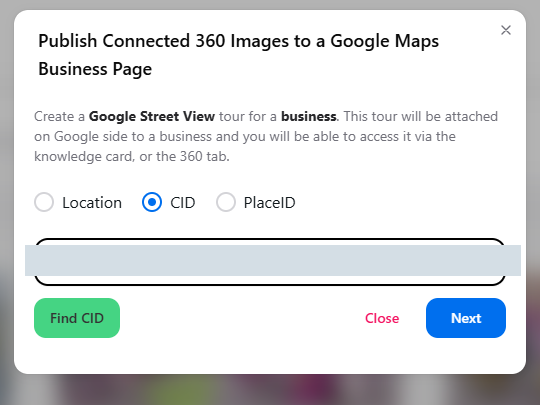
In GoThru's dashboard, open Create New Tour and select Publish Connected 360 Images to a Google Maps Business Page. In the project setup, choose Location to search for the business, then check its map pin before uploading. If name search misses the listing, the same screen offers CID and PlaceID options. Select the matching place and check its pin before adding files.
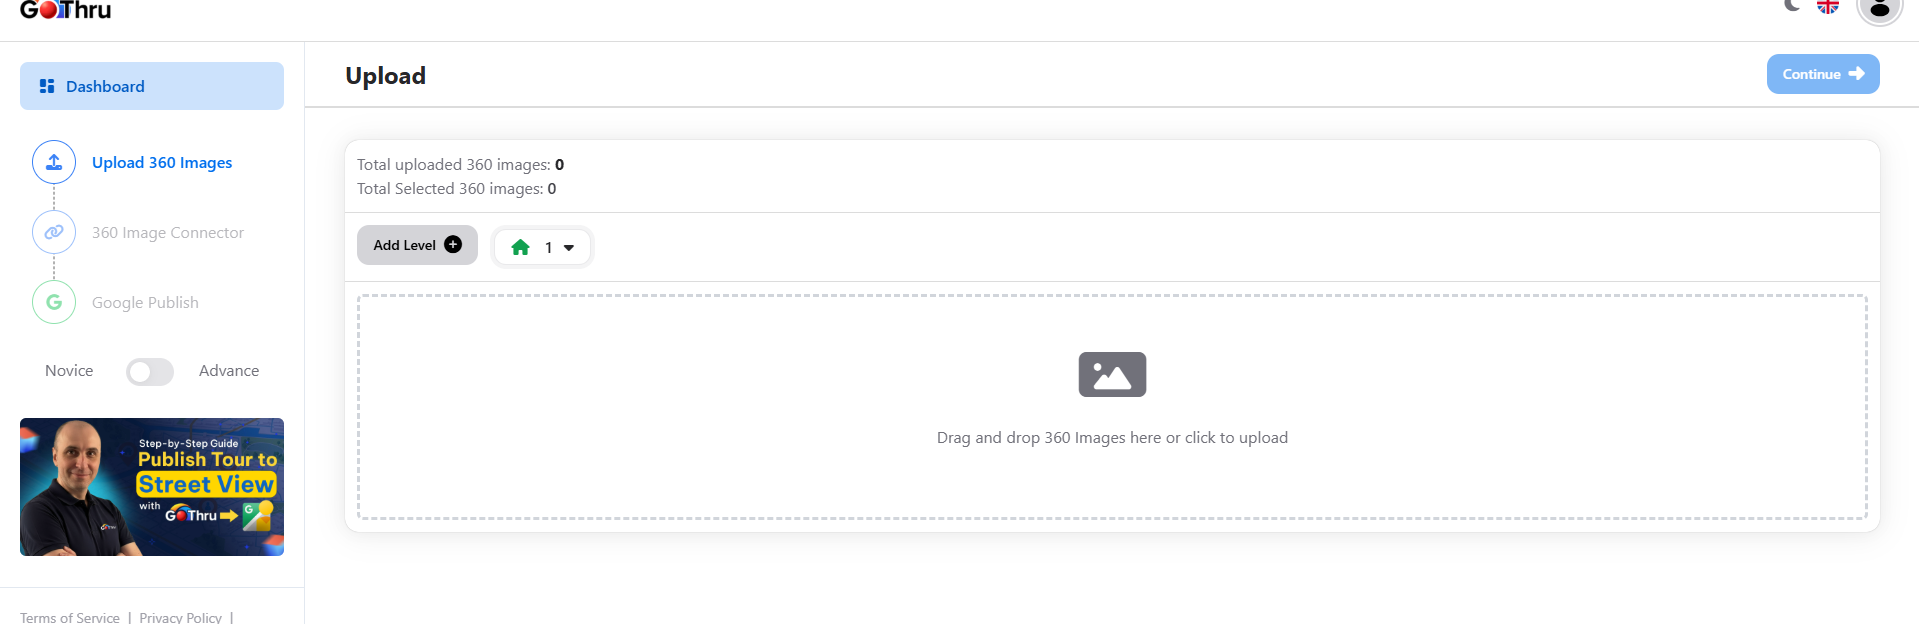
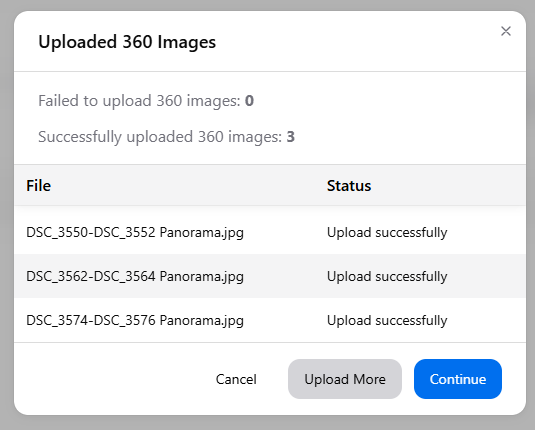
In the project's upload area, choose Browse Files or drag your JPG panoramas onto the upload target. Switch from Novice to Advance mode to see the Google Drive, Dropbox, and Auto Stitching options. For prepared JPG panoramas, check the successful upload count before opening the 360 Image Connector.
Position and connect the panoramas
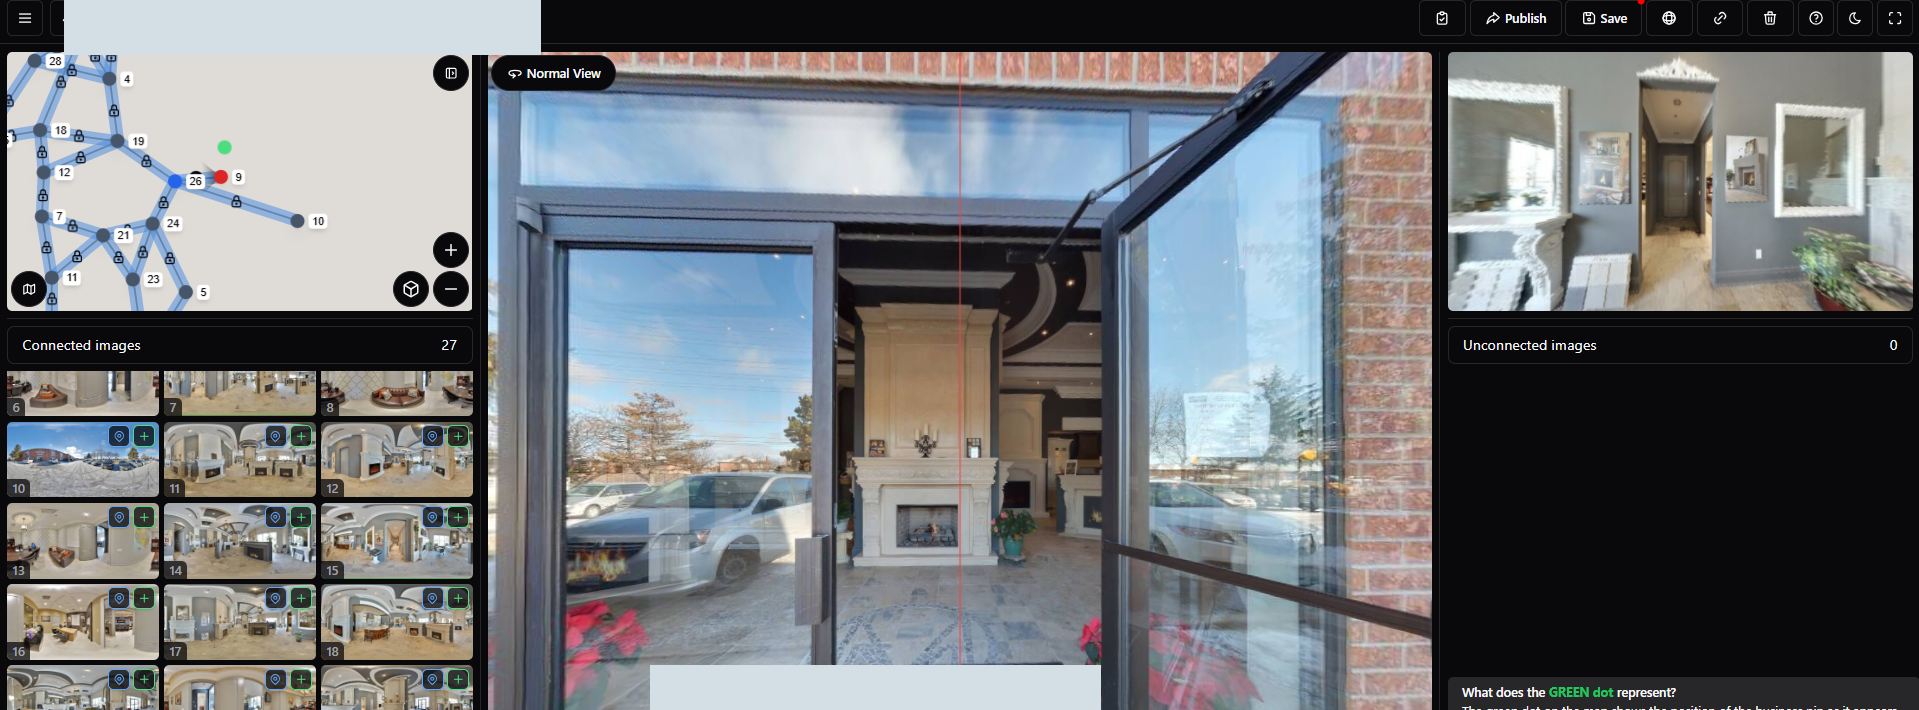
Open GoThru Moderator through the 360 Image Connector entry point. Double-click the first panorama or drag it into the main view, then add its neighboring images by double-clicking or dragging them into the connection preview. Place the panoramas at their capture positions on the map and check the direction of travel. An arrow should lead to a place you could actually walk to from the current view.
Work along the route in order. Check forward and return paths at doorways, junctions, and the boundary between outside and inside. If a connection points through a wall or skips a needed stop, reposition or manually correct it in the connector. Save and preview the tour, then walk it on screen as if you had never seen the floor plan.
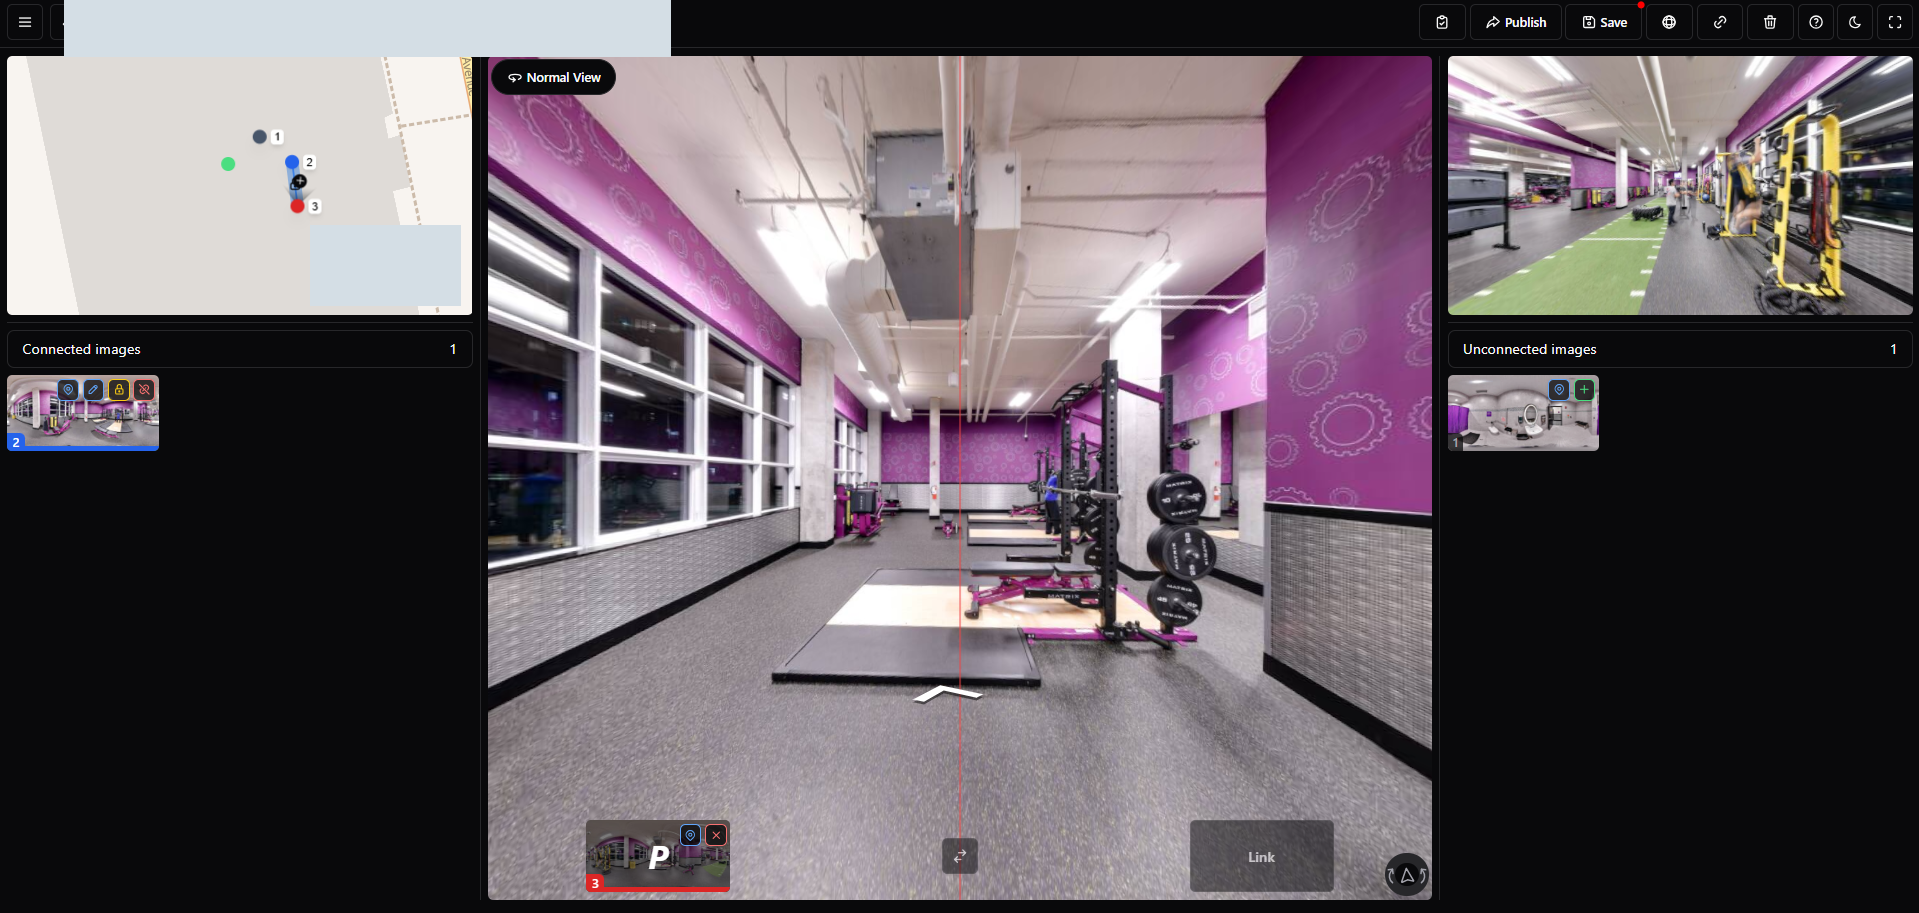
Google may also adjust, remove, or create connections and change image positions or orientation after publication. Test the public Maps result after processing. The GoThru preview cannot prove the final navigation.
GoThru's Auto Link control can suggest connections. Inspect them closely in repeated corridors or rooms that look alike, and adjust a connection manually when the route skips a stop or points the wrong way.
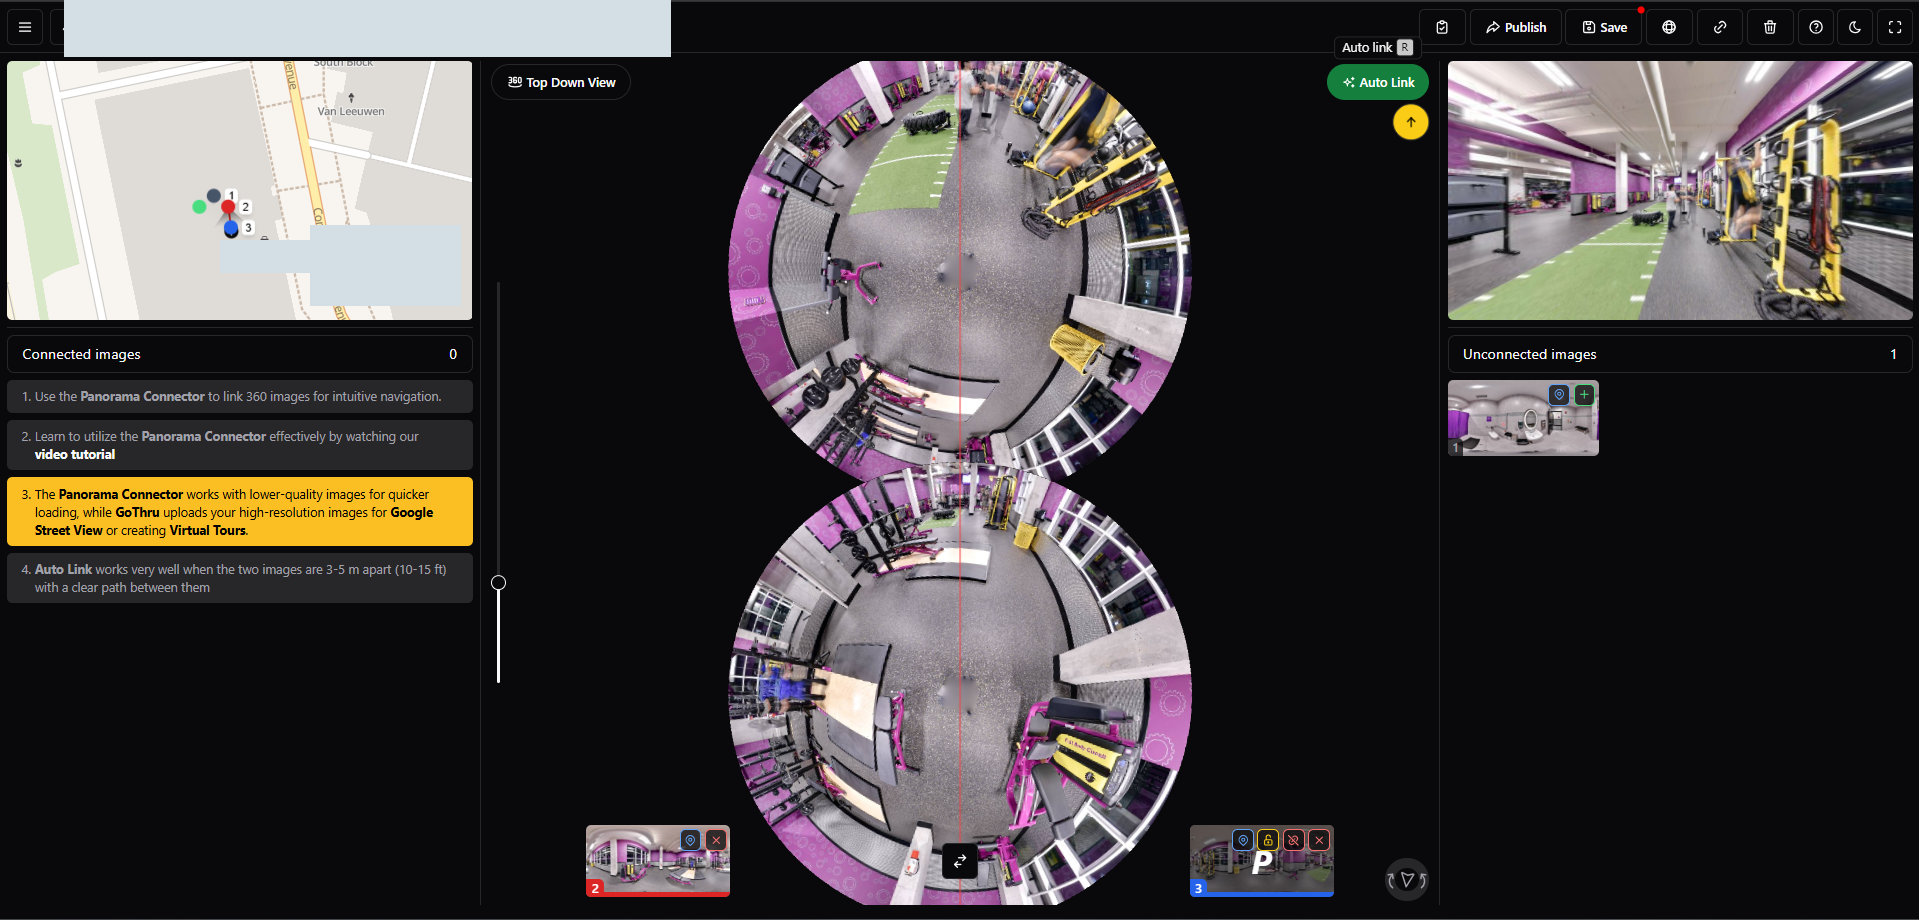
The video below shows a linking pass and manual review. Follow the labels in your current project when the video uses older wording.
Review privacy, floors, and the opening view
Before publishing, inspect every panorama for private details. Then check the floor assignments and entrance view.
Inspect every panorama for private details
Google says its automatic face and plate blurring applies to Street View imagery created from contributed 360 video. It does not automatically apply that process to user-submitted still photos. Google also prohibits imagery from private residences, publicly inaccessible areas, and no-photo zones in the circumstances described by its policy.
For manual blur, open the panorama in 360 Image Connector (GoThru Moderator). Press B or select Blur Mode, then hold Shift and drag over each area that needs obscuring. Use Blur in Moderator, save your changes, and inspect the finished panorama before publishing. Apply AI Blur is a separate automated option. Review every still panorama yourself, whichever method you use.
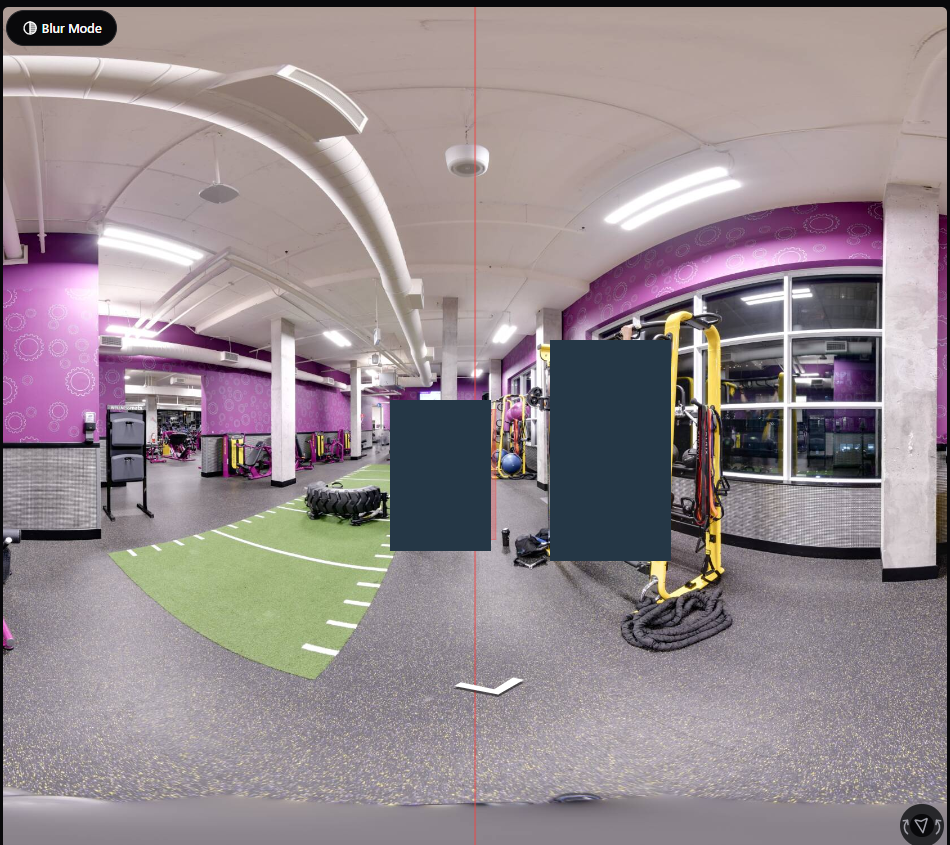
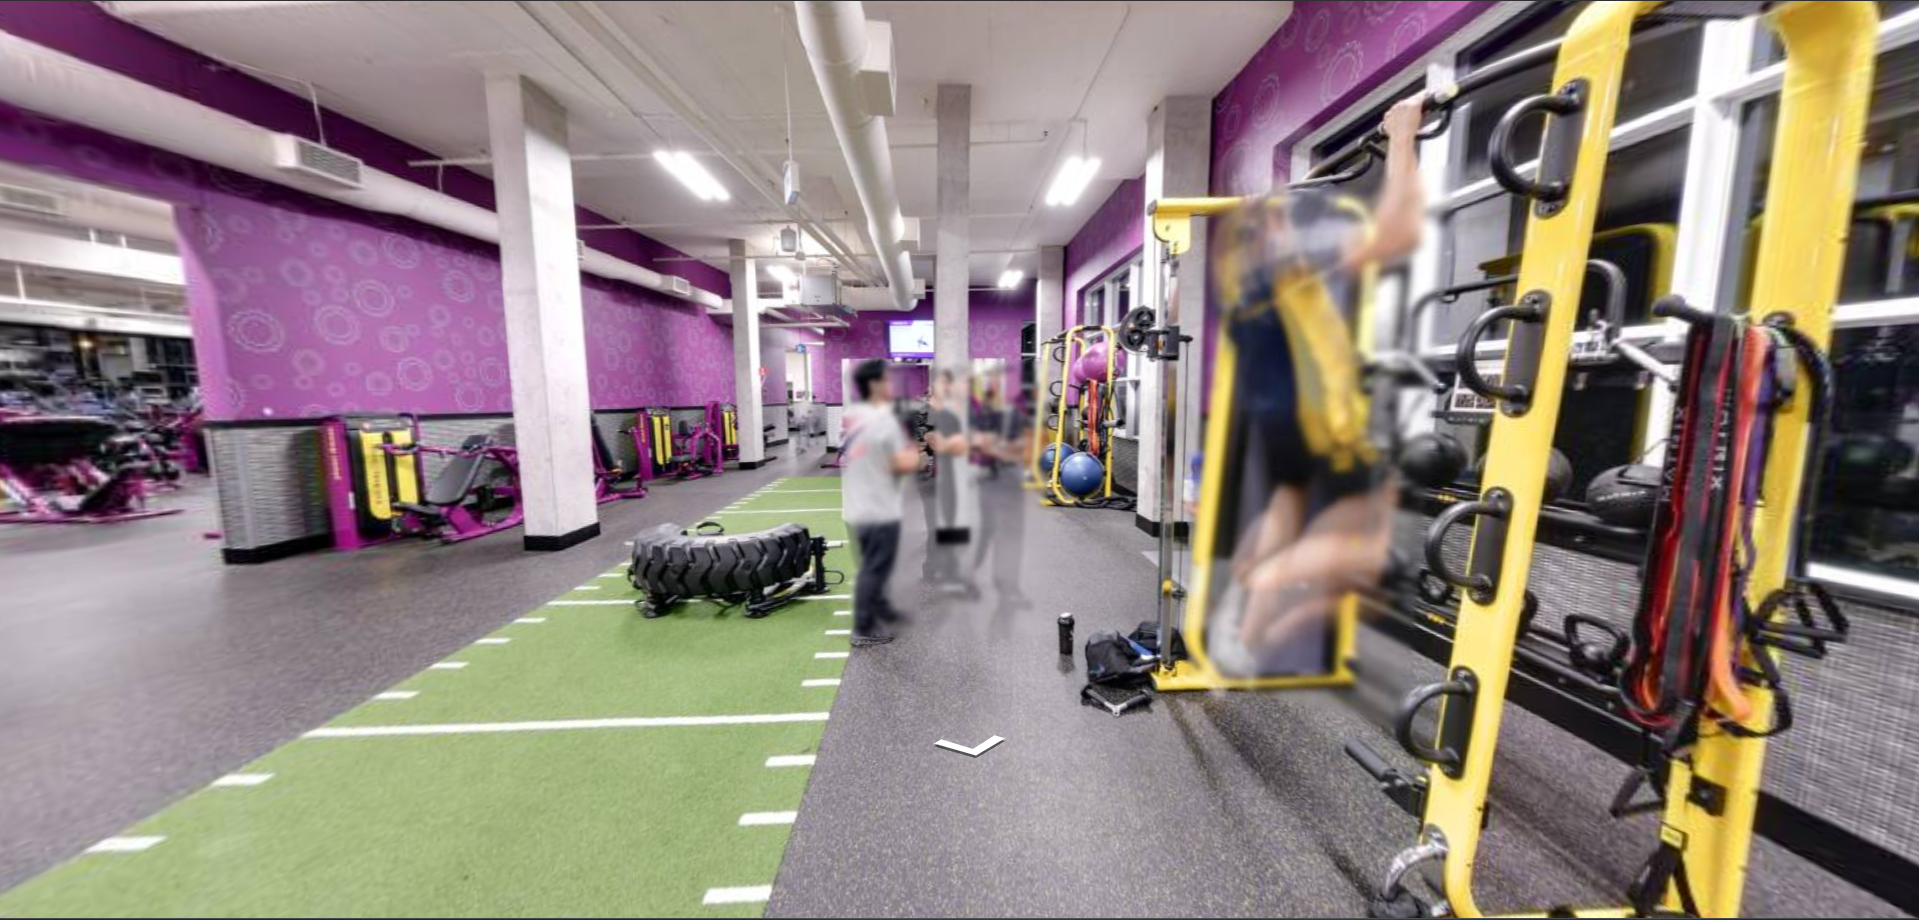
Assign the right floor to each image
For a multi-floor location, create levels and assign each panorama to the correct one before publication. Check both the Google level name and the internal level name in GoThru. Preview stairs, elevators, and floor changes before publishing. If an image is assigned to the wrong floor, edit its level assignment and preview it again.
Check the entrance panorama
Place the intended entrance or reception panorama near the business pin, then check the published result. The panorama nearest the pin can become the opening view, but Google controls the final presentation. An exceptional starting-panorama correction removes Place ID association from selected images and can cause ghost panoramas or other issues. Read that procedure before using it. The GoThru preview alone cannot prove what visitors will see.
Publish to Google Street View
Before submitting, click Preview in your project to open the tour viewer. Follow the route from the entrance, test the navigation arrows, and check any floor changes. Return to Publish to Street View when the tour is ready. The preview does not open automatically after you click Publish.
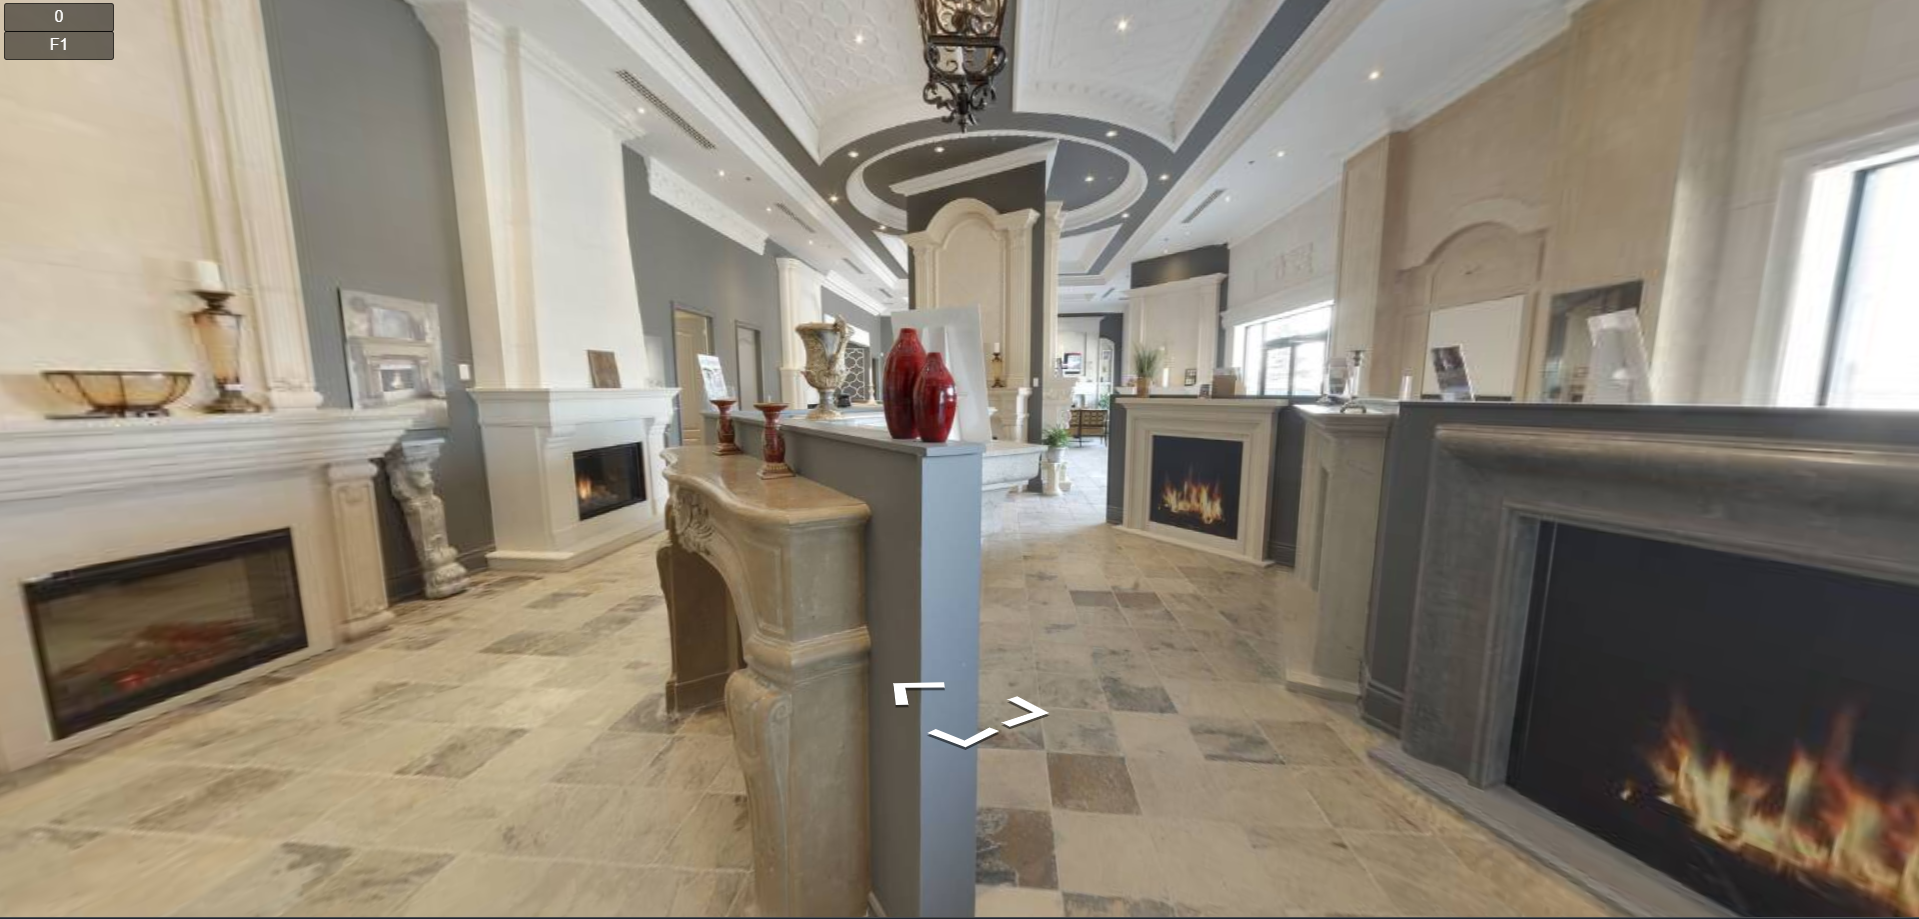
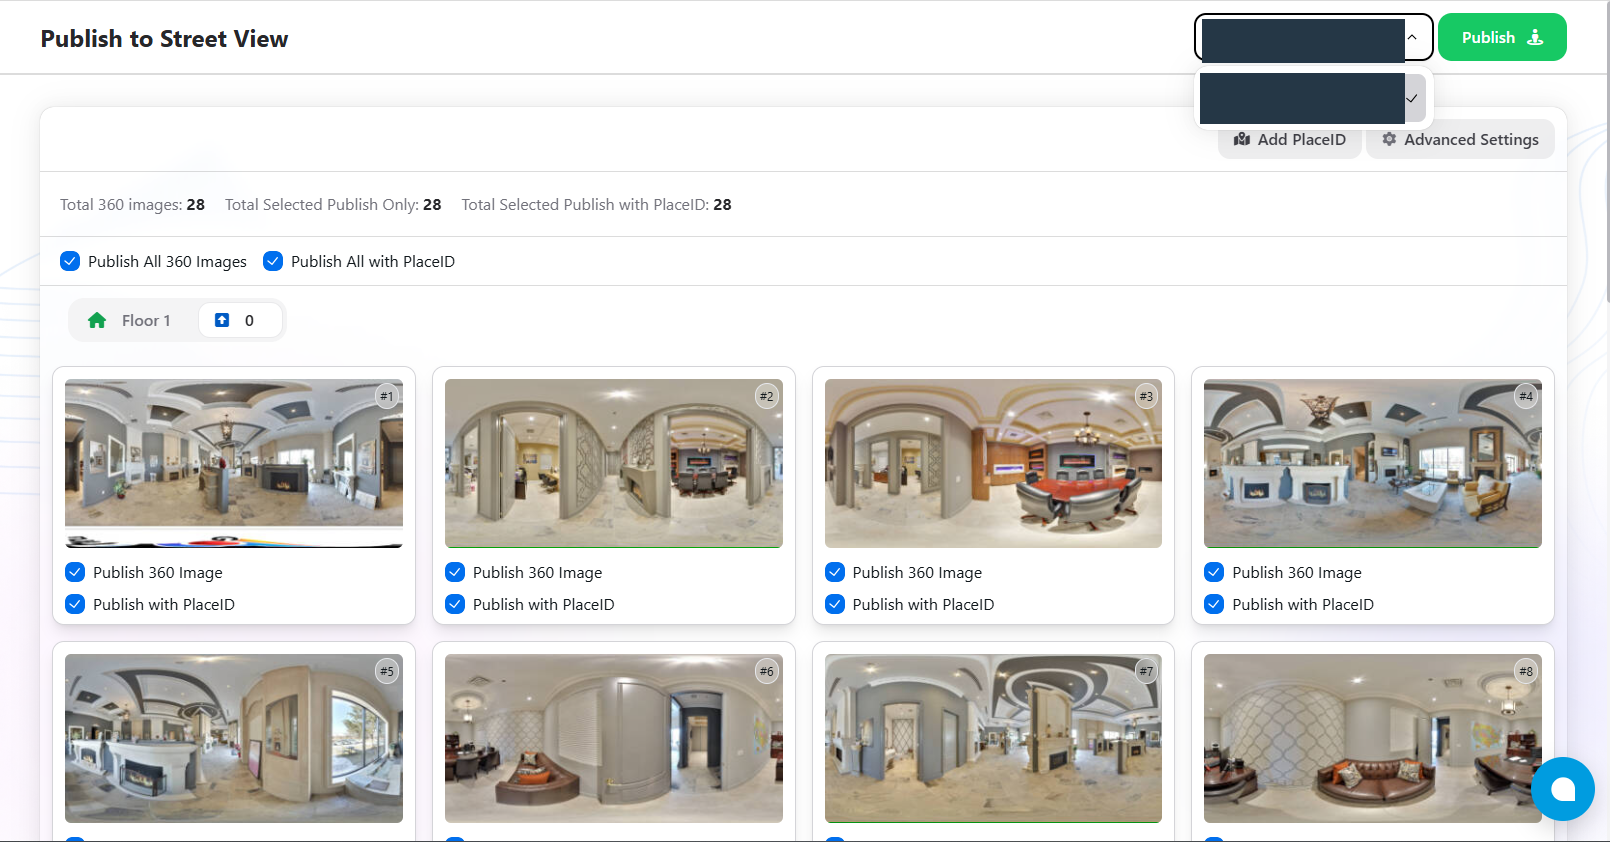
On Publish to Street View, select the Google account and confirm that you are in the intended business project. Check the selected panorama counts, floor tabs, and Publish with PlaceID options. The current screen labels the submission button Publish. Click it after those checks and follow any confirmation shown. Keep the source files and GoThru project so you can correct a problem later.
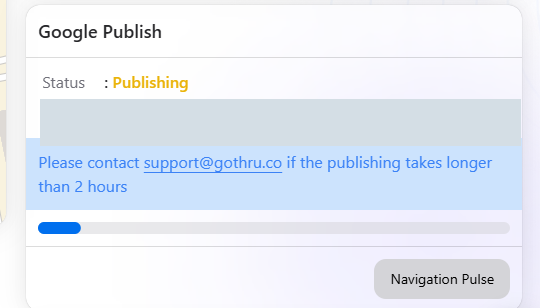
After submitting, check the GoThru status screen. Allow up to 4 days for links between published Photo Spheres to process, according to Google's Photo Sphere guidance. A GoThru status message does not establish that every image and connection is visible on Maps. Check the public result.
Verify the result on Google Maps
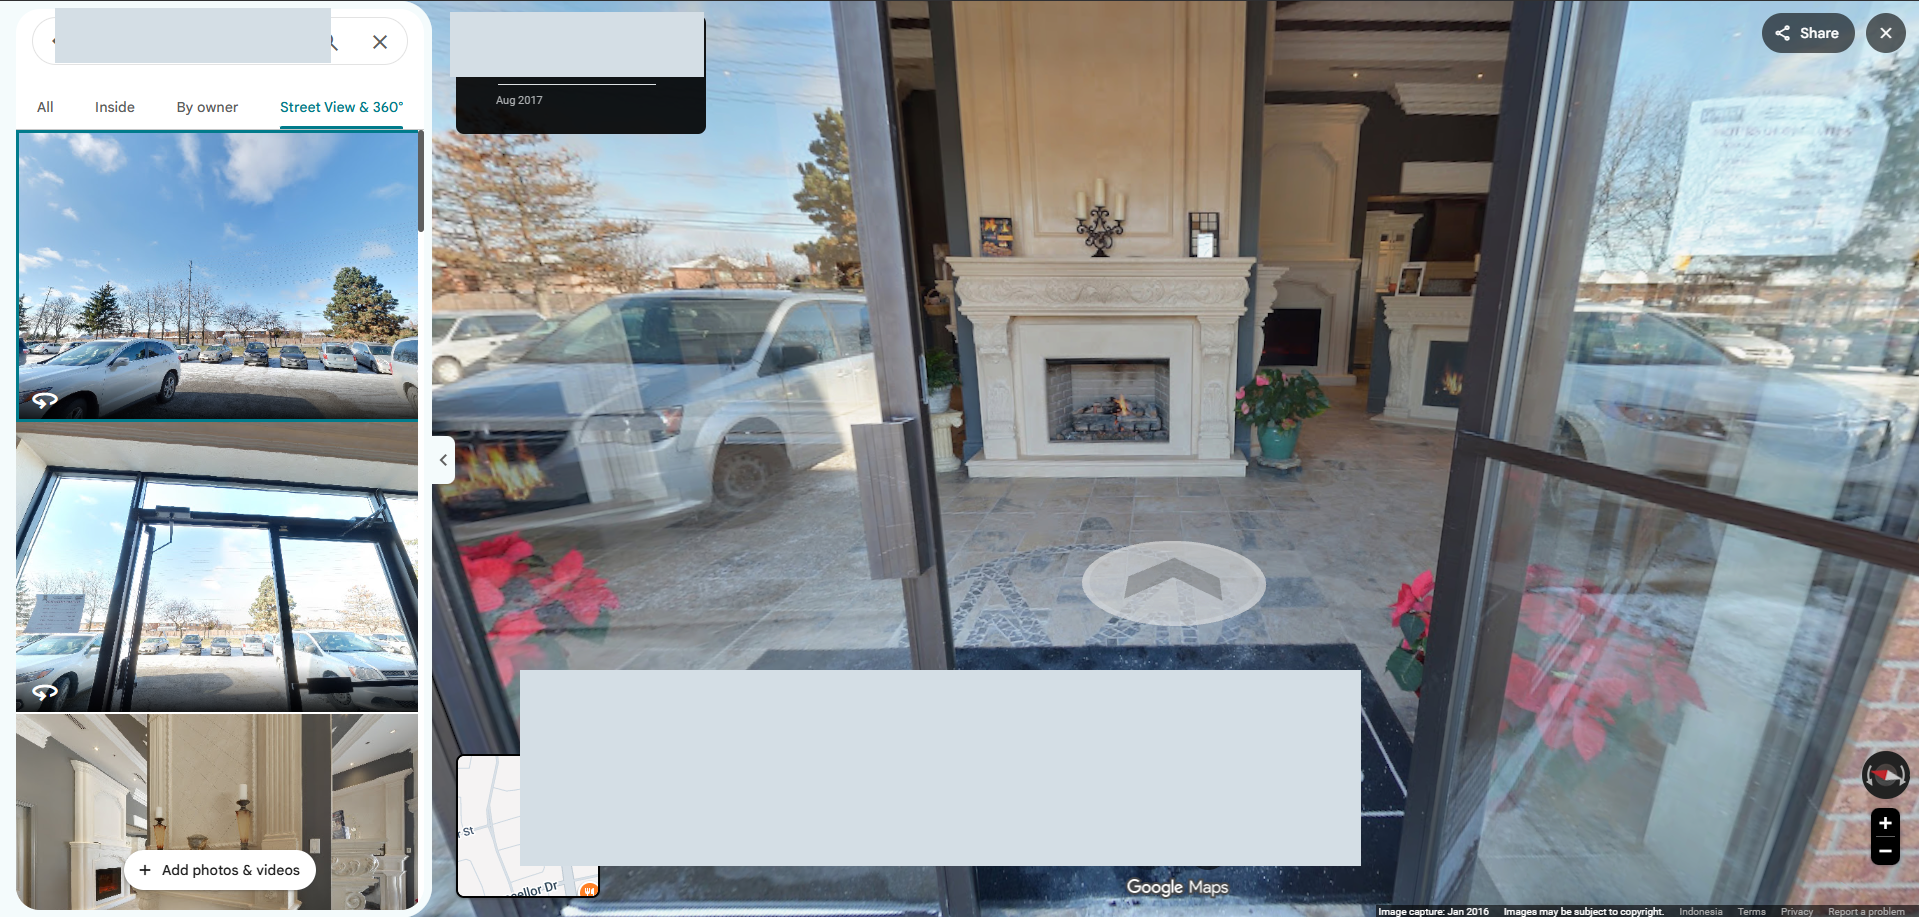
A GoThru status message tells you about the submission workflow. The reader's final check is the actual Street View result on Google Maps.
- Open the intended business or location in a browser and find the published 360 imagery.
- Confirm the place name and map position. Look for a tour attached to the wrong business.
- Enter through the expected opening panorama and follow the route in both directions.
- Test doorways, turns, stairways, and floor changes. Note missing images or arrows.
- Check every public view for private details that escaped the pre-publish review.
- Record the publishing account, date checked, and any needed repairs in the project notes.
Google decides when imagery is processed and how the default view appears. If a connection is missing soon after submission, give the links time to process before comparing the public route with the GoThru project.
Fix problems at the right stage
| What you see | First check | Detailed help |
|---|---|---|
| The tour is attached to the wrong business | Recheck the CID, Place ID, and destination pin | Correct a tour published to the wrong Maps page |
| One or more panoramas are missing | Check publication status and rejected images | Fix rejected panoramas |
| Arrows do not appear as expected | Check processing time, then review links in the connector | Troubleshoot missing arrows |
| A panorama appears on the wrong floor | Inspect its GoThru level assignment | Work with levels |
| An existing published tour needs editing | Return to the project or import the tour, then review and republish as appropriate | Import a tour from Google into GoThru |
If a published route stops at a missing image, open Street View Status in GoThru. Identify the missing panorama, repair it, then test that part of the route again. Follow the missing-image troubleshooting steps if the cause is unclear.
If you need to retrieve published panoramas and do not have the original files, there is an older Google Maps panorama download method. Check that you have the right to use the images and that the method still works before relying on it.
Removing a published tour is a separate decision. Delete the Street View tour in GoThru only when correction is not the right outcome.
Build your connected tour in GoThru
Open GoThru Moderator when you are ready to position and connect panoramas for Street View. For the submission controls after that work, use the step-by-step GoThru Street View publishing instructions.