5 360 Cameras for Google Street View in 2026
Compare 5 cameras for connected still-photo tours and outdoor Street View video. Check the exported panorama, location data and publishing route before choosing.
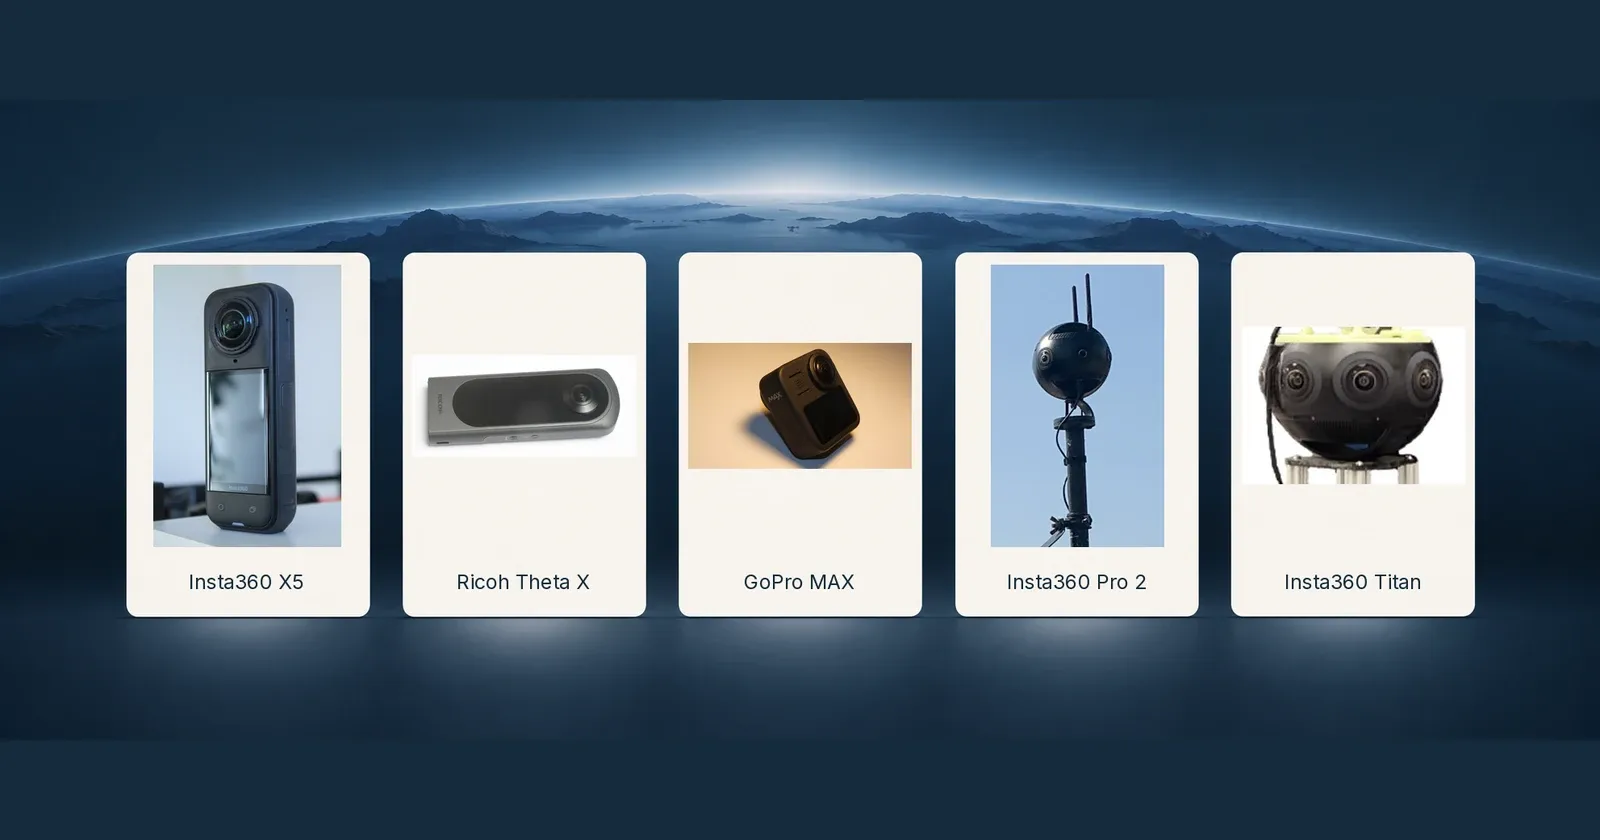
A 360 camera can produce a sharp panorama and still leave you stuck at publication. The file may need stitching, the tour may need links between viewpoints, or an outdoor route may be misplaced. Start with the kind of Street View result you want, then choose the camera and export route that can make it.
This is a research-based shortlist, checked against Google's camera guidance and manufacturer documentation. GoThru hasn't tested these 5 cameras side by side. A model's appearance on a Google camera page isn't a certification of its hardware or a promise that your upload will appear on Maps. Google says it doesn't certify operational or mechanical functions (Google's camera guidance).
Quick take: For an indoor business walkthrough, prioritize clean, exportable 2:1 still panoramas and a way to connect them. For an outdoor route, test the video-to-panoramas handoff in Street Builder, check the route's position in GoThru, then submit the connected tour to Street View. A single Photo Sphere, a connected tour, and a blue-line route follow different publishing paths.
Pick the publishing path first
A single Photo Sphere can be uploaded to Google Maps. If people should move between rooms or viewpoints, the still panoramas must be linked with a third-party publishing tool such as GoThru Moderator. Google's Photo Sphere guide distinguishes uploading individual images from connecting them into a tour. For the broader business case and publishing choices, read Google Street View for Business.
For an outdoor path, GoThru's Street Builder workflow takes 360 video, extracts a sequence of panoramas, and uploads them to GoThru. There, you connect and position the route before submitting it to Google Street View. Google decides whether and when eligible imagery appears as a blue line on Maps. An outdoor route is not an indoor business tour, and a hosted tour on your own website is another deliverable.
If you would rather hire someone to capture the imagery, find and assess an independent Street View photographer before choosing equipment for the job.
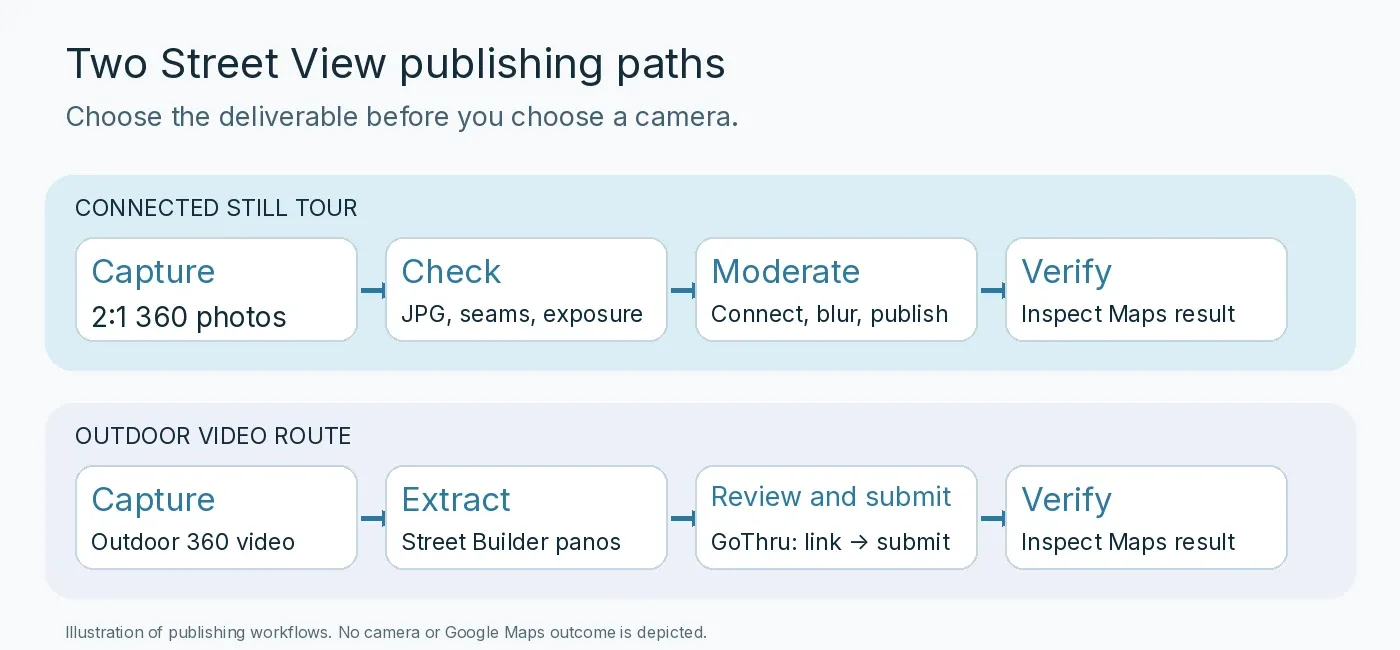
Illustration of the two publishing workflows, not a camera test or a Google Maps result.
| Camera | Consider it for | Output and handoff to check |
|---|---|---|
| Insta360 X5 | Portable stills with an outdoor-video option | Export a full stitched panorama; test the video-to-Street Builder handoff separately. |
| Ricoh Theta X | Connected still-photo tours | Test standard JPEG capture before deciding whether the separate HDR-DNG route is worth the editing time. |
| GoPro MAX | Portable outdoor route capture | Test Street Builder import and route placement for the original MAX, not the MAX2. |
| Insta360 Pro 2 | Planned professional route capture | Budget for stitching and check the resulting video and positioning data. |
| Insta360 Titan | Larger professional production | Verify the field setup, export and location workflow before committing to a shoot. |
These are choices by job, not scores from a comparative image-quality test. Google's Street View contribution page shows all 5 models, including the X5. Its separate camera-options help page lists the other 4 but not the X5. The lists aren't identical. Neither tells you that every mode, firmware version or exported file works without further checks.
Five cameras worth evaluating
Insta360 X5: portable stills and video
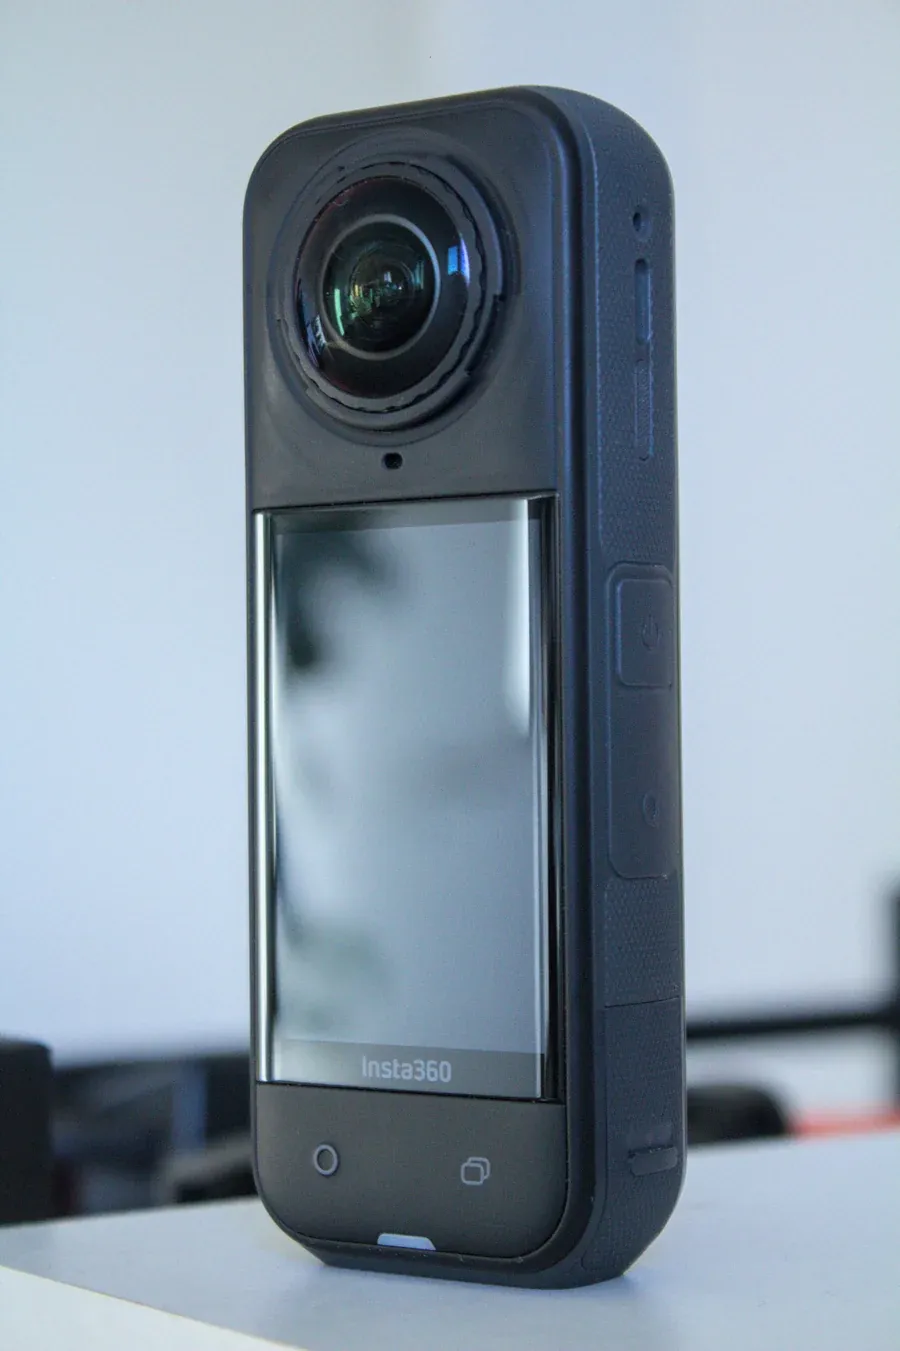
Photo: VlaDexa, "Insta360 X5", CC BY 4.0; scaled for web.

The X5 is a candidate if you need room panoramas and sometimes record outdoors. Insta360 lists a maximum 11,904 × 5,952 photo mode; GoThru's research-based X5 guide separates that still mode from its 8K video claim. The video number does not describe a still panorama or prove that a tour will meet Google's image requirements.
Insta360's file-format guide says its PureShot 360 photos save as INSP and can be exported as JPG in the app or Insta360 Studio. Make a test panorama, inspect windows and close objects at viewing size, then export the stitched 2:1 image you plan to publish. The X5 doesn't have built-in GPS; Insta360 documents location capture through its app or a compatible GPS remote. For an outdoor route, test the exported video in Street Builder and inspect the extracted panoramas and their placement in GoThru. Google's contribution page names the X5, but that listing alone doesn't answer those workflow questions.
Ricoh Theta X: a still-tour candidate
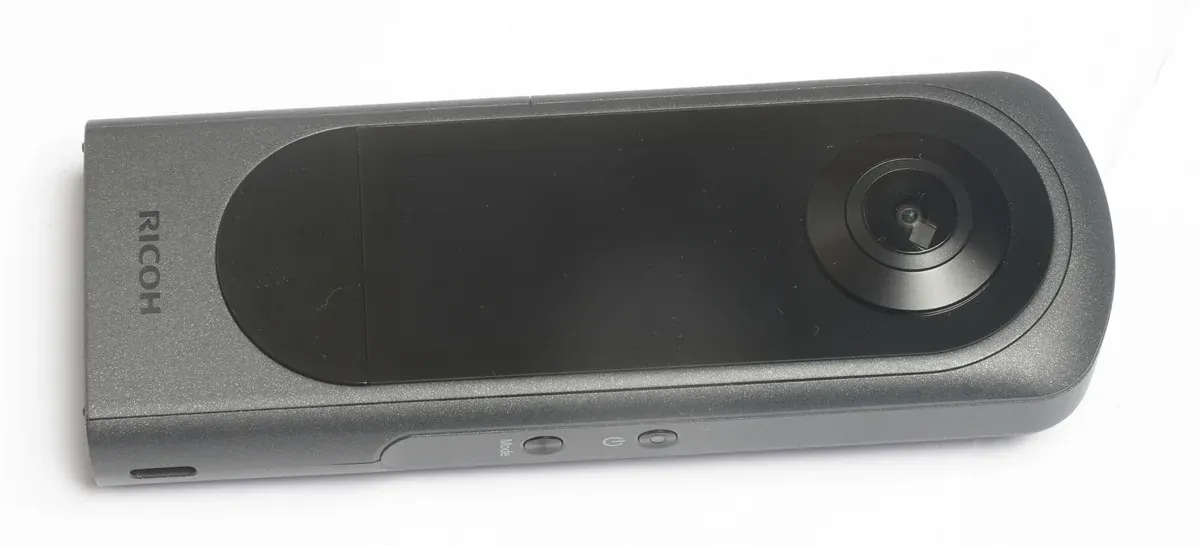
Photo: A.BourgeoisP, "2024-10 - Ricoh Theta X - 02", CC BY 4.0; scaled for web.

The Theta X is useful to examine when the job is a series of connected indoor images. Ricoh documents standard JPEG stills up to 11,008 × 5,504 pixels. It also documents an HDR-DNG plug-in and a separate development and stitching process; the RAW option isn't the default JPEG path (GoThru's source-based Theta X guide).
Try the standard JPEG route in a representative room before planning an HDR-DNG production. Bright windows, seams near furniture and consistent exposure between positions are more revealing than the maximum pixel count alone. Ricoh also documents built-in GNSS, but warns that buildings and indoor locations can obstruct a fix (location settings). Both of Google's checked camera pages name the Theta X, but you still need a finished file and a suitable location for the tour.
GoPro MAX: check the exact generation
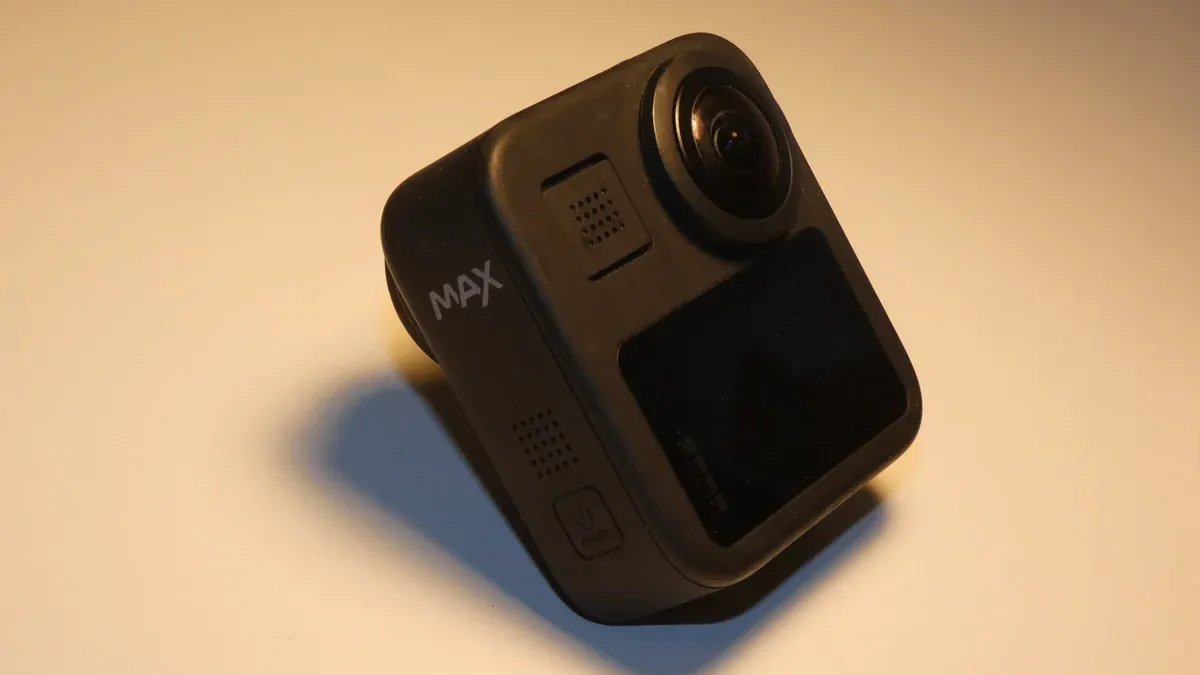
Photo: Rémi Simonnin, "GoPro Max back", CC BY-SA 4.0; scaled for web. This image adaptation is shared under CC BY-SA 4.0.

Google lists the original GoPro MAX on its camera-options page and contribution page. It's a candidate for a portable outdoor route if the current GoPro export can be converted to panoramas suitable for GoThru's Street Builder workflow.
Confirm that guidance for the MAX applies to the device in hand. GoPro describes 16.6 MP stitched 360 stills and 5.6K stitched video; its original MAX manual documents GPS settings. Neither establishes that the resulting export carries usable location data or will import correctly. Test a short clip in Street Builder, inspect the extracted panoramas, and verify their placement in GoThru. A MAX2 specification or tutorial doesn't establish what the older MAX exports.
Insta360 Pro 2: a production route with more preparation
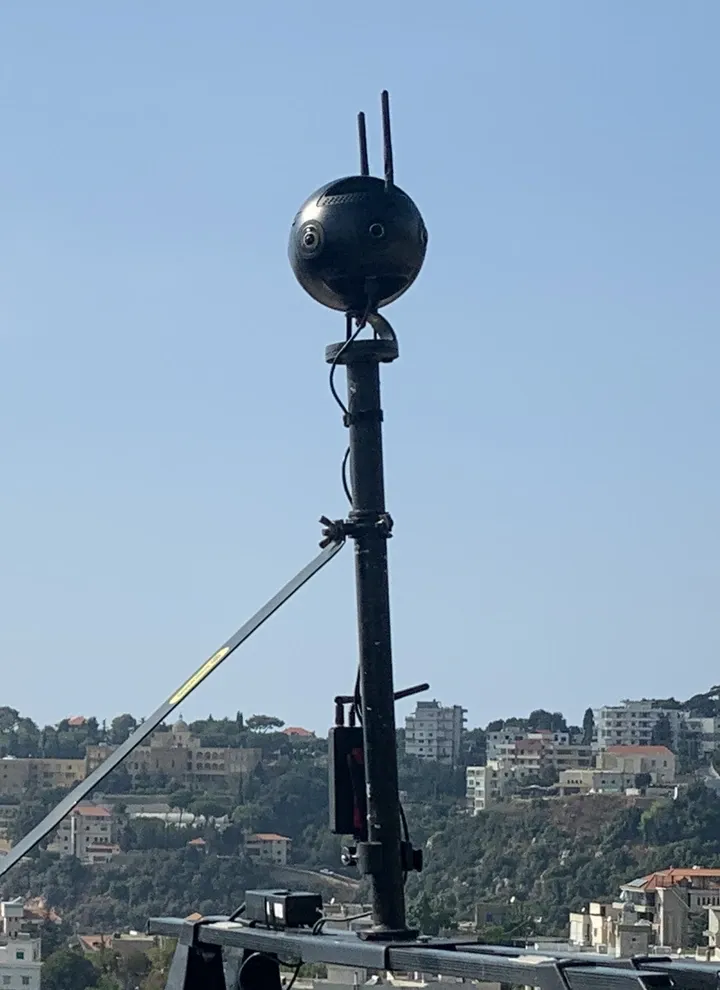
Photo: Cksaad, "Insta360 Pro 2 camera on top of Pau Saad's Car 1", CC BY-SA 4.0; cropped for this section and the hero gallery. The cropped image and gallery adaptation are shared under CC BY-SA 4.0.

The Pro 2 appears on both Google camera pages. Insta360's specification lists 7,680 × 3,840 stitched 2D photos in JPG or DNG; the separate square 3D specification is not the 2:1 image to use for a Photo Sphere. That makes it a relevant candidate for planned capture, provided your team can manage the camera setup and post-production.
Insta360's Pro 2 Street View instructions describe a Stitcher route with GPS-bearing imagery and recommend 8K at 5 fps for video-derived Street View imagery. They call for 2:1 output, video segmentation off and no FlowState stabilization in that manufacturer route. Those settings do not by themselves verify Street Builder compatibility: test a short stitched export, its extracted panoramas, and the route's location in GoThru before committing.
Insta360 Titan: a specialist option
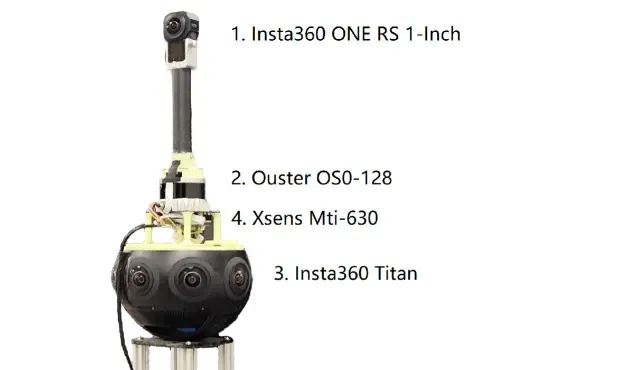
Figure detail: Cao et al., Figure 1, Sensors (2024), CC BY 4.0; cropped to show the Titan on the research rig. No individual photographer is credited in the paper.
The Titan is also on Google's lists. Its manufacturer specification lists 10,560 × 5,280 stitched 2D photos, separate from its square 3D format. Include it in a buying comparison only if a larger production setup is realistic for your work. It isn't a default recommendation for someone who just needs a business-interior tour.
Insta360's Titan Street View instructions describe GPS-bearing output and an 11K at 5 fps video workflow through Stitcher. They also call for 2:1 imagery, segmentation off and no FlowState stabilization in that manufacturer route. Before choosing it for a Street Builder project, confirm the stitching workstation and storage you need, test the export and extracted panoramas, and check the route's location in GoThru. A camera's professional positioning does not give the resulting imagery preferential placement on Google Maps.
Test the still panorama you will actually upload
Google's Photo Sphere requirements call for a 2:1 image at least 3,840 × 1,920 pixels (7.5 MP) and no larger than 75 MB. The guidance also calls out horizon gaps, major stitching errors, blur and lost detail in bright or dark areas. Check the exported file, since a headline sensor or video resolution doesn't tell you the dimensions of the finished panorama.
If you're using GoThru's connected-tour publishing workflow, its documentation asks for JPG images at least 5,300 × 2,650 pixels. That's a requirement for the documented GoThru path, not a replacement for Google's broader Photo Sphere minimum. Test one representative image in the intended workflow before preparing the whole tour.
Indoors, position each panorama where a visitor would naturally stand and keep a clear path to the next one. Google's Photo Sphere guide suggests about 1 m between indoor positions as a connectivity starting point.
For outdoor routes, test the Street Builder handoff
GoThru's blue-line walkthrough describes a route of at least 25 panoramas, spaced about 3–5 meters apart. In its video path, Street Builder slices the recording into panoramas and uploads them to GoThru. You then moderate and connect the route in GoThru before using its Publish to Street View action. This is a panorama-and-tour workflow; don't assume that a camera's video file alone is the final Google Maps upload.
Record a short outdoor test under open sky. Check the stitched footage and the panoramas Street Builder extracts, then confirm the route's positions, sequence and headings in GoThru. Its walkthrough asks for a nearby street address even if the capture has no GPS data, so built-in GPS isn't the only positioning path. Bad location data or a misplaced route still needs correction before submission. You don't need camera-embedded GPS in every still panorama to arrange an indoor tour either; you do need to place that tour at the correct Maps location.
From export to a visible result
For a connected still tour, inspect the JPGs, select the correct Maps place, arrange and link the panoramas, and preview the connections before publishing. GoThru's virtual-tour guide walks through that process with Moderator. If you only need a single Photo Sphere, Google Maps has a separate upload route. For an outdoor route, Street Builder and GoThru provide the video-to-panoramas, moderation and Google Street View publishing workflow.
Before submitting a connected still tour, inspect its panoramas in GoThru Moderator. Mark faces, plates and other private details for blur, apply the blur, then check the result. GoThru's blur guide covers those steps. Google does not automatically blur user-submitted still photos, so make this check before publishing.
Submission isn't the same as a visible, connected result. Google says links between published Photo Spheres may take up to 4 days to process (Photo Sphere guidance). GoThru's blue-line guide says Google's separate blue-line processing may take days or weeks, and eligible contributions may appear as a blue line. Inspect the result on Maps rather than promising a fixed go-live time.
The most useful buying test is one complete sample. Capture it, export it, check its location and file quality, and run it through the publishing route you intend to use. If connected stills are your next job, explore GoThru Moderator's publishing workflow. For an outdoor route or blue-line project, follow GoThru's Street Builder walkthrough and check the resulting Google Maps view.