Best 360 cameras for real estate virtual tours: How to choose
A research-based comparison of Insta360 X5, Ricoh THETA X and THETA Z1 for still-photo property tours.
A good 360 camera for real estate is the one that gives you usable room-by-room still panoramas, with an export process you can repeat across an entire property. Video resolution alone won't tell you whether a bright window, a dark corner or a stitched doorway will look right in a tour.
This guide compares three documented camera workflows: Insta360 X5, Ricoh THETA X and Ricoh THETA Z1. It draws on current manufacturer specifications and export instructions, not a controlled shoot or a hands-on image-quality test. GoThru makes virtual-tour software, so our interest is in what happens after the camera captures a scene. Your choice should still start with sample files from a property like the ones you shoot.
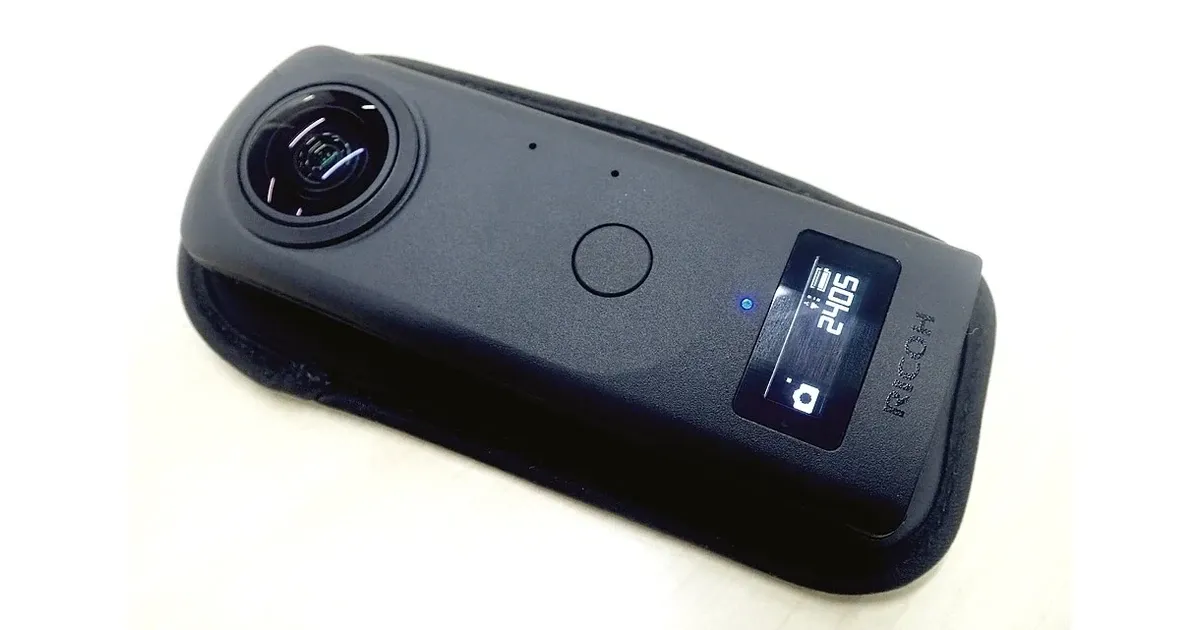
Featured photograph: Ricoh THETA Z1, one of the cameras discussed below. Photo by aomorikuma, CC BY-SA 3.0. Resized to a wider white-background layout; this adaptation is licensed under CC BY-SA 3.0. The photograph is illustrative, not evidence of an image-quality ranking.

Start with the file you need
For a connected still-photo tour, work backward from an exported panorama, not a headline video specification. GoThru's Tour Editor instructions currently call for JPG panoramas at a minimum of 5300 × 2650 pixels. The camera's native file and the image you finally upload may be different. Confirm that you can stitch, export, inspect and transfer a suitable JPG before choosing a camera around a proprietary capture format or a RAW workflow.
Here is the practical distinction between the three models. The descriptions indicate workflow fit, not a ranking of image quality.
| Camera | Still-photo file | Tour preparation |
|---|---|---|
| Insta360 X5 | 360 still in INSP or DNG; some modes can create JPG in camera. | Check the final JPG export in the app or Studio. |
| Ricoh THETA X | Standard 11K still is JPEG. | Transfer and inspect JPG; optional HDR-DNG is a separate plug-in path. |
| Ricoh THETA Z1 | JPEG or RAW (DNG) still. | Use the camera JPEG or develop DNG with Lightroom Classic and THETA Stitcher. |
What matters when photographing an interior?
Check a real room, especially its windows. A published pixel count describes output dimensions, not how well the camera exposes a bright exterior and a dim room in the same frame. Ask for an untouched or clearly documented sample of the still-photo mode you expect to use. Zoom into window edges, corners, mirrors and the point where the two views meet. If you plan to edit exposure, ask for the source capture and a finished export so you can judge the work required.
Decide how much processing you can repeat. An in-camera or app-exported JPEG may suit a fast listing workflow if its result meets your standard. RAW or bracketed capture can provide a different editing path, but it also means more files, a desktop step or a plug-in. The THETA X's standard still format is JPEG, while Ricoh documents a separate HDR-DNG plug-in with a firmware requirement. The Z1 lists both JPEG and DNG in its official specifications. Don't assume all three cameras have the same RAW workflow.
Check the complete shoot, not just one frame. Bring a stable, narrow support and a way to trigger the camera without standing in the panorama. Think about batteries, storage, transfer time, a second floor and the route between adjacent rooms. A camera that makes one appealing panorama but slows down export for every room may be a poor fit for your schedule. See the property-tour creation guide for the larger capture-to-sharing process.
Three camera workflows worth comparing
Insta360 X5: high-resolution 360 stills with an export step
The X5 is a candidate if you want a documented high-resolution 360 still capture and are comfortable finishing its file in Insta360's app or Studio. Insta360 lists an approximately 11904 × 5952 360-photo option on the X5 product specification. Its X-series file-format guide distinguishes an INSP camera file from an exported JPG and says DNG export is available through Studio. Depending on settings, in-camera stitching can also produce JPG. Verify that the selected photo mode and final JPG dimensions meet your particular tour destination's requirements.
The practical question is how the export looks after you bring it into your actual workflow. Test one window-facing room, inspect the seam and time the path from capture to a tour-ready JPG. A 72-megapixel listing does not, by itself, establish that the X5 has the best indoor image among these cameras. GoThru also has a model-specific Insta360 and Street Editor walkthrough if that capture path is relevant. It is not a promise that every camera connects directly to the app.
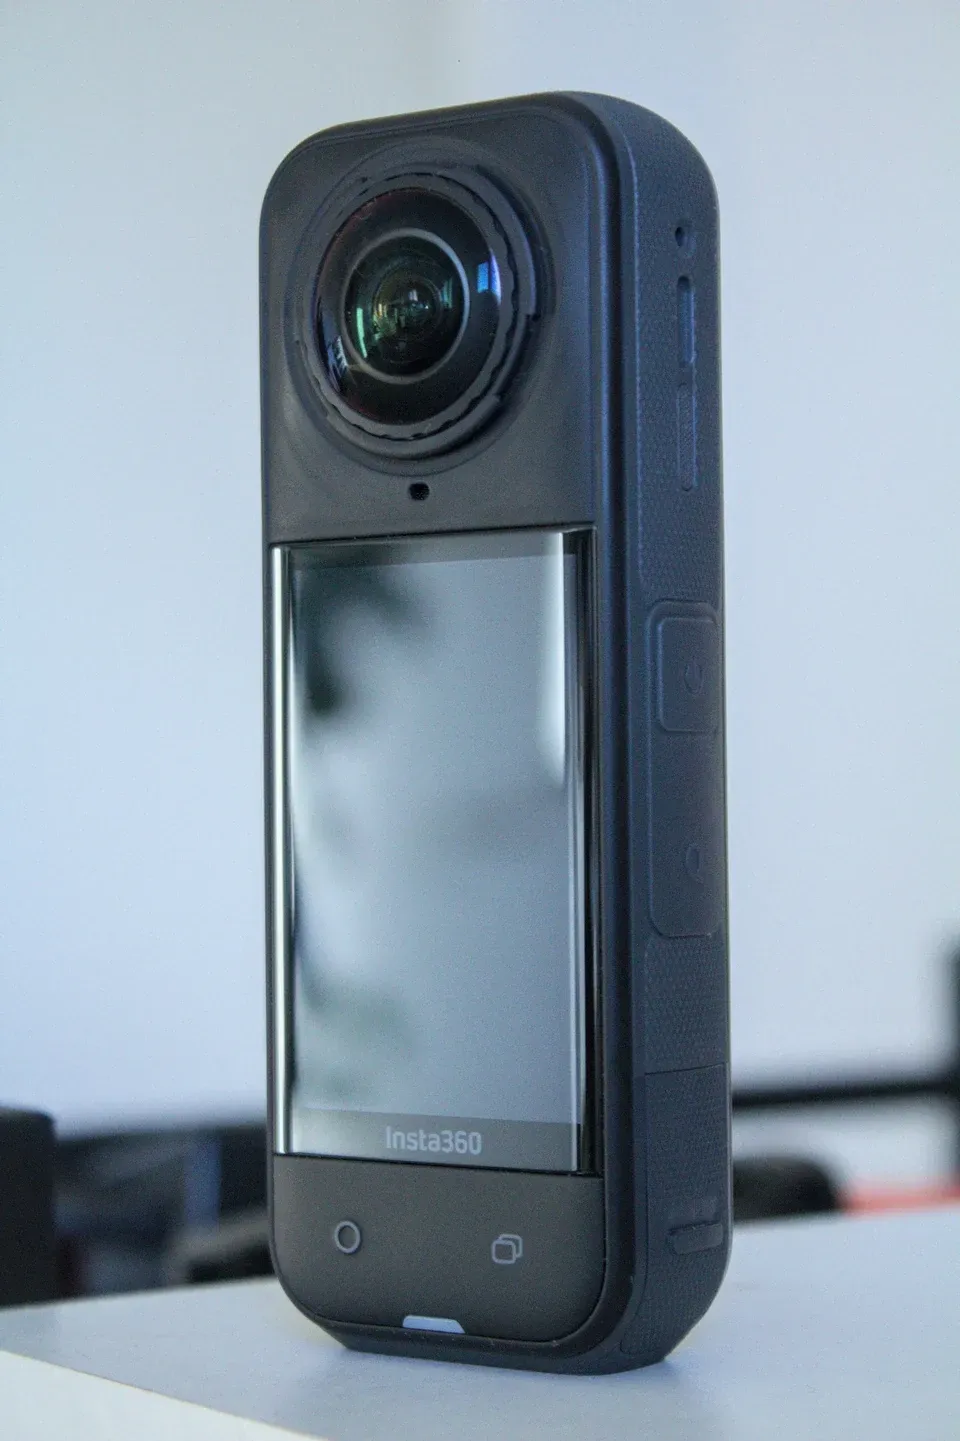
Insta360 X5 photograph by VlaDexa, CC BY 4.0. Resized from the Commons image.

Ricoh THETA X: standard 11K JPEG capture
The THETA X is a useful option to investigate if you prefer a camera whose standard 360 still is already specified as a JPEG. Ricoh lists 11008 × 5504 for its 11K still, a 5.5K alternative, HDR shooting functions and internal storage with a compatible microSDXC option in the THETA X specification. Ricoh also documents USB transfer to a computer. Check the JPG from your intended HDR or exposure mode before assuming the high-resolution setting alone solves a bright-window scene.
RAW is not the standard output listed in that specification. Ricoh's optional HDR-DNG plug-in calls for firmware 2.61.0 or later and a Lightroom Classic and THETA Stitcher workflow. If that workflow is central to your decision, verify the plug-in, software and sample export on the particular camera before relying on it.
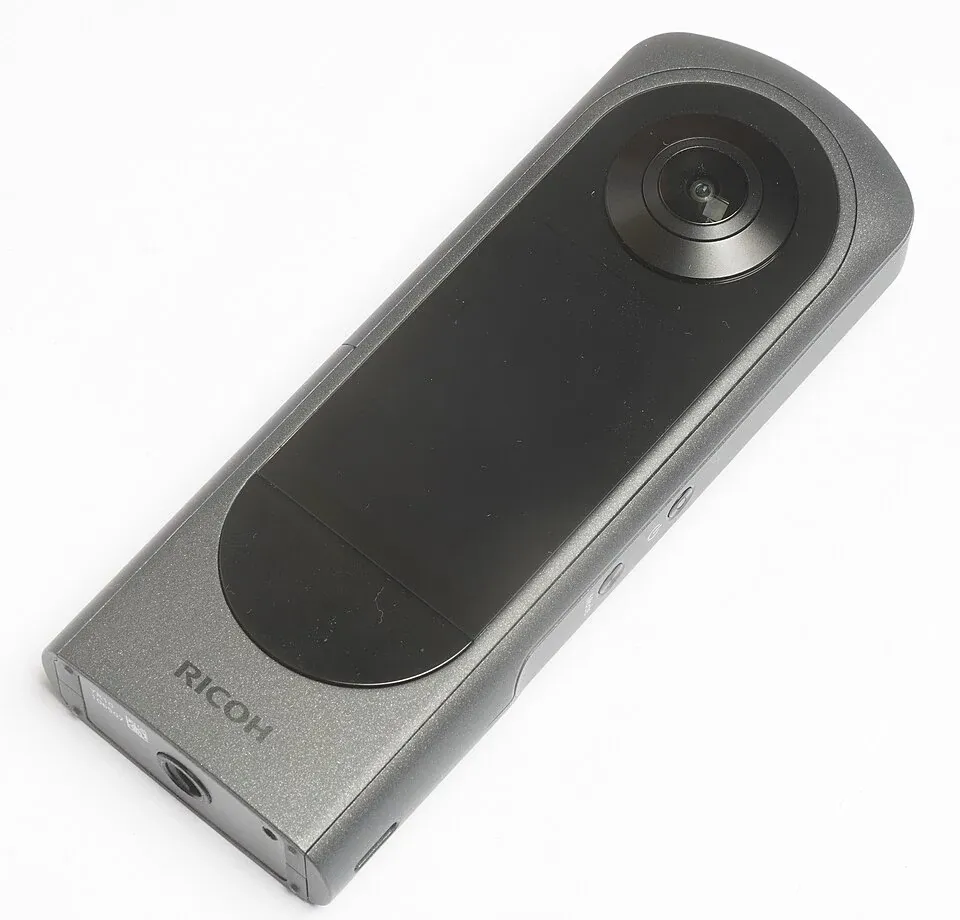
Ricoh THETA X photograph by A.BourgeoisP, CC BY 4.0. Resized from the Commons image.

Ricoh THETA Z1: a documented DNG editing path
Consider the THETA Z1 if you want to compare a camera with a built-in RAW (DNG) still option rather than adding a separate plug-in for that capture path. Ricoh's Z1 specification lists 6720 × 3360 JPEG and 7296 × 3648 RAW files, plus two 1.0-inch-type sensors. The Z1 and Z1 51GB versions have different internal storage capacities. Ricoh's RAW development guide describes a Lightroom Classic and THETA Stitcher route to a finished image.
That flexibility does not make every Z1 image automatically better than one from the X5 or THETA X. Compare finished interior panoramas under consistent conditions. If you already own a Z1, first check your battery, storage capacity, current app and plug-in access, then export a sample before shopping for a replacement. Availability of a new or used unit varies and is not the basis for this recommendation.
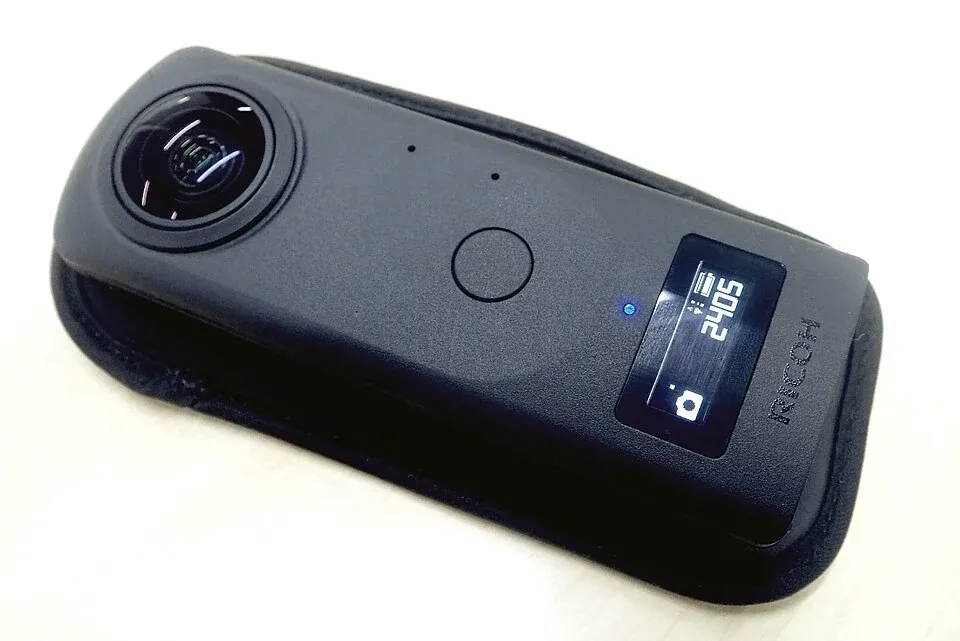
Ricoh THETA Z1 photograph by aomorikuma, CC BY-SA 3.0. Resized adaptation licensed under CC BY-SA 3.0.
For other model-specific research, browse the GoThru camera directory. Its articles offer context, not a substitute for a current manufacturer export guide or a like-for-like property shoot. Publishing to Google Street View instead of building a hosted property tour? Read the separate 360-camera guide for Google Street View for its platform-specific camera and publishing checks.
A minimal real-estate 360 camera setup
Before a full property session, choose one representative room with a bright window and a doorway. Put the camera on stable support near a natural viewing height. Remove private paperwork and confirm permission to photograph the space. Capture a still from a position that makes sense for the eventual tour, then step clear and trigger it without remaining in view. Review the image for reflections, seam placement and exposure before repeating the setup in every room.
Keep the path between rooms in mind while shooting. Place adjacent panoramas where a visitor would expect to move, including both sides of an important doorway. Save a copy of the exported JPG and verify its dimensions. If you use a model-specific connected capture app instead, follow that app's current instructions rather than assuming the file-import sequence and the direct-camera sequence are identical.
From camera files to a connected tour
The camera captures a scene. Its software may stitch and export the panorama. A tour builder then takes the prepared scenes and connects them so visitors can move around the property. These are separate checks, and a successful camera export does not prove a finished hosted tour.
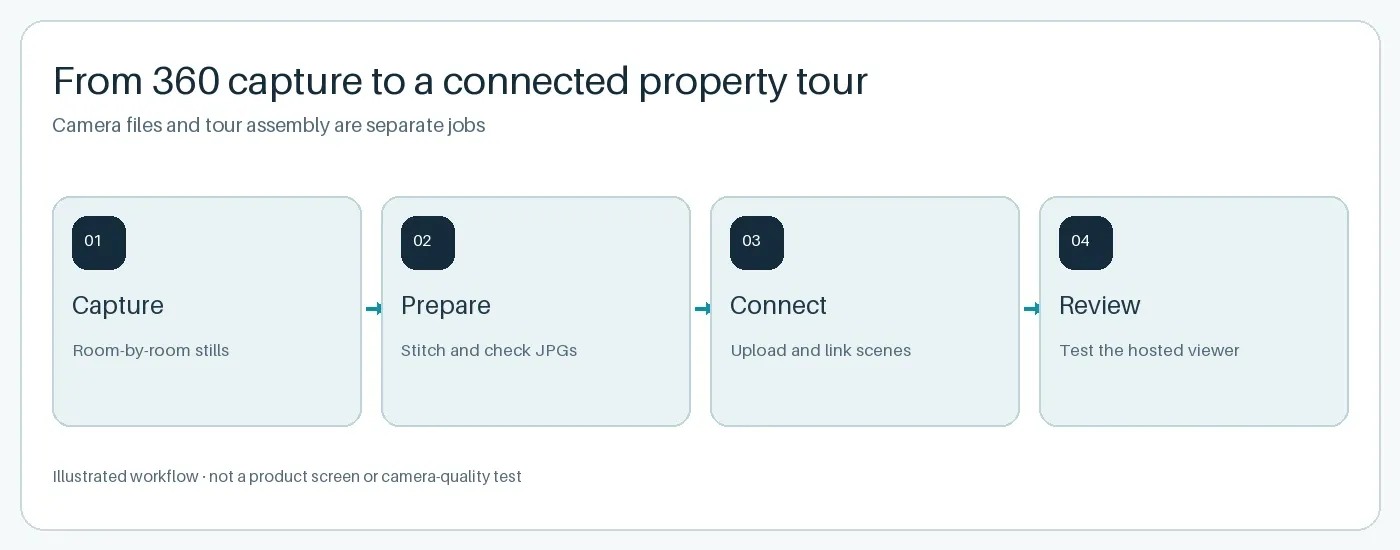
Illustrated workflow, not a screenshot of a camera or GoThru interface.
In GoThru's Tour Editor workflow, you prepare JPG panoramas, upload them, link adjacent scenes, customize the visitor experience and activate a hosted tour. Review every room transition in the viewer before sharing. If you're still comparing the software side, read the real-estate virtual-tour software guide and the software comparison for agents. They answer a different question from choosing the camera.
Which camera should you choose?
Choose the file workflow you can sustain and the interior sample you trust. If a documented high-resolution capture and app or Studio export suit your work, evaluate the X5. If you want to examine a standard 11K JPEG route, test the THETA X. If DNG editing is part of your established process, compare the Z1's JPEG and RAW results. None is a defensible overall image-quality winner without a controlled room-by-room shoot, and the best choice may be the camera you already own if its exported panoramas meet your needs.
Once you have suitable panorama files, explore GoThru Virtual Tour Creator to see how you can assemble a connected property tour. Verify your intended file, plan and delivery conditions before committing to a project.