How to create a GoThru 360 video with a logo bumper
The 360 Video create screen is where you convert your virtual tour into a 360 video. You can select multiple panoramas, rearrange panoramas, select the music, and the number of seconds per slide.
It also allows you to add your custom video slide using a panorama or one side of a cube of a panorama, a specified size 1304 x 1304 pixels, or 4096 x 2048 pixels.
Step 1: Create a custom video slide
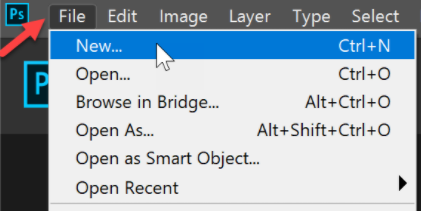
1. Open Adobe Photoshop ->File -> New.
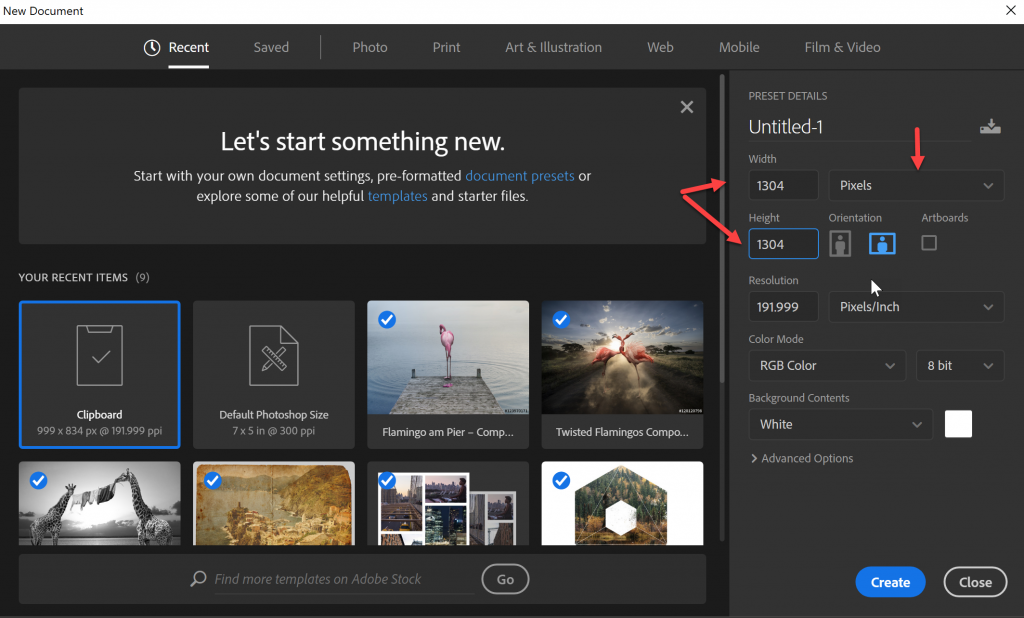
2. Specify the image size: 1304 x 1304 pixels. Then press Create.
3. Add a background (in this case white) and divide each square side by 3 (434), using the Ruler(CTRL+R) in Photoshop :

4. Search online for the company logo and save it on your computer.
5. Drag the logo on top of the square and resize it to fit the rectangle in the middle of the square, in Photoshop.

6. Now make sure the image is centered.

7. Once the image is centered, go to File -> Save as and save it as JPEG.
Step 2: Start creating the 360 video
1. Select a tour and click the Tour Details.
2. On the lift side click on the 360 Video button to start creating the 360 video.

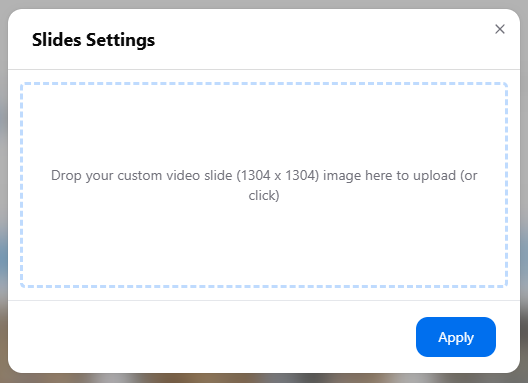
- Select Slides.

4. Drop your custom video slide that you have created – drag and drop a panorama or one side of a cube of a panorama. You can skip this step if you do not want to build a logo bumper and go to the next step in creating the 360 video, where you choose the music and slide time.
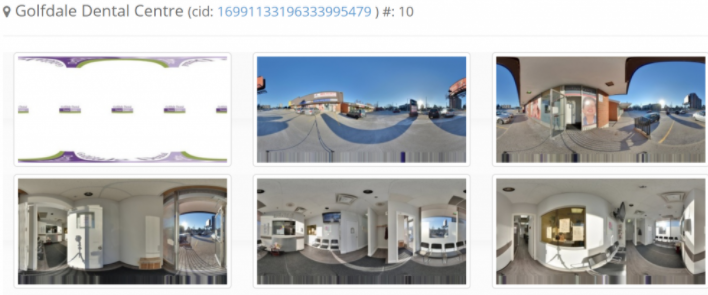
4. Reload the page and you will see the logo listed as a new panorama at the end of the panoramas list.
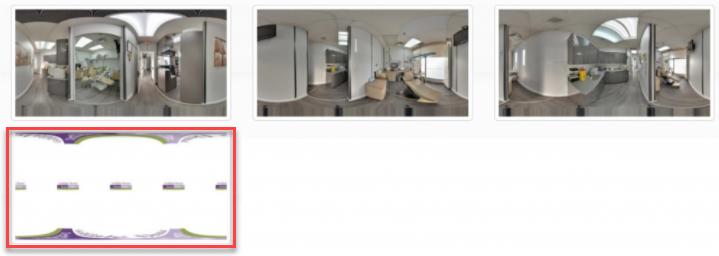
5. Arrange the panoramas in the desired order, using drag and drop, keeping the logo bumper as the first panorama.
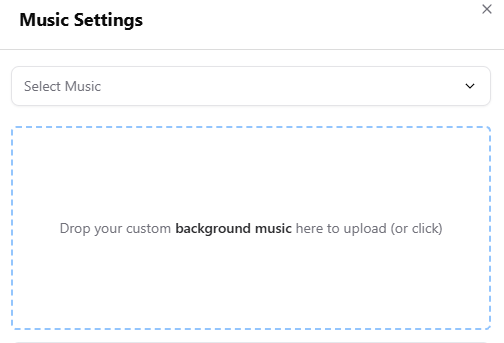
6. Select the background music for the video. GoThru offers a variety of Royalty Free Music, but you could also upload your custom music. Select, also, the time for each slide, in seconds (we recommend 9 seconds for up to 15 panoramas and 8 seconds for 30 panoramas video).
7. Click Create Video for the 360 video to be created on the GoThru servers. It will be part of a queue, so once it will reach its turn and it will be created.

Step 3: Download the video
You will receive an email with a link to download the file, mp4 format. The link is valid for two weeks.
The following is the email example:
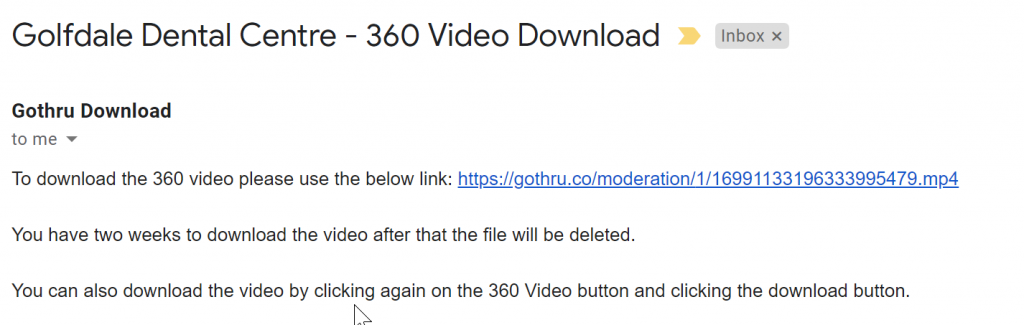
You can also download the video, once it has been created, from GoThru>Tour Details >360 video.
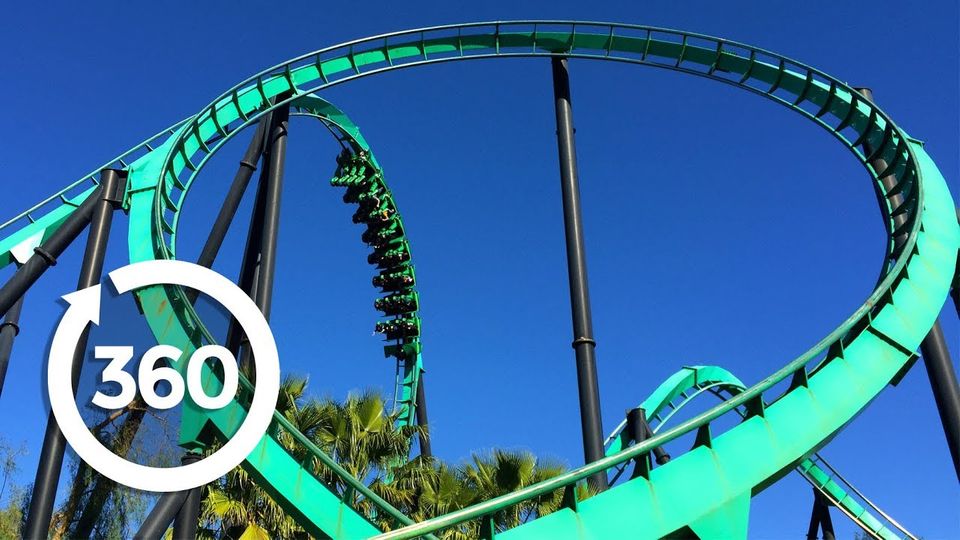
Once the mp4 file will be uploaded on websites that support 360 imagery, like Facebook or Youtube, you will be able to watch the video as the example below.