How to Work with the Carousel Plugin
Carousel is a good choice if you have a lot of important panoramas you don’t want anyone to miss, and a well-made carousel can entice visitors to click through the whole slider. The real estate business may be the best benefited from this carousel as it needs to showcase many rooms in one virtual tour.
In this tutorial, you will find complete steps on how to work with the Carousel plugin.
Step 1: Set up the Carousel
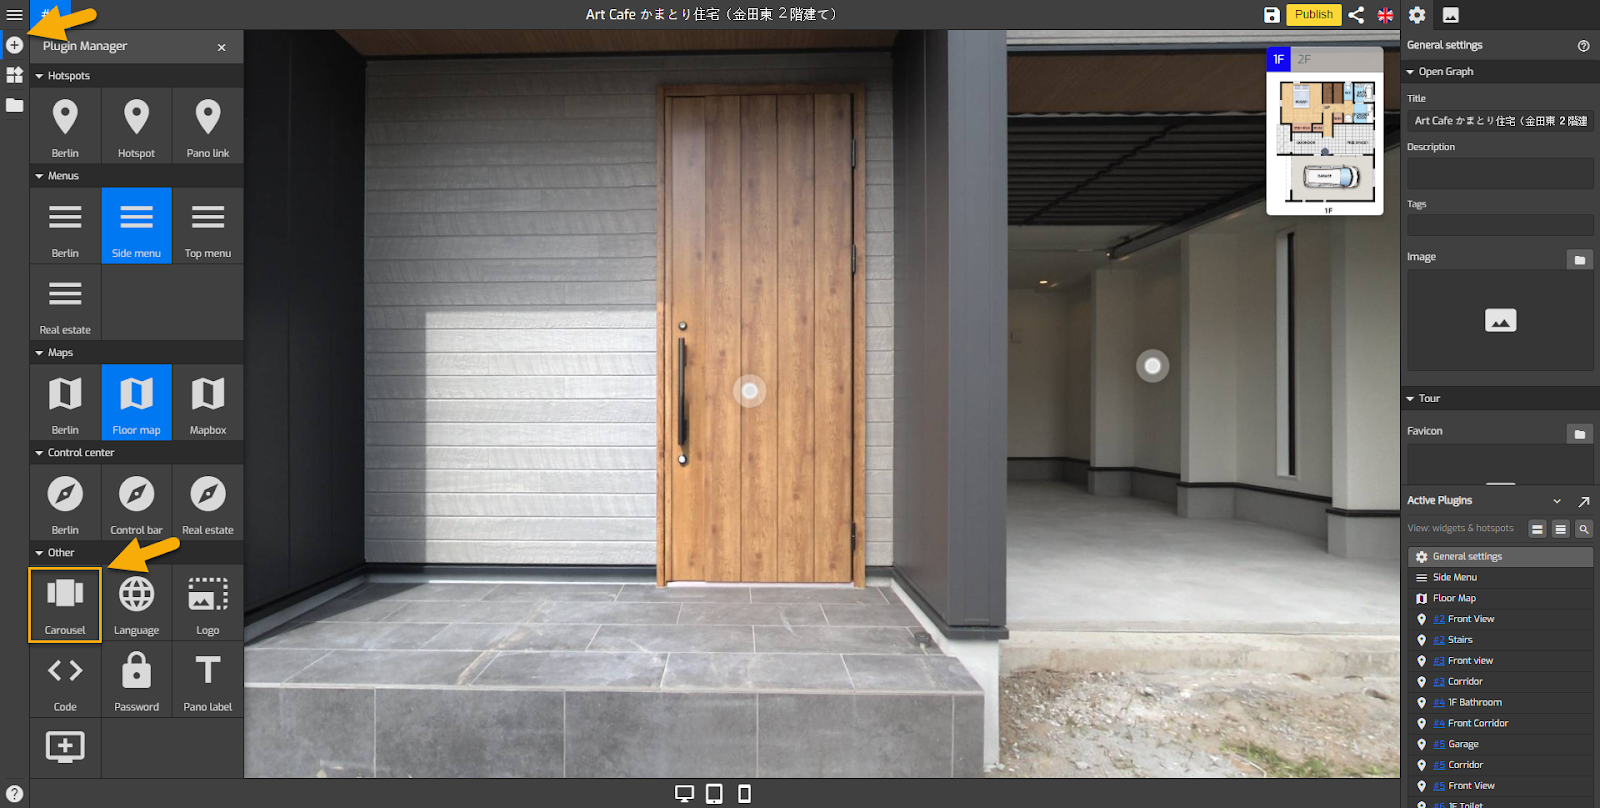
1. Go to the plugin manager on the left and click on the “+” icon and select the Carousel.
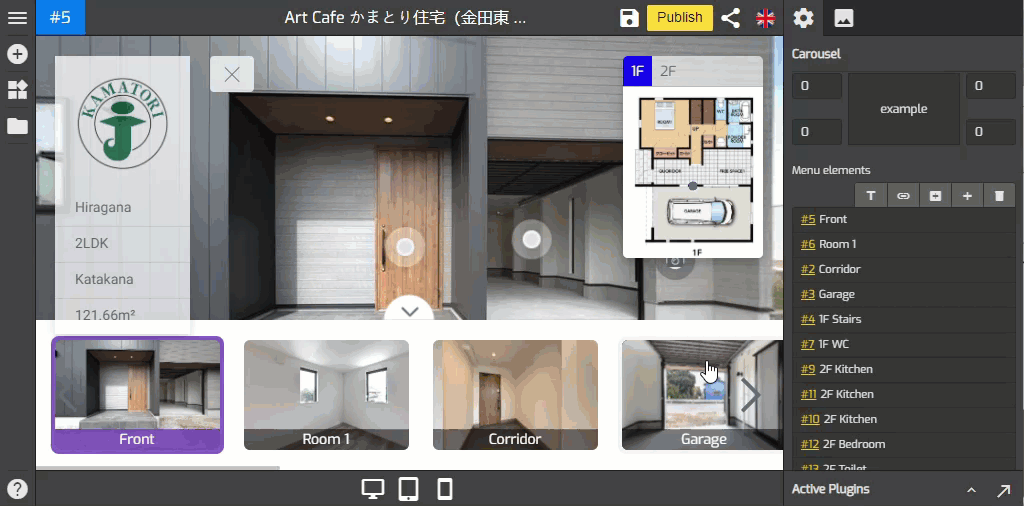
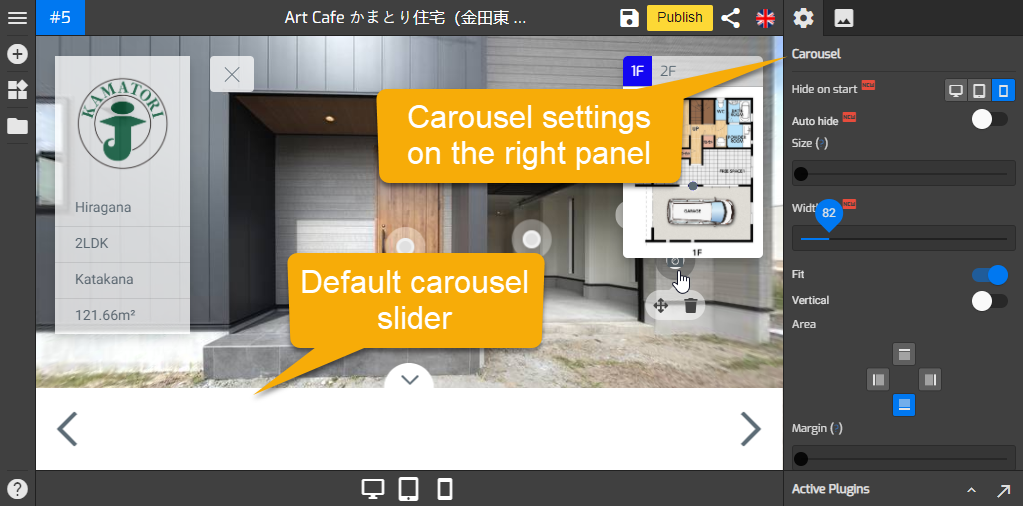
2. The active plugin of the Carousel appears on the right panel and the Carousel slider on the bottom side.
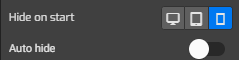
3. Enable the Hide on start and Auto Hide. Hide on start allows you to set a button for when the menu is open and close based on mobile, tablet, or desktop. The Auto Hide feature lets you hide the carousel slider and reappear when you move your cursor over it.
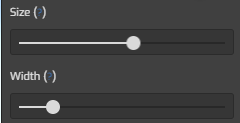
4. Size and Width allows you to enlarge or adjust the size of the width of the carousel. Move the slider to the right to increase the width of the carousel and to the left to decrease it.
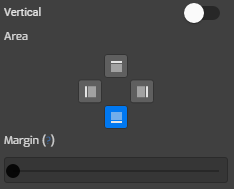
5. Fit and Vertical - The fit function can be used to make the carousel fit the window width and vertical sets the carousel slider to a vertical or horizontal layout.

6. Area and Margin - Select the area for the Carousel position using Area. You can set to the top, the bottom, left, or right side of your screen. Defaults to 'bottom side'. Adjust the margin and you can also set it as vertical or horizontal.
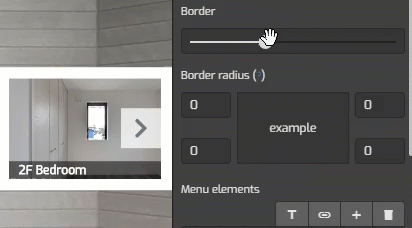
7. Set the border using Border and Increase the value of the Border Radius to make a rounded corner and GoThru Overlay Border Radius will automatically adjust all four corners at once.
Step 2: Add Panoramas to the Carousel
1. To add panoramas to the slider you can go to the menu element.
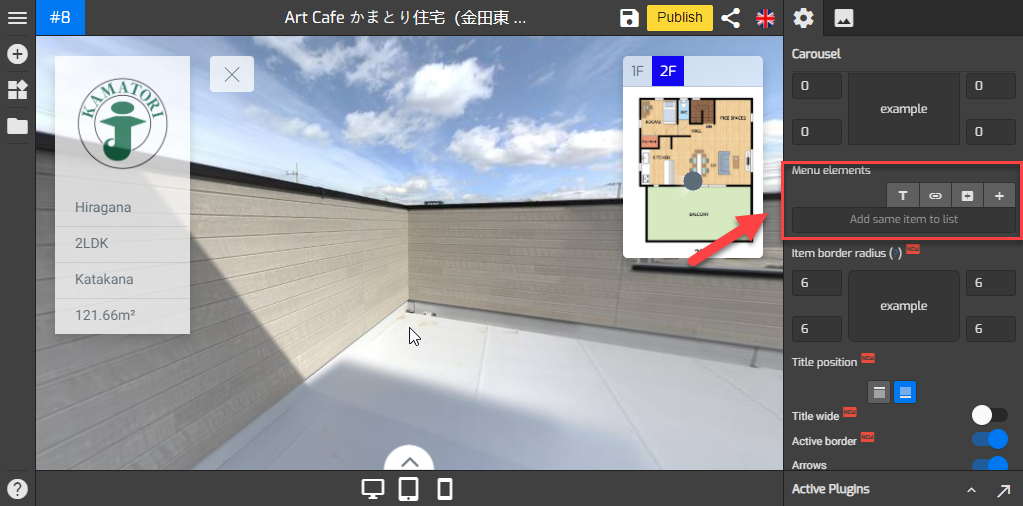
2. Here you can find four options available - Text, Link, All Panoramas, and Active Pano.
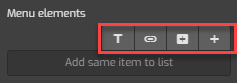
3. To connect all panoramas to the carousel, you can click the solid + button.
4. After that you can enter the name of the entry like in one example below, “Bathroom” is added to the carousel.

5. If you want to connect certain panoramas to the carousel, you can click add the active pano “+” button.

6. To add only active panorama to the carousel slider, you have to open the desired pano then click on the add active pano “+” button as shown in the following example.
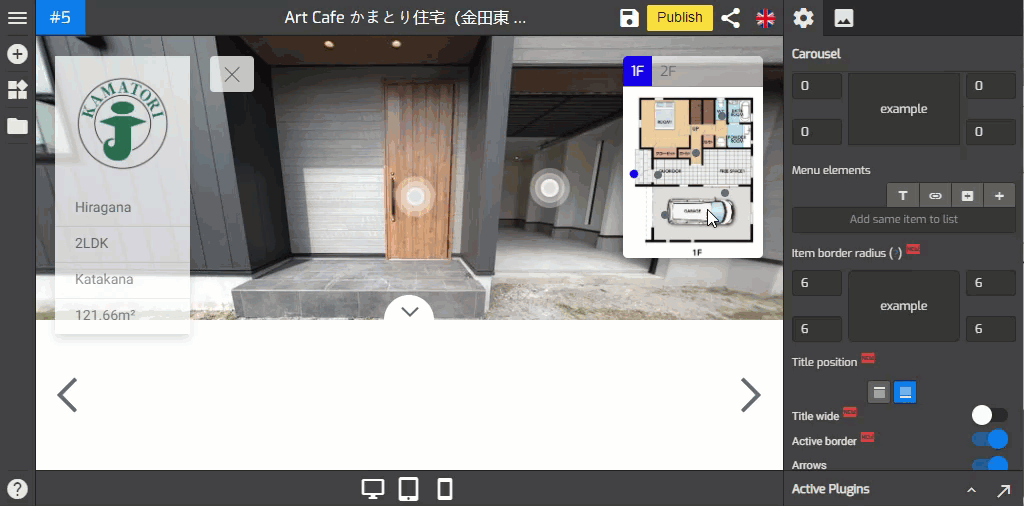
7. After adding all the panoramas to the carousel, you can re-order the position of the Panos on the slider.

Step 3: Change the Style and Colors
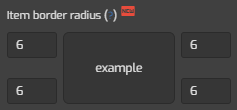
1. Item Border Radius - It rounds the corners of the item`s outer border edge. If the value is 0 the map is in square shape. If you increase the value it will round the edge of the outer border edge.
2. Title Position and Title Wide - Title position controls the position for the title which defaults to 'bottom' and Title Wide changes the title position to the center and covers the image.

3. Active Borders lets you enable the outline or the outer edge border of the active panoramas.

4. Arrows - Set the arrow for "next" and "previous" buttons to “show” or “hide”.

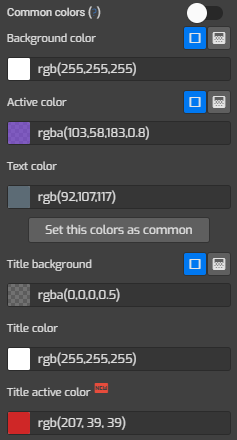
5. Adjust the colors of the carousel using color options on GoThru overlay such as Common color, Background color, Active color, Text color, Title color, Title background, and Title active color.
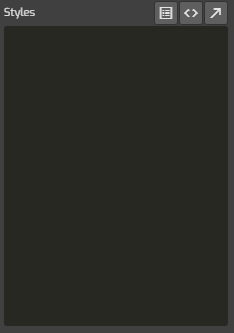
6. Styles at the lower part of the settings allows you to modify Carousel plugin using CSS code. You can copy and paste your codes here then apply some changes to the plugin.
Step 4: Save & Publish
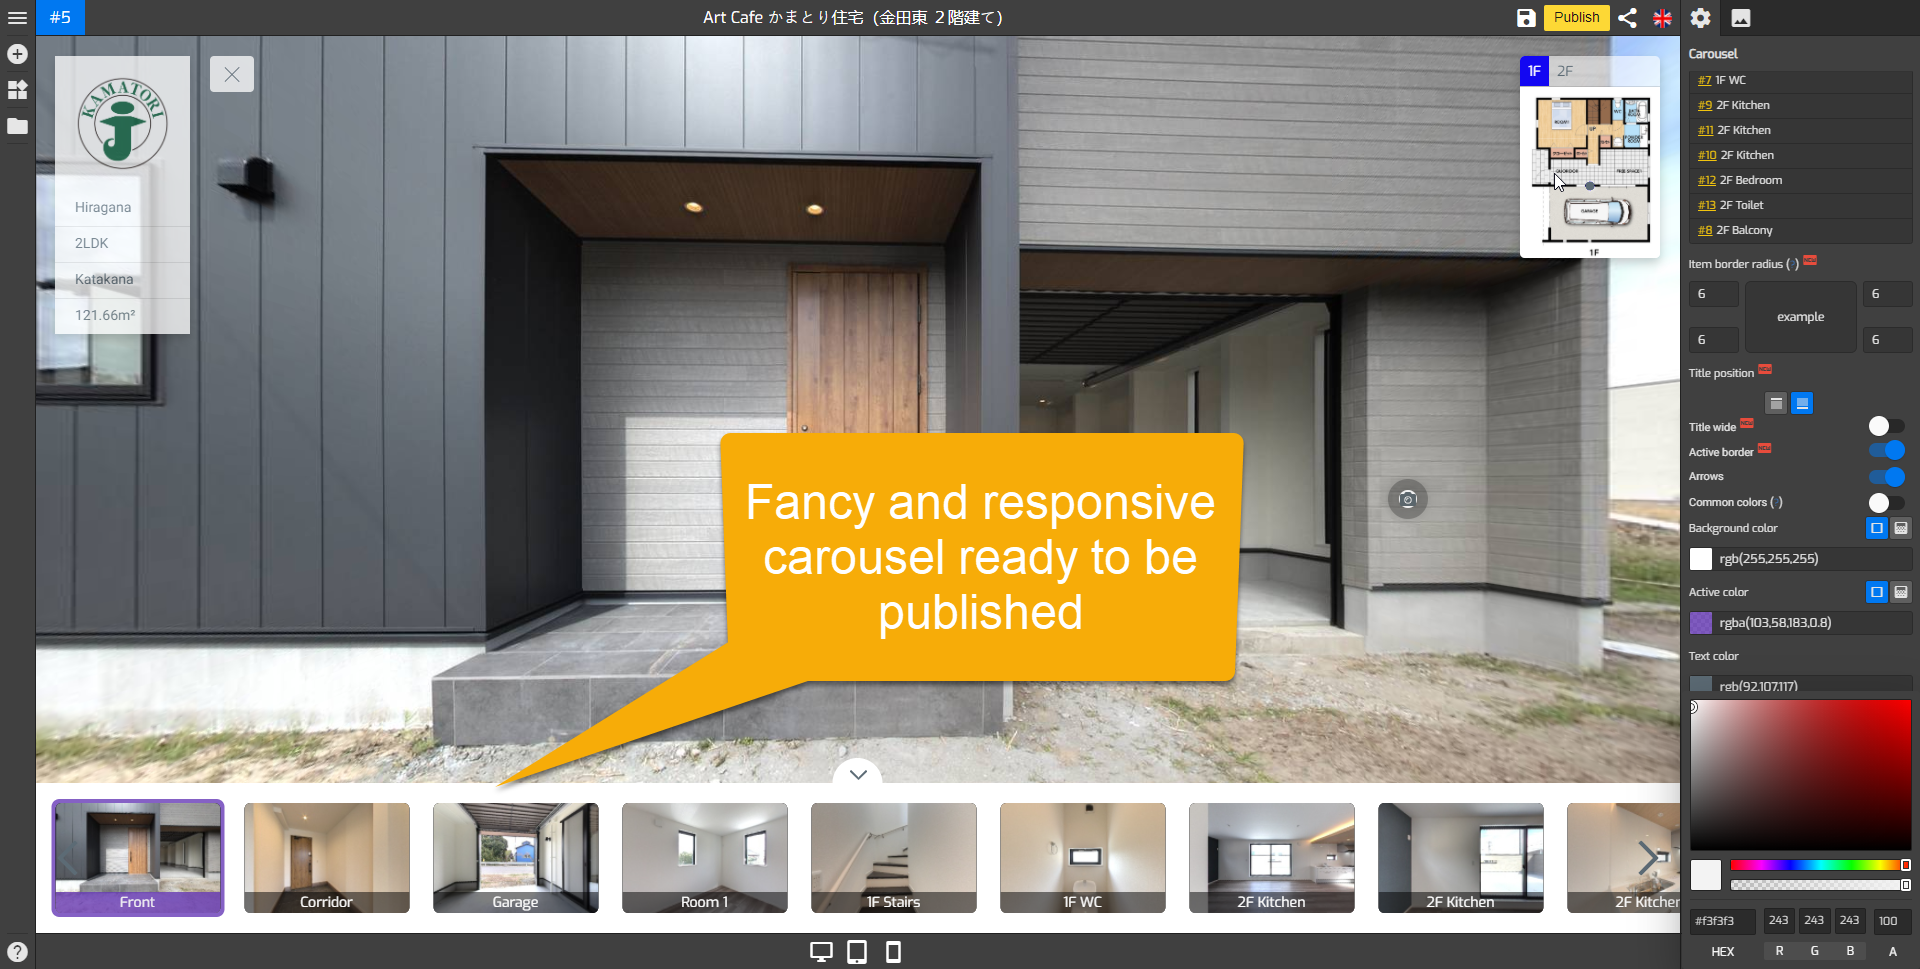
Now you have a fancy and responsive Carousel on your virtual tour. Once you are happy with your carousel setups, just click “save” and “publish” to see the results.