
How to Use Auto Blur to Detect Faces and License Plates in Your Panoramas
Introduction
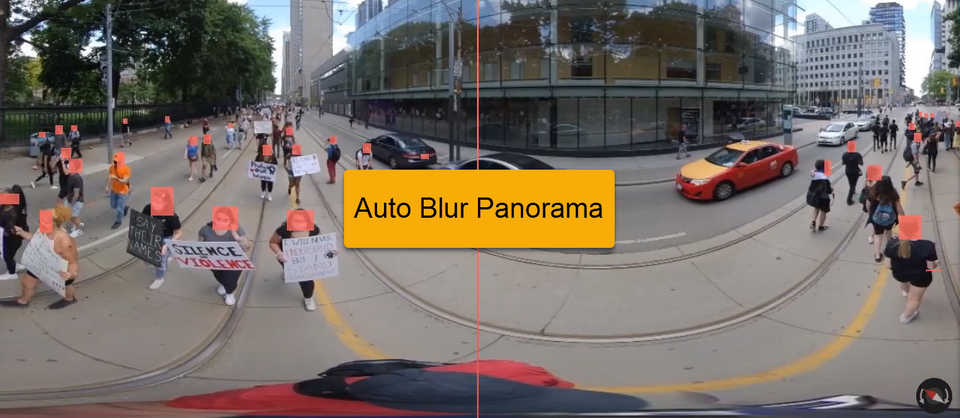
Panoramas published to Google Street View may contain sensitive information, such as human faces and vehicle license plates, that needs to be blurred to protect privacy. Blurring these details manually can be time-consuming, especially when a tour contains many 360 images.
GoThru's AI Blur feature helps speed up this process by automatically detecting and blurring faces and license plates in your panoramas. After the process is complete, you can review the results, remove unnecessary blurs, and add missing blurs manually if needed.
Follow the steps below to use AI Blur in the new GoThru interface.
Before You Begin
- Make sure your tour has been created and the 360 images have been uploaded.
- Review the panoramas you want to process and select the images that need blurring.
Step 1: Open Your Tour
- Log in to your GoThru account.
- Open My Tours from the left-side navigation menu.
- Find and open the tour containing the panoramas you want to blur.
Step 2: Open Anonymize 360 Images
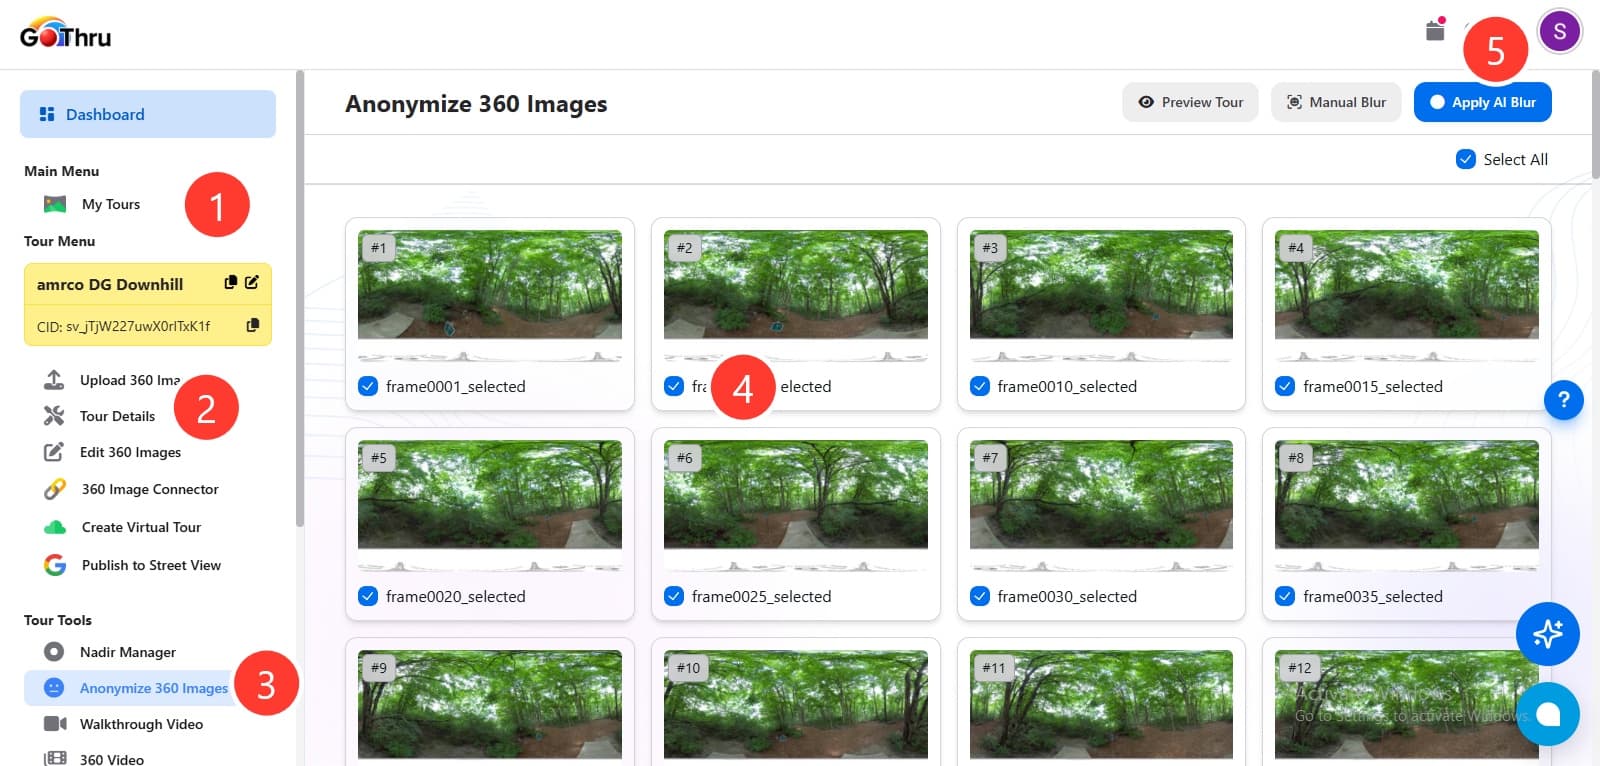
In the tour's left-side menu, select Anonymize 360 Images to access the blurring options.
Step 3: Select the Panoramas
Select the panoramas you want to process. You can choose the images that need automatic blurring instead of processing the entire tour.
Step 4: Apply AI Blur
Choose AI Blur to automatically detect and blur faces and license plates in the selected panoramas.
If a confirmation prompt appears, review it and confirm to start the process.
Step 5: Wait for Processing to Finish
GoThru will process the selected panoramas and apply the detected blurs. Processing time depends on the number and complexity of the images.
Wait until the process is complete before reviewing the results.
Step 6: Review the Blur Selections
Open the 360 Image Connector to review the panoramas and their blur selections.
Panoramas with existing blur selections display a blue badge, helping you identify which images already have blur areas selected.
Carefully inspect the panoramas to make sure faces and license plates are properly covered.
Step 7: Remove Unnecessary Blurs
If AI Blur selects an object that does not need to be blurred, review that selection in the appropriate blur-editing interface and remove it if necessary.
Check the surrounding area to ensure that removing a blur will not expose sensitive information.
Step 8: Add Missing Blurs Manually
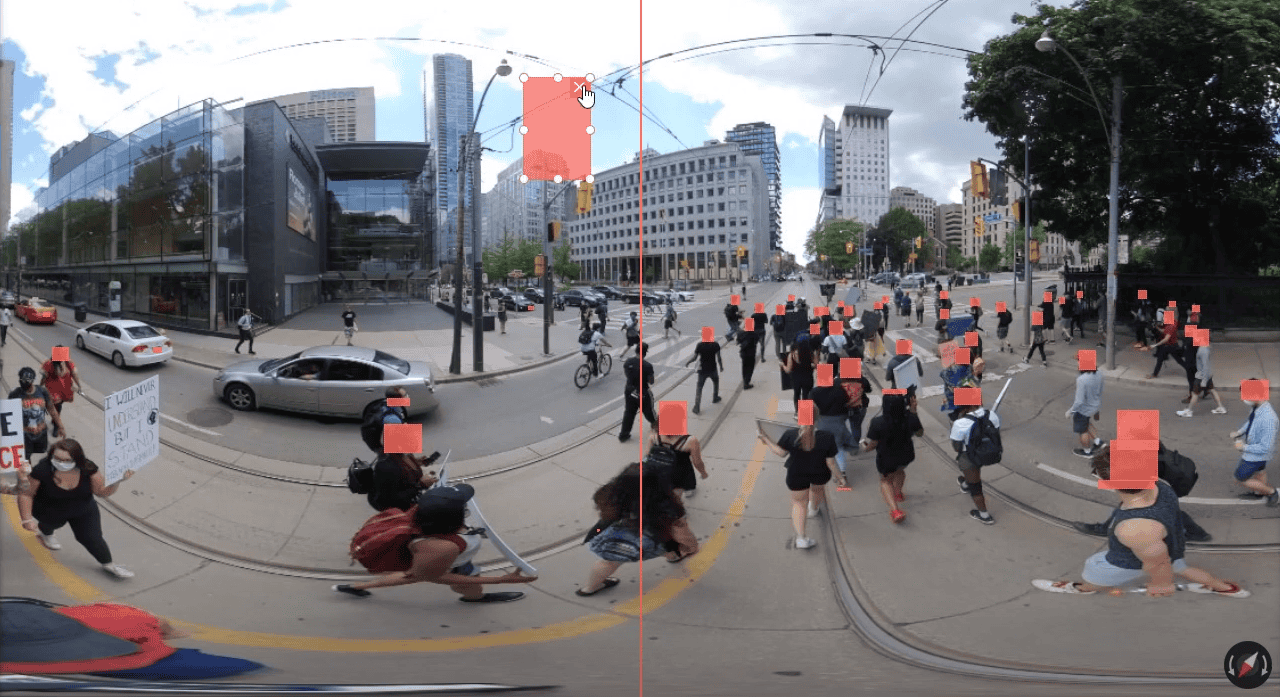
AI Blur may occasionally miss a face or license plate. If you find an unblurred sensitive area, add a manual blur through the 360 Image Connector.
Select the appropriate area of the panorama and create a blur selection. Repeat this process for any other missed areas.
For detailed instructions, see How to Blur Using GoThru Manually.
Step 9: Save and Apply Your Changes
After reviewing the panoramas and correcting any missing or unnecessary blur selections, save your changes and apply the blur selections using the available controls in the current GoThru interface.
Verify the final results before publishing your panoramas to Google Street View

Important Notes
- AI Blur is an automatic detection tool. Always review the results because it may miss sensitive details or blur objects unnecessarily.
- Use the 360 Image Connector for blur selections.
- Check every selected panorama. Make sure all faces and license plates that require protection are blurred before publishing.