How To Create A Walkthrough Video From Your 360 Panorama Images
Walkthrough Video allows you to create a video from the panoramas in your virtual tour that you can easily put on a website or publish it on any social media like YouTube, Facebook or Instagram etc.
So if you're up for the challenge to show off your property’s best features, here are the steps of how to create an eye-catching walkthrough video.
Step 1: Get started
1. Select a tour and click Tour Details.
2. On the left side, click on the Walkthrough Video to start creating the video.

3. It will bring you to the Walkthrough Video create screen where you can start working on your walkthrough video.
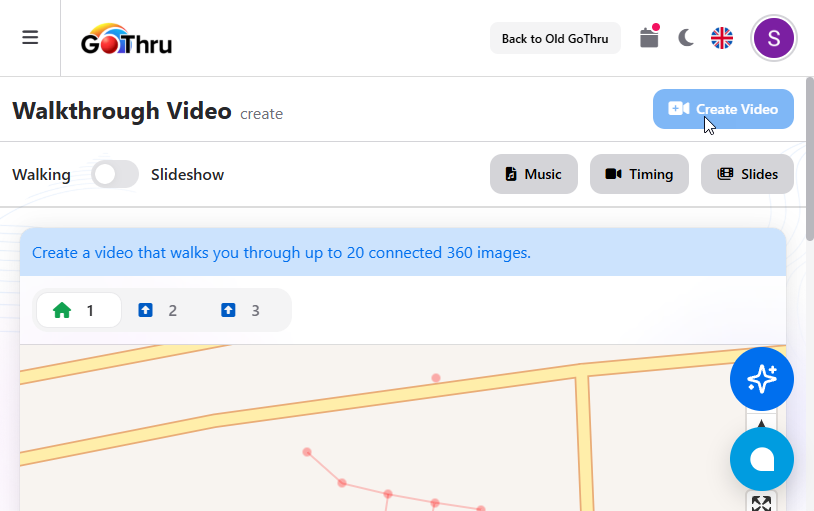
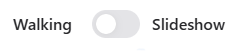
4. In the Walkthrough Video create screen, there are two video options you can create - walking video or slideshow video. Walking creates a video that walks you through connected panoramas and slideshow creates a video that rotates you 360 degrees on each selected panorama. In this case you can select the walking video.
Step 2: Start creating the Walkthrough Video
1. Start the walkthrough video by clicking on the map the first panorama you want the video to start with. Continue the video by clicking on a green dot, which represents a connected panorama with the current selected panorama.

2. By then, the selected panoramas will be added to the film strip where you can remove a panorama from the video or change the panning direction of the panorama.
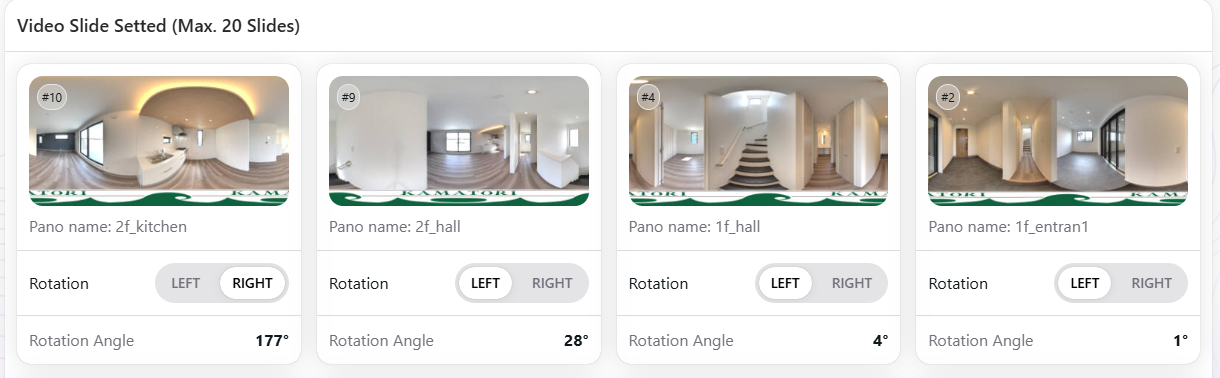
3. If you need to remove a panorama from the video, click on the white trash can in the film strip, which is available only on the last panorama from the film strip.

4. Each thumbnail in the film strip has a left and right arrow. The green arrow represents the direction the video will move to and can be changed by pressing the red arrow.
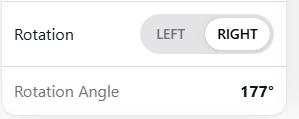
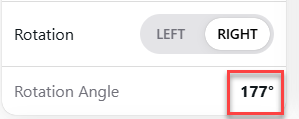
5. Each thumbnail in the film strip has a number between the arrows. This number represents how many degrees the panorama will rotate before jumping to the next panorama.
6. Select the background music by clicking the down arrow then select a music that fits your Walkthrough Video.GoThru offers a variety of Royalty Free Music, but you could also upload your custom music.

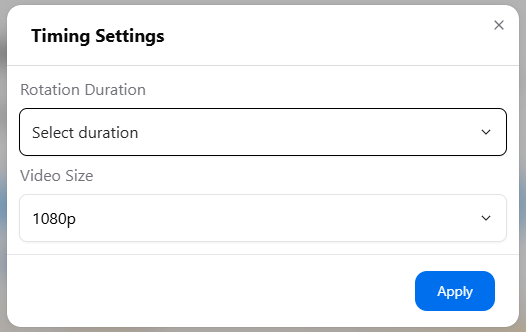
7. Select the duration for one panorama to rotate between 6 and 60 seconds. Select your preferred video size.
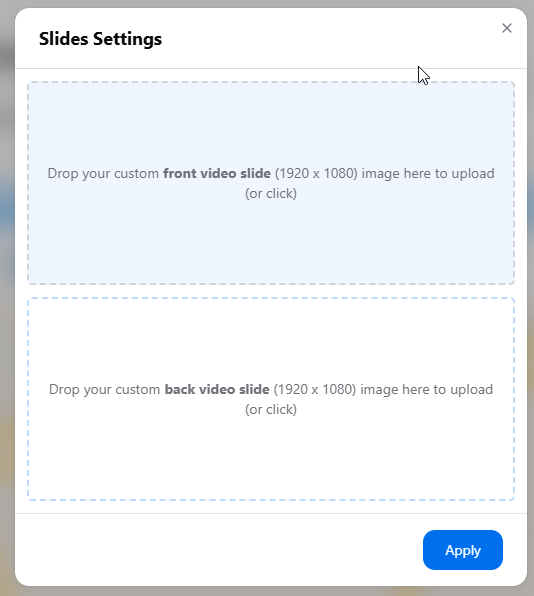
9. It also allows you to add your custom front and back video slide using an image, at the specified size 1920 x 1080 pixels.
10. After completing all of the video setups, click Create Video for the Walkthrough Video to be created on the GoThru servers. Once it is done you will receive an email with the link to the video file.
Step 3: Download and share the video
You will receive an email with a link to download the file, mp4 format. The link is valid for two weeks.
The following is the email example:

You can also download the video, once it has been created by using the download button at the bottom-right corner.
Now you can upload the videos to your social media like Facebook or Youtube, you will be able to watch the video as the example below.