How To Use The Multiple Virtual Tour Function In Overlay Editor
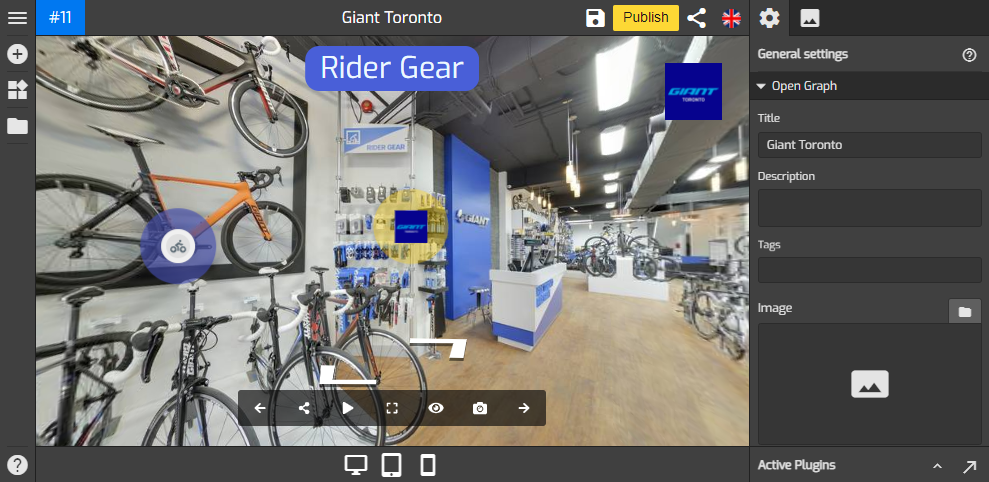
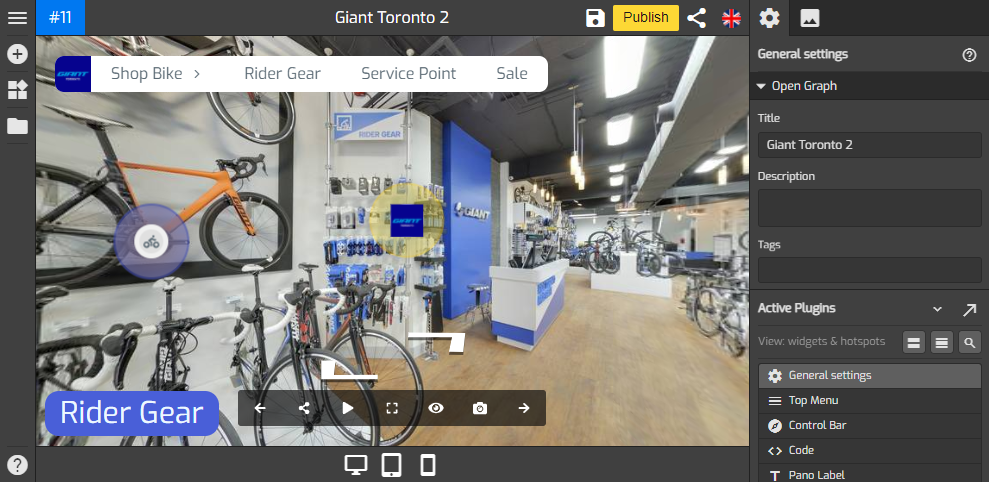
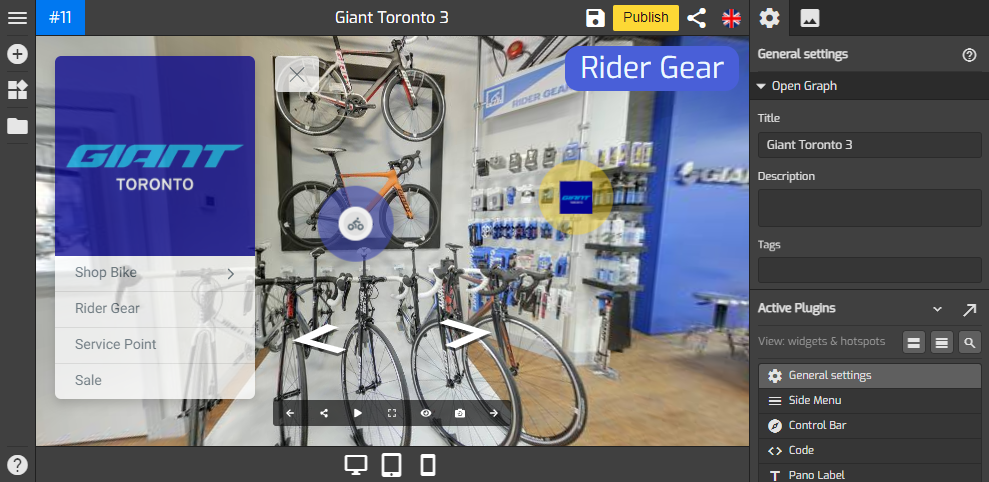
Extending the cloning functionality already in GoThru Overlay Editor that allows you to create different versions of an Overlay, GoThru Overlay Editor now supports multiple overlay functionality. This function gives you more flexibility and allows you among others to create multi overlay versions for one constellation. The best thing is that the original and the new overlay are completely independent to each other. Changes made to the new overlay will not affect the original & vice versa.
How to use the Multiple Overlay Function?
1. From the My Tour, locate the tour that you would like to add a new virtual tour project.

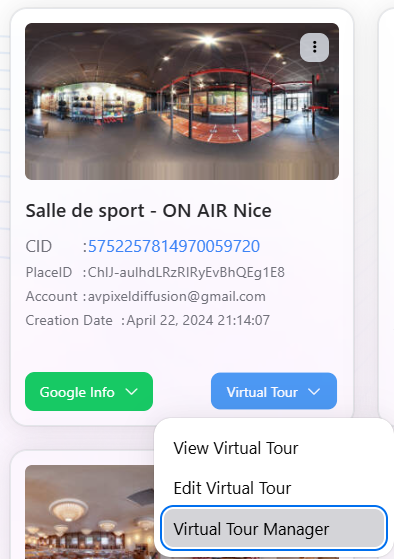
- Over the tour, click on the the dropdown arrow then select virtual tour manager.
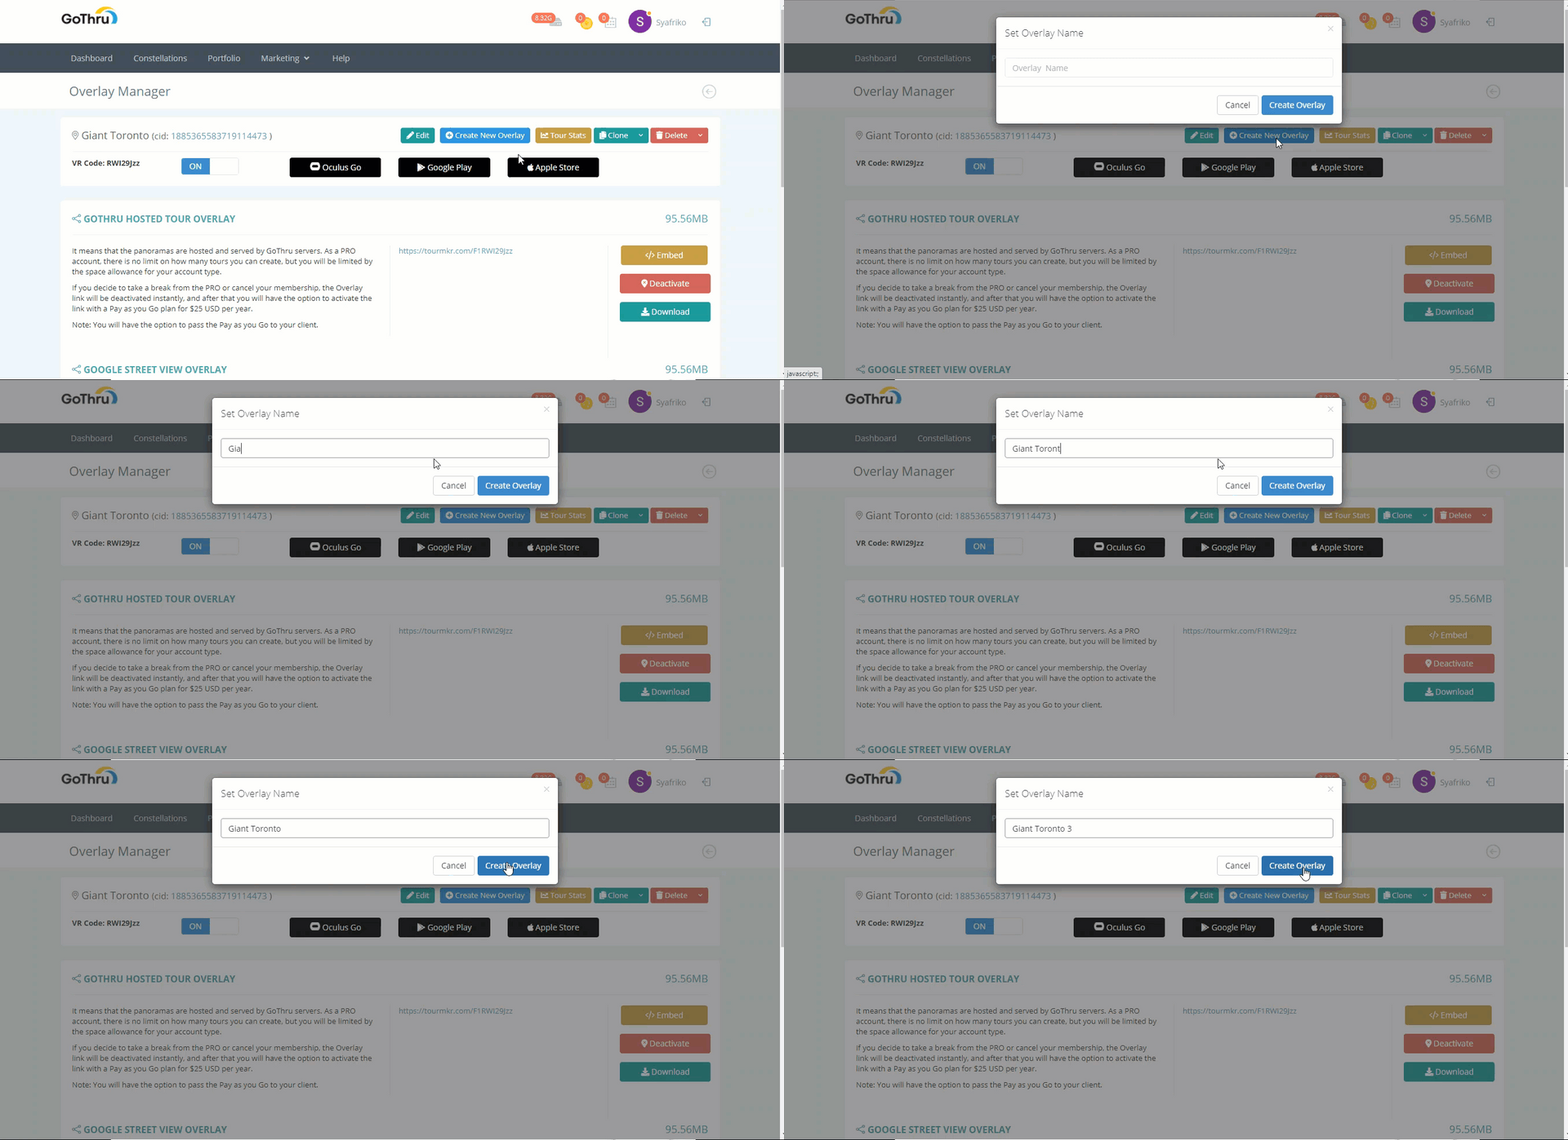
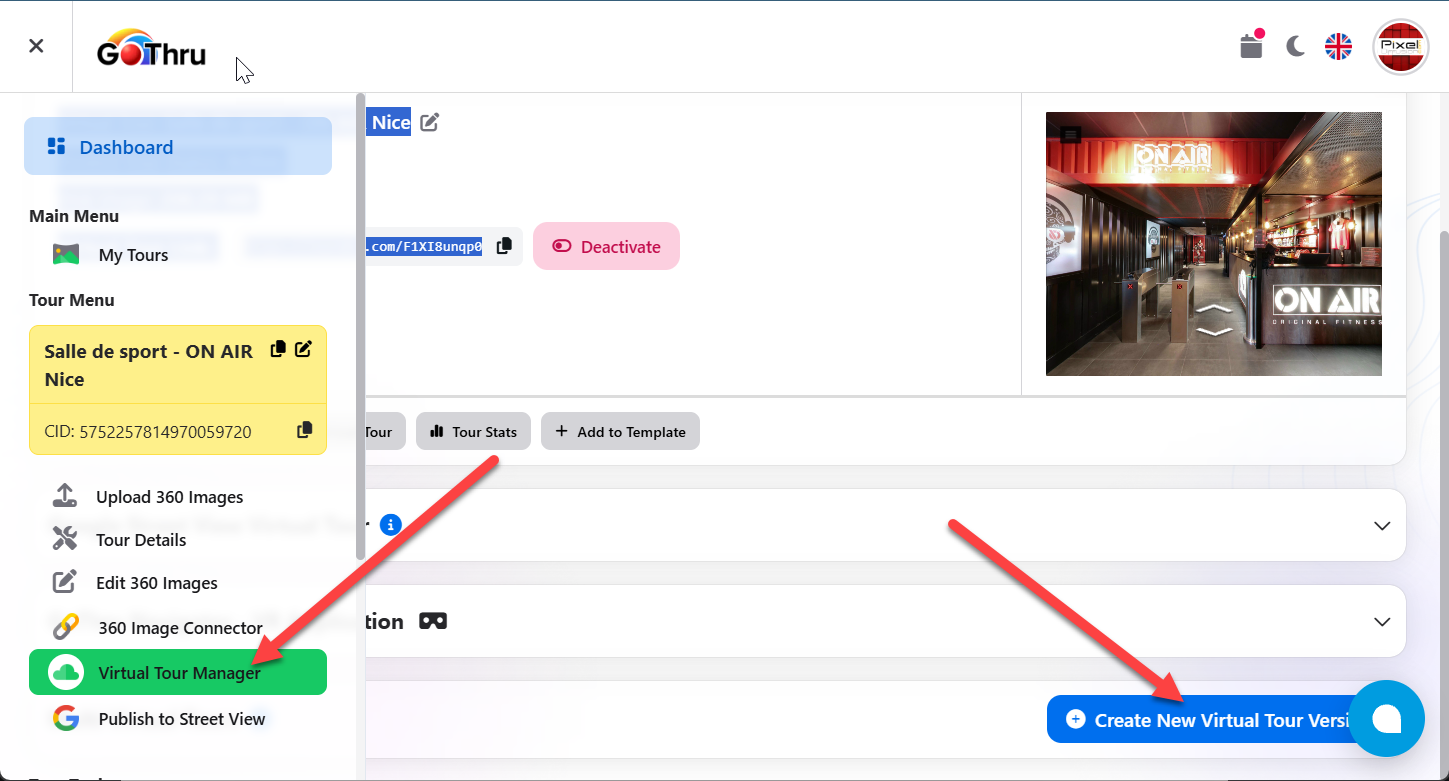
3. In the VT Manager screen, you see the button Create New VT Version. Click on it.
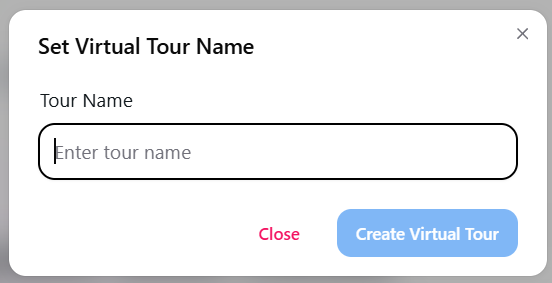
4. Prompt window will open asking you to set the overlay name then click on create virtual tour to verify the process.
5. At the lower part of the VT screen, you see the new VT is added to the VT List. The new VT project is displayed in the Under Multi Virtual Tours with the name you entered in the previous step.
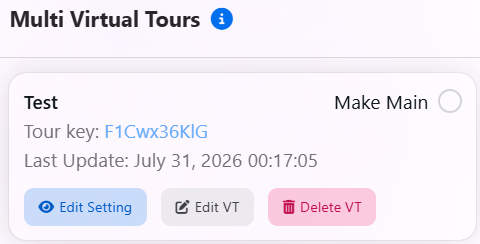
6. To start working on the new overlay project, you can click the Edit Setting button.

7. The tools button will open its VT manager where you can edit the VT, create another overlay from the same constellation, see the tour stats, clone or delete the VT. If you want to start working on the new VT project, you can click the edit button.

8. The edit button directs you to the VT Editor screen where you can start adding different and unique plugins to the new project. The new project also includes all original overlay's plugins but you can delete those plugins without impact to the original.
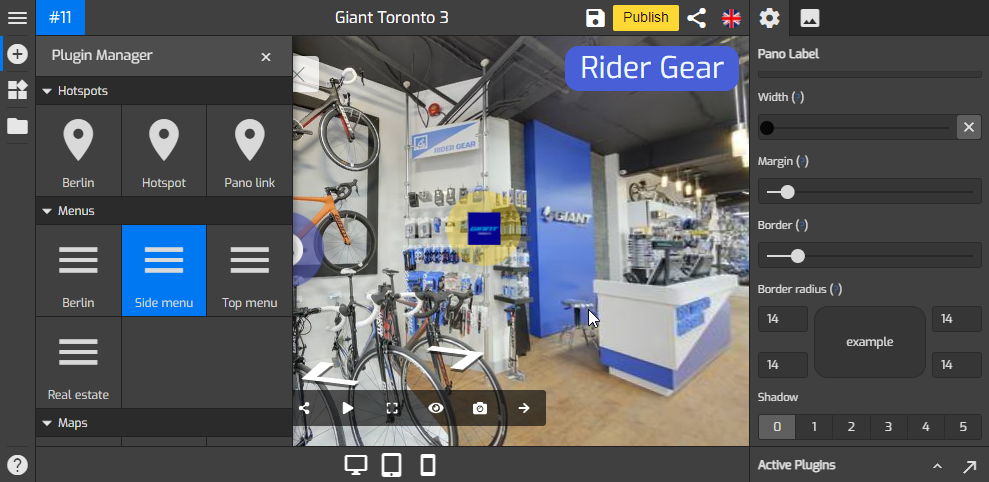
9. The creation of the multi VT is now complete. You can proceed with other actions such as modifying or updating the plugins, and finally publishing the tour on Google Street View. Note that you can delete the new VT at any time without impact to the original. Furthermore, you can delete the original without impact to the new one.