How to add Rotate(Autorotate) Button to the Control Bar

In addition to articles about Control Bar, this article will show you the steps to add a Rotate(Autorotate) button to the control bar that allows you to play the tour as a video.
Please follow the following steps.
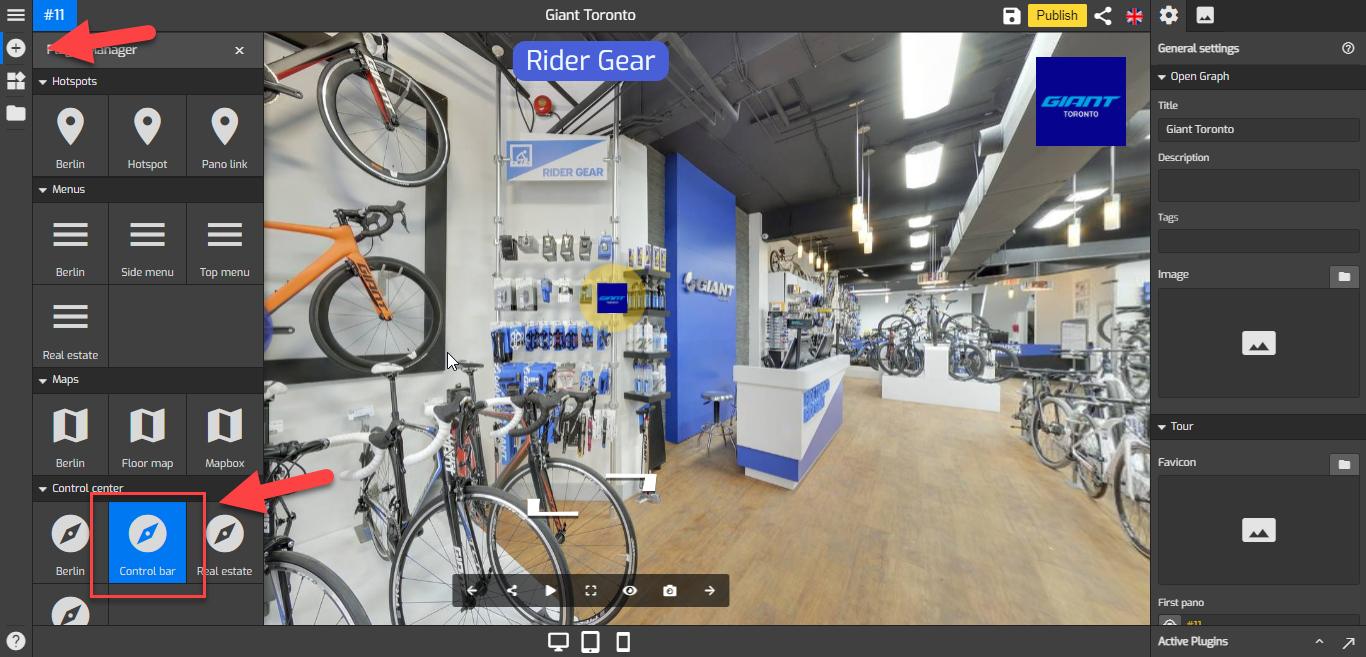
1. Click on the “+” button to open the Plugin Manager for Hotspots, Menus, Maps, Control Center, and Other. Then select Control Bar.
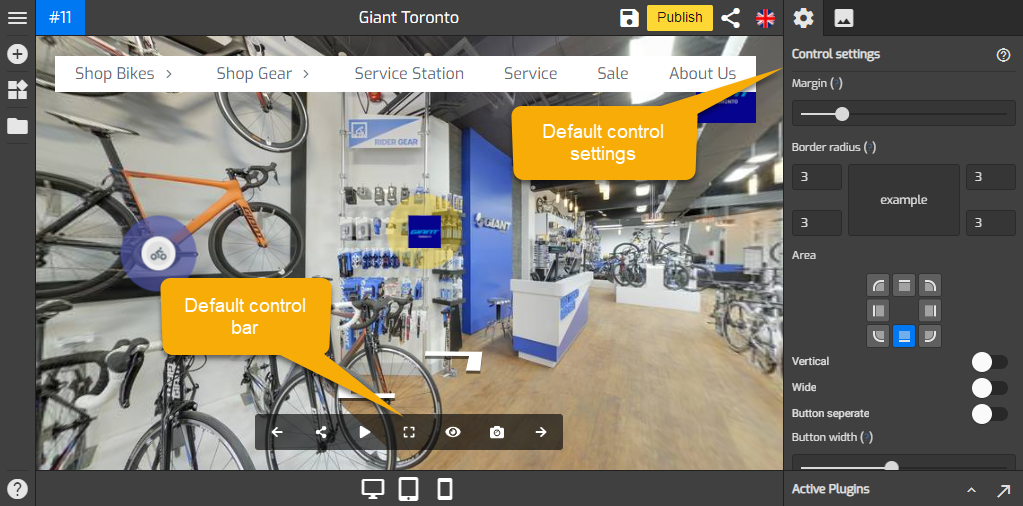
2. Go to Control Settings on the right panel (Plugin Manager > Control Bar) or via Active Plugin (Active Plugins > Control Bar).
3. Navigate to the rotate button section under the control settings.
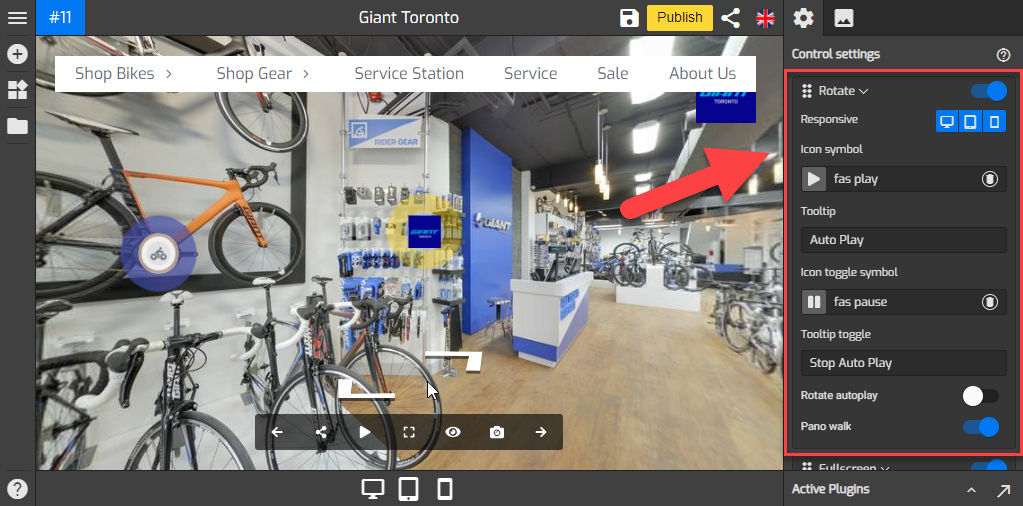
4. If you enable this button, there are some options you need to set up to the playback - Rotate autoplay, Pano walk, and Toggle pano.
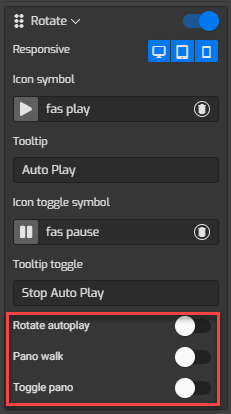
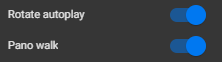
5. Rotate autoplay - It enables a panorama to automatically rotate once you click on the play button, the panorama will be panning around 360 degrees.
6. Pano Walk - If you switch on the Pano Walk, the panoramas in the tour will rotate and load automatically, one after another at the specified time interval. You can see in the example below, the Rotate autoplay and Pano walk options are enabled.
7. Toggle Pano - You can select certain panoramas and set a duration at which the panoramas will be panning around. Switch on the “Toggle Pano on Choose” and select the panoramas you want to include.

The best thing about these options is that, even though you put the tour on automatic playback, then you can still interact with the panoramas.
8. You can also enable or disable the buttons for desktop, tablet, or mobile devices using the “Responsive” push buttons.

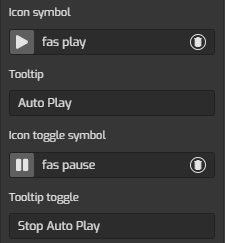
9. Click on the “Icon symbol” to change the play and pause button`s icon and you can also edit the text of the tooltip using the text field.
10. Once you are happy with the autorotate button setups, just click “Save” and “Publish” to see the results.