How to Add a New Language to a Tour Using Overlay Language Plugin

Overlay allows you to set up a language and create a multilingual tour easily, without having to install any third-party extension. In this tutorial, you will find complete steps on how to set up the language on Overlay.
Step 1: Add New Language
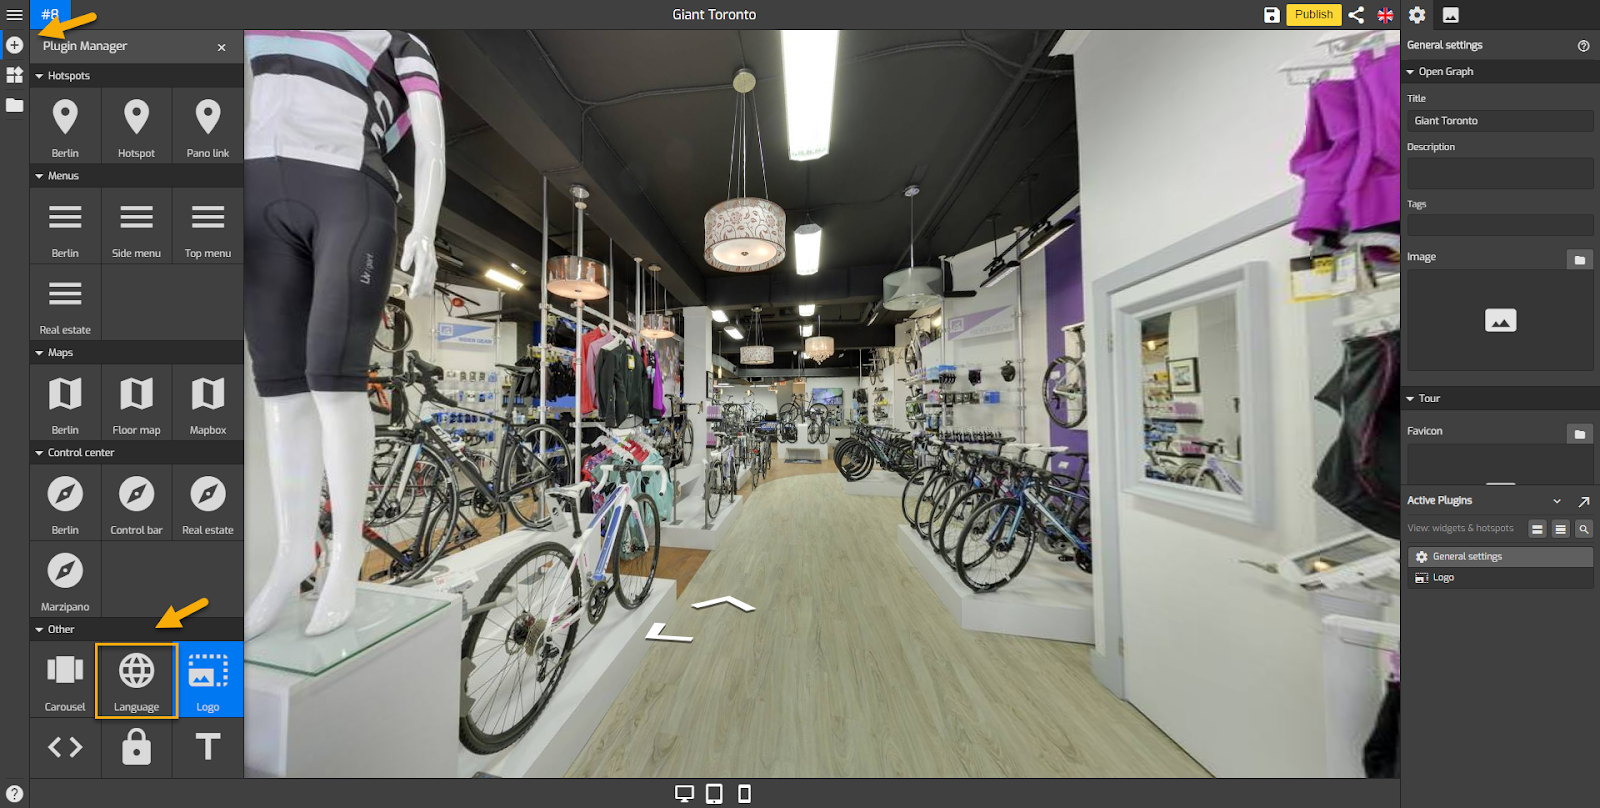
1. Go to Language Settings ( Plugin Manager > Language ) or via Active Plugin (Active Plugins > Language).
2. Navigate to the Language List under the language settings.
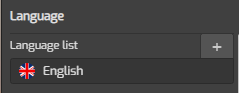
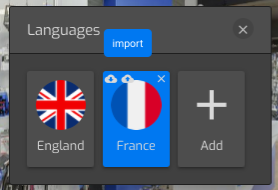
3. Click on the "+" button to open the language selection then select a new language you want to add.
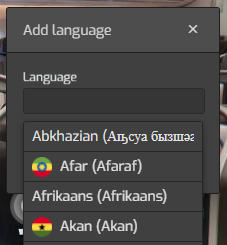
4. After you select the language, overlay will add the new language flag to the tour as shown in the following example.
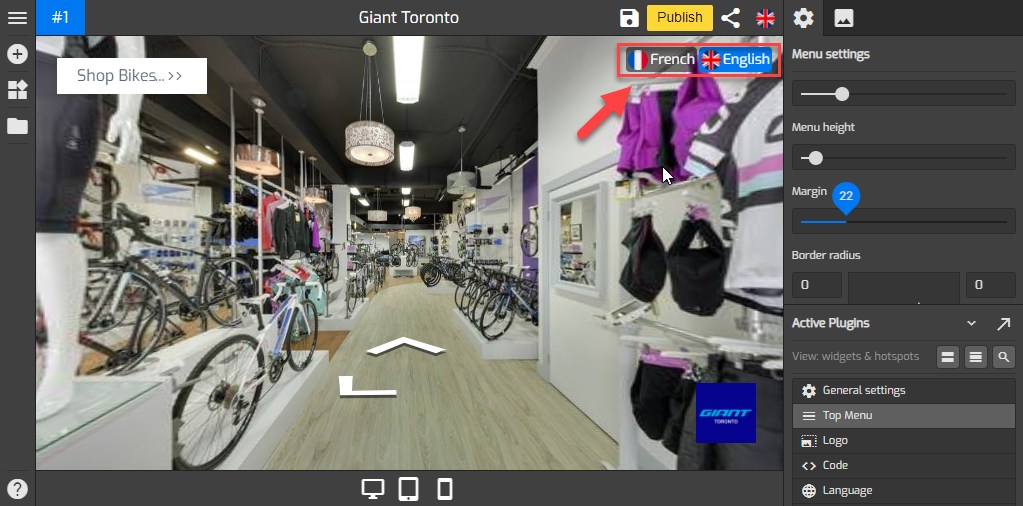
5. Noted that the new language has not been applied on the tour yet, you have to export the main language (English) to a text file and import it to the target language (French).
Step 2: Export the Language File
1. You can export the language to a text file directly from the Language icon. Simply click on the Export button on the language icon as shown in the example below.
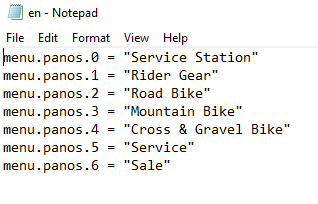
2. The language file will be exported into a text file and automatically downloaded to your PC. The name of the exported file will be: [language code].txt so for example if you export the English, the name of the downloaded file will be en.text. The file will be opened in the UTF-8 format and The text file contains language parameters. The lines in the text file should not be deleted or moved elsewhere.
Example of the main language file:
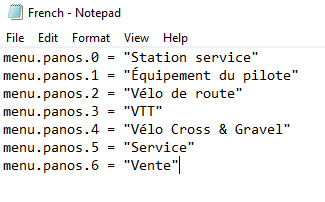
3. Once the export has completed, you can start translating the language file into the target language. The following example is English to French.
4. Save the text file in a text format before you import it to the target language.
Step 3: Import the Language File
1. After you customize the translations in your language file, you can import it back to the overlay. First, return to the Overlay language settings.
2. Select the target language.
3. Click on the Import button in the target language icon. The file that is being imported will add a new language into the system.
4. Click on the target language icon to switch the language and see the results.
5. Finally hit the save and publish button on the top-right corner to apply the changes.