How to Activate the Motion Blur Transition for an Older Tour
We will explore how to add a captivating motion blur transition to enhance a tour and provide an exceptional user experience.
Please note that all new tours automatically include the Navigation Plugin, while for old tours, you must manually add the Navigation Plugin to enable the default activation of motion blur.
Let's dive in and discover the endless possibilities of this motion blur!
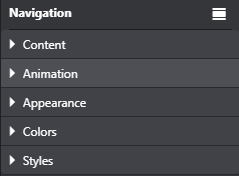
1. Go to the Navigation settings.
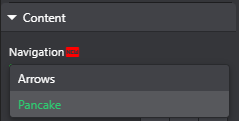
2. This motion blur works for both navigation type, either the default Google arrows or the pancake navigation. Select one of them.
3. Now go to the Animation section. Open up the animation section and select an animation that suits your tour best.
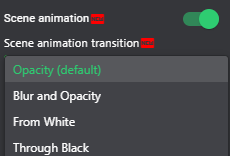
Opacity: gradually changes the opacity
Blur and Opacity: the blur and fade transition combined
From white: starting with a white screen or background and transitioning to the next image.
Through Black: involves starting with a black screen or background and transitioning to the next panorama.
4. Each transition supported by its setups so you can adjust its scene animation easing, blur dept, duration including its camera animation that allows you to animate the movement of camera.
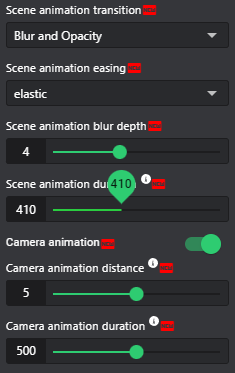
Scene animation easing: adds the smoothness to the animation.
Scene blur depth: changes depth of field
Scene animation duration: refers to the length of time it takes for it to play out
Camera animation: animating the movement of camera
Camera animation distance: the amount of movement of the camera
Camera animation duration: the length of time it takes for the camera animation to play out
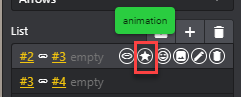
5. You can also customize animation for each pano link. Under the List section, hover over a pano link then select Animation.
So in a tour, you have the option to combine motion blur and fade transitions. For instance, when transitioning from an aerial panorama to the ground, you would utilize a fade effect. Conversely, when on the ground, you would employ motion blur.
6. Save and Publish. Once satisfied with the motion blur transition, save and publish then view the results.

Note: You can switch back to the old fade transition at any time by switching off the animation toggle.
