How To Modify Carousel Plugin Using TourMkr Virtual Tour CSS Recipes Editor
In this tutorial you are exploring the CSS Recipes Editor that works with GoThru`s new website https://recipes.tourmkr.com from where you can get ready made code to customize carousel plugins in your virtual tour.
To perform this operation, you can follow the steps below.
Step 1: Set up the carousel
1. Go to Carousel Settings (Plugin Manager > Carousel) or via Active Plugin (Active Plugins > Carousel).

2. Under the Carousel settings, go to the menu element to add panoramas to the Carousel.
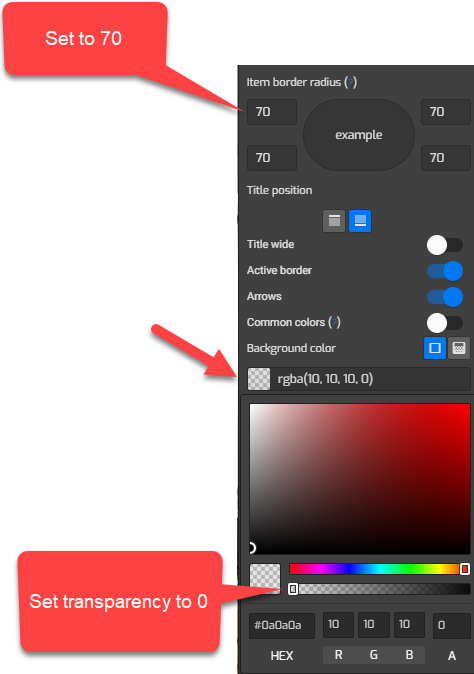
3. Set the item border radius to 70 and background color to 0 transparent.
Step 2 : Copy and paste the CSS code
1. Locate the Styles section at the lower part of the carousel settings.
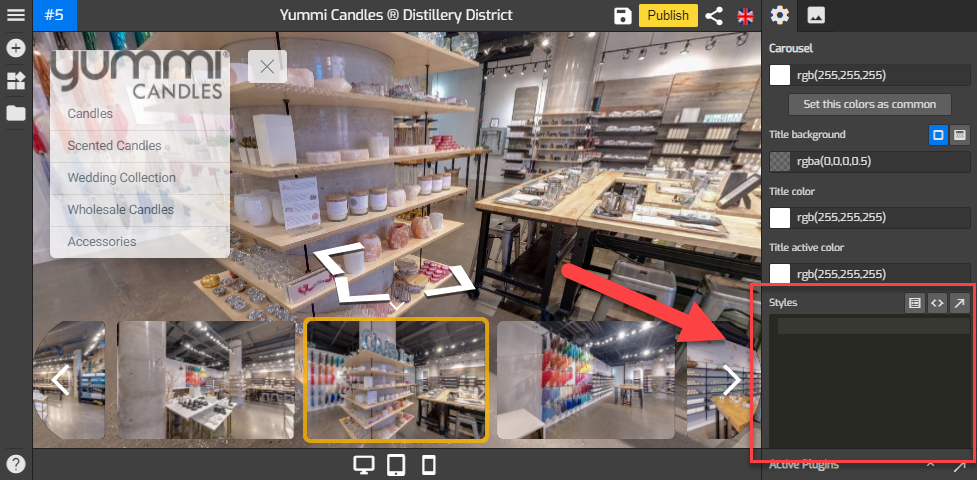
2. Copy and paste the following codes to the Styles section.
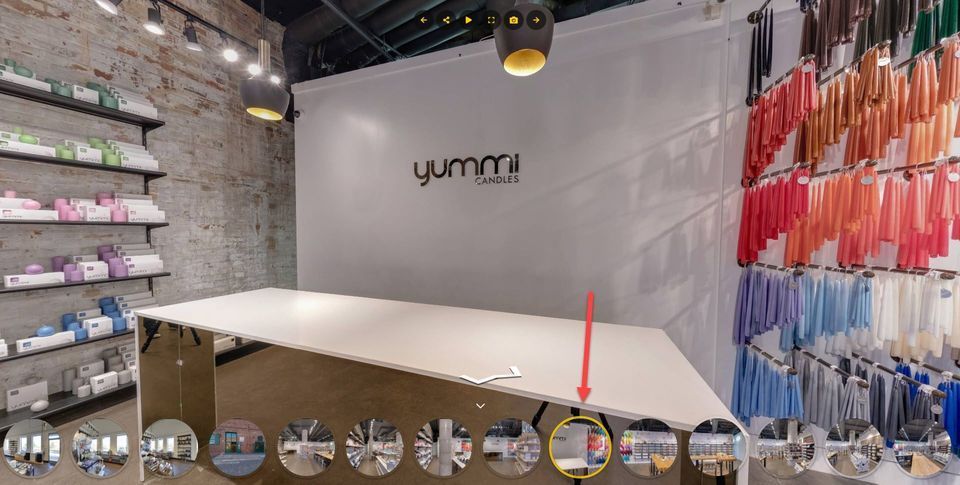
Circle Carousel Images
Copy the CSS code to your Carousel Styles section:
#overlay wdg-other-carousel{
--active-boder: 5px;
}
.img svg{
width: calc(var(--width) - var(--padding)*2 - var(--active-boder)*2) !important;
}
.slider>.item{
box-shadow: 0 2px 2px 0 rgb(0 0 0 / 14%), 0 3px 1px -2px rgb(0 0 0 / 12%), 0 1px 5px 0 rgb(0 0 0 / 20%);
}
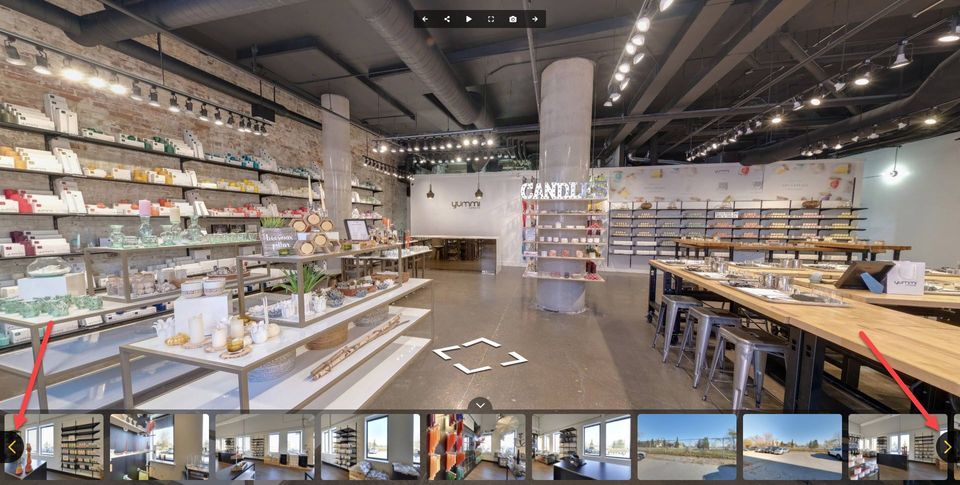
Circle Left and Right buttons for Carousel Navigation
Copy the CSS code to your Carousel Styles section:
.arrow-buttons button{
background: black;
opacity: 0.6;
color:  #ffd000;
height: 64px !important;
width: 64px !important;
top: 50% !important;
transform: translateY(-50%);
border-radius: 50% !important;
box-shadow: 0 24px 38px 3px rgb(0 0 0 / 14%), 0 9px 46px 8px rgb(0 0 0 / 12%), 0 11px 15px -7px rgb(0 0 0 / 20%);
}
.arrow-buttons button.next{
right: 1% !important;
}
.arrow-buttons button.prev{
left: 1% !important;
}
Hide Carousel Left and Right Navigation on Phone and Tablet
Copy the CSS code to your Carousel Styles section:
/* hide only on desktop */
#overlay.desktop wdg-other-carousel .arrow-buttons {
display: none !important;
}
/* hide only on tablet */
#overlay.tablet wdg-other-carousel .arrow-buttons {
display: none !important;
}
/* hide only on mobile */
#overlay.mobile wdg-other-carousel .arrow-buttons {
display: none !important;
}
/* hide on tablet and mobile */
#overlay.tablet wdg-other-carousel .arrow-buttons,
#overlay.mobile wdg-other-carousel .arrow-buttons {
display: none !important;
}
Half Circle Left and Right Buttons for Carousel Navigation
Copy the CSS code to your Carousel Styles section:
.arrow-buttons button{
 background: black;
 opacity: 0.8;
 color:  #ffd000;
 height: 64px !important;
 width: 48px !important;
 min-width: 0;
 top: 50% !important;
 transform: translateY(-50%);
 border-radius: 32px;
 box-shadow: 0 24px 38px 3px rgb(0 0 0 / 14%), 0 9px 46px 8px rgb(0 0 0 / 12%), 0 11px 15px -7px rgb(0 0 0 / 20%);
}
.arrow-buttons button sh-icon{
 width: 30px !important;
 height: 30px !important;
}
Center Carousel thumbs when you don't have too many
Copy the CSS code to your Carousel Styles section:
.slider{
 margin: auto;
}
Step 3: Save & Publish
Once you are happy with the setups, just click “save” and “publish” to see the results.
GoThru will always come with new features and ready made CSS code from https://recipes.tourmkr.com that allows you to customize other Overlay Editor plugins. So, stay tuned for more updates!