How to work with the new Virtual Tour Assistant Plugin

Welcome to our tutorial on mastering the new Virtual Tour Assistant Plugin, your ultimate tool for creating immersive virtual tours. Let's dive right in!
Initial Setup of the virtual tour assistant
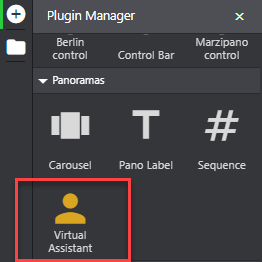
- Start by clicking on the “+” icon (A key) to open the Plugin Manager, then select Virtual Tour Assistant.
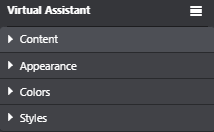
2. The plugin settings will appear on the right panel, featuring sections for content, appearance, colors, and styles.
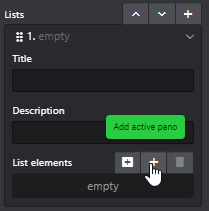
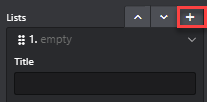
3. Navigate to the Content section, then access Lists to add the first content for the assistant to the active panorama.
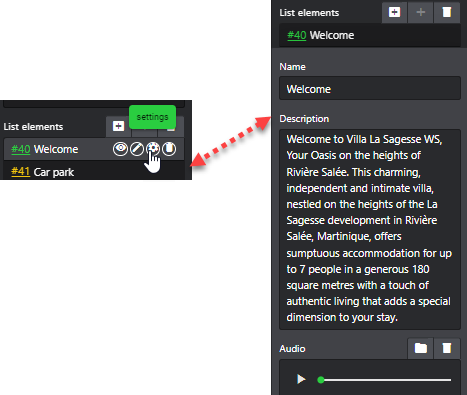
4. For instance, let's add a welcoming message, enter Welcome for the title. Then hover over the newly added item and select settings icon over the item and proceed to add audio and text.
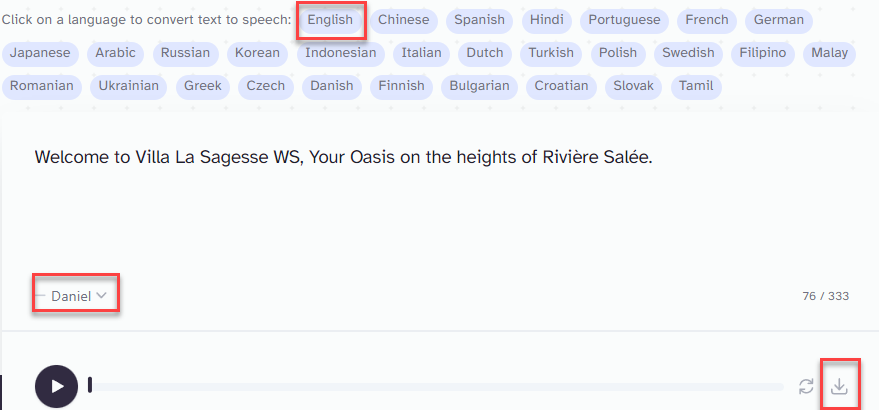
To create the audio file for your virtual assistant you can utilize text-to-speech AI, you have a variety of online services at your disposal. For simplicity and user-friendliness, consider Elevenlabs.io as a viable choice. Visit https://elevenlabs.io/ to create an audio file for free, simply choose the language and the speaker, enter the text, then generate and download. Once you have the audio file, you can upload it to virtual tour editor then use it for your virtual tour assistant.
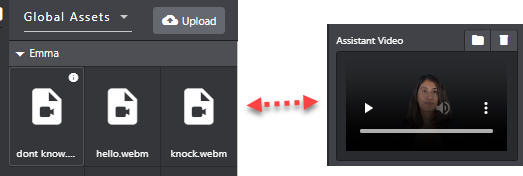
5. Also add the assistant video that you can select from the global asset or upload a new video.
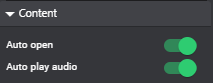
6. Set to auto-open and auto-play the audio for a seamless user experience.
7. To see if it works properly press Save and reload the editor. It should look like this:
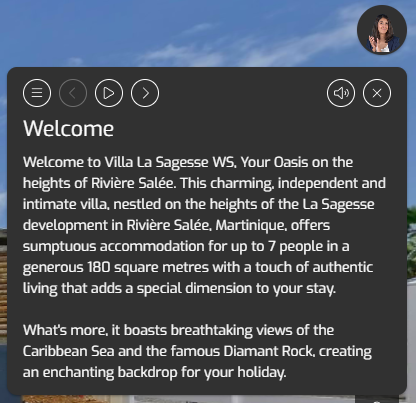
And the audio should work automatically as can be seen in this sample tour.
Try this sample tour!
Add multiple journeys
This plugin also supports multiple assisted-journeys within a single tour. This means that you can create tours that encompass multiple routes or paths, each with its own audio guide content.
For example, imagine a historical tour of a city. With this plugin, the tour creator could design a route that takes visitors from one landmark to another, with audio commentary specific to each stop along the way.
- Under the list section, press the plus `+` to add a new journey.
- The next step is adding contents to the new journey, placing the text and audio assisstant on the active panos and naming them as well. This process is the same as adding content in the previous section.

Appearance, Colors and Styles
Once you've completed the initial setup, explore additional tools available under the settings menu, including Appearance, Colors, and Styles.
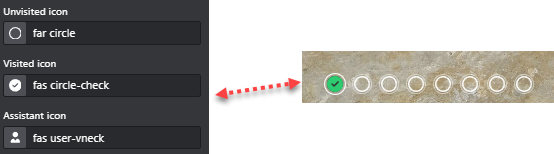
- Each item entered will feature a checkpoint, functioning as a control bar that indicates visited and unvisited places. Customize the icons to your preference.
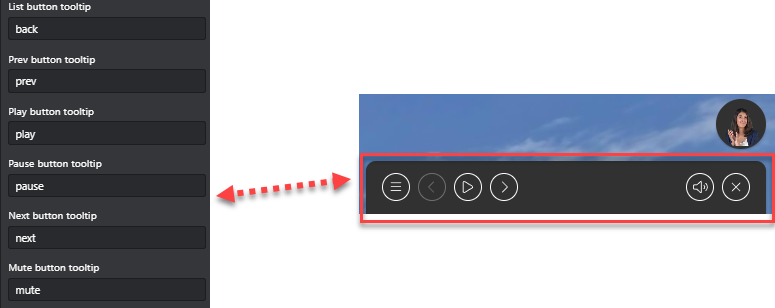
2. Customize the buttons and tooltips of the assistant to match your branding or desired aesthetic.
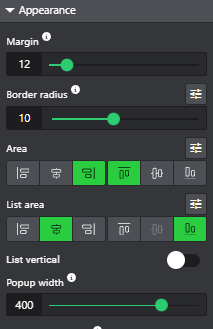
3. Appearance: This section allows you to customize the style of the content, including area configurations.
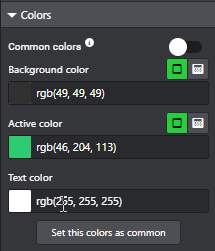
4. Colors: Modify the color scheme of the assistant plugin to seamlessly integrate with your virtual tour. Experiment with gradient options, such as directional gradients or circular gradients, to enhance visual appeal.
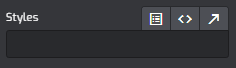
5. Styles: Utilize the Styles section to further customize the plugin using CSS code. Simply copy and paste your code and apply modifications as needed.
With these tools and settings, you have the flexibility to create dynamic and engaging virtual tours tailored to your specific preferences and branding. Let your creativity soar as you explore the possibilities of the Virtual Tour Assistant Plugin!