How To Embed A Google Virtual Tour
Here are some simple steps on how to embed a Google overlay virtual tour on your website.
Step 1: Get the embed code
1. Open Google Maps and find your tour on Google maps.
2. Click on the 360 thumbnail. Then select and rotate the panorama to the start point you like to display.
3. In the top left-hand corner of the screen you will see a box with the name of your business and the photographer. Click on the 3 dots.
4. Click on “Share or embed image”.
5. Click on “Embed a map”.

Step 2: Add the embed code to your website
Embedding the Tour in a Blog Post on Blogger
1. Open your posts on Blogger. Make sure you are in HTML editor mode.
2. Paste the embed code on Blogger.
3. A preview of the tour will be available if you switch to compose mode, or you can preview the total page.
4. Finally, publish and view the post again to make sure that everything looks OK.
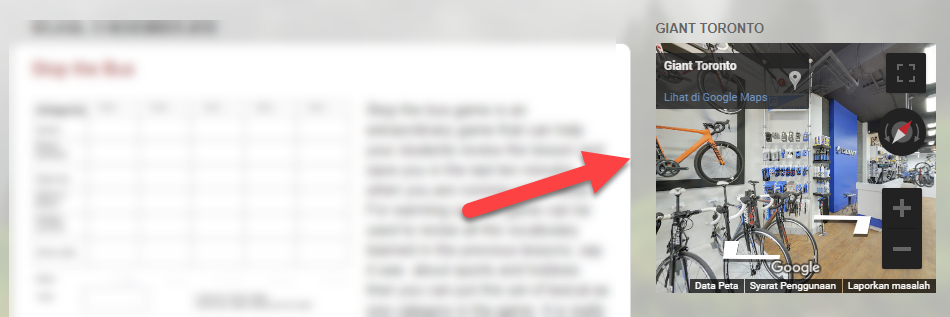
Embedding the Tour in the Sidebar
You can add the tour to your sidebar with a simple procedure similar to the above method for adding to a blog post.
1. Firstly, copy the “iFrame” embed code.
2. Go to your blog dashboard and go to the Layout section.
3. Then, click to add a Gadget.
4. Select “HTML/JavaScript gadget” in the options and paste the embed code into the content box.
5. Click on Save. Simple as that, now you have your business virtual tour on the blog sidebar.
Embedding the Tour on Any Website
1. Copy the “iFrame” embed code.
2. Go to www.yourwebsite.com
3. Click on the page where you would like to add your virtual tour.
4. Put in HTML mode and paste your code where you would like to see the tour.
Note that your website may require different steps, you may wish to consult with your web developer.
5. Finally, publish and view the post again to make sure that everything looks OK.