How to create multiple journeys using Journey Map Plugin
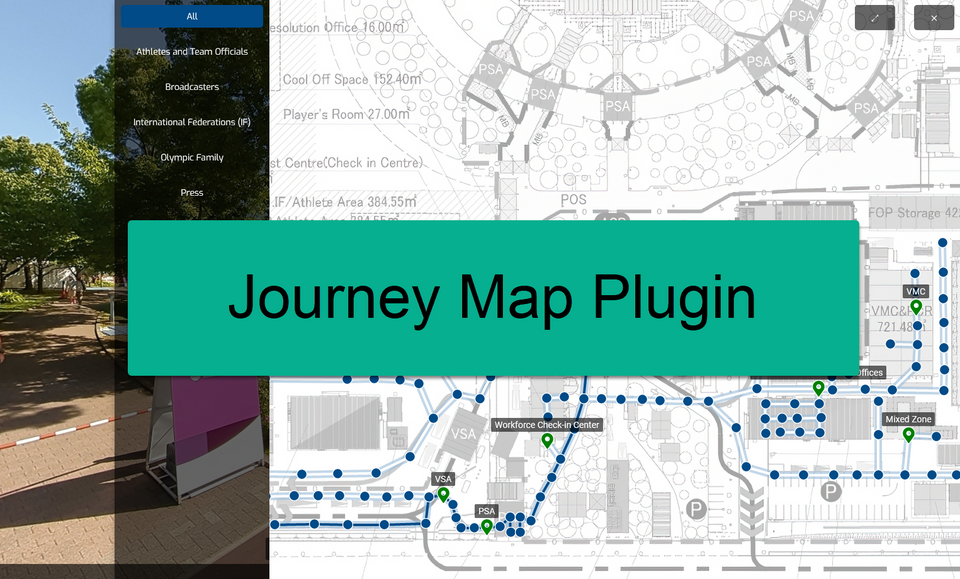
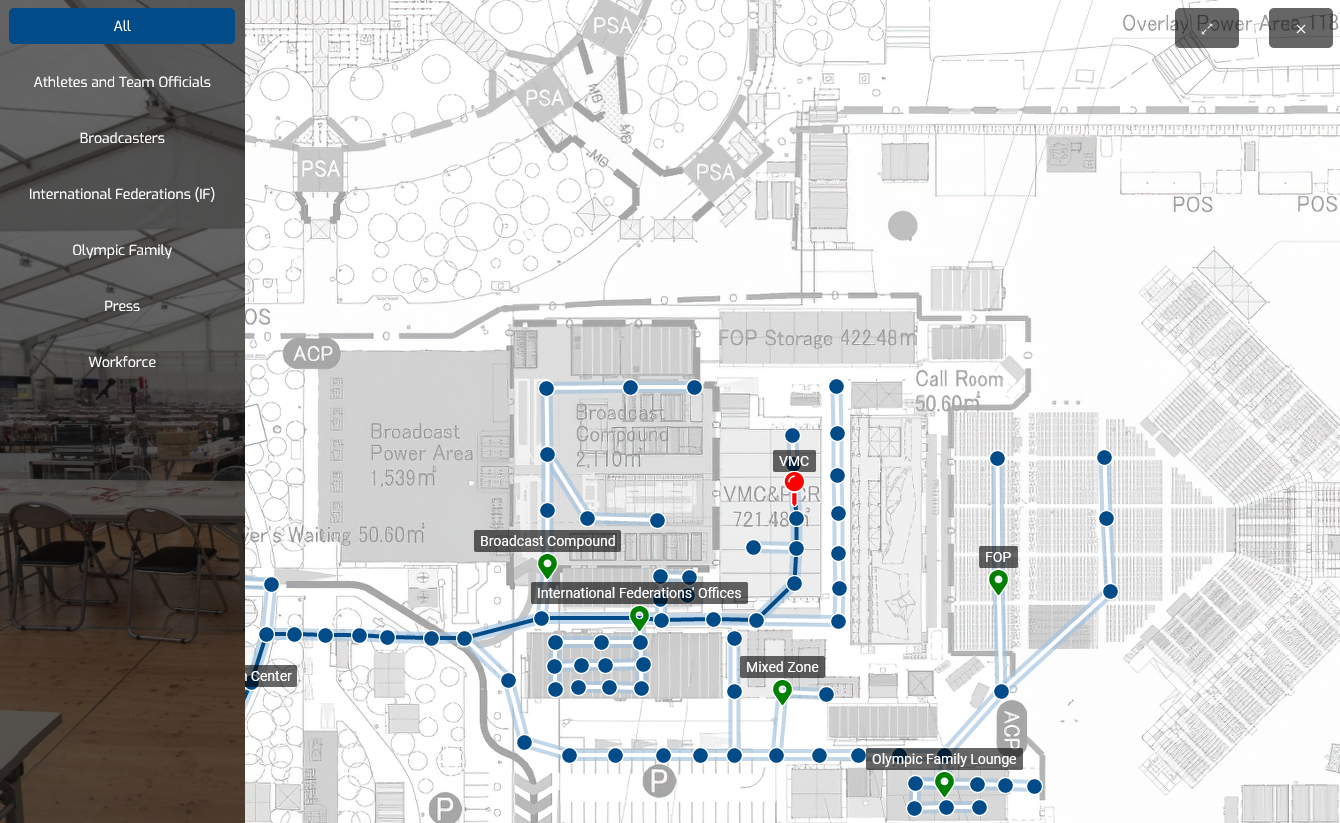
Journey Map allows you to create multiple journey maps in a single overlay. It is good for displaying venue directories such as in a sport arena. It is supported by a map switcher, allowing users to go from journey to different journeys and directly reach specified locations as shown in the illustration below.
Here are the steps on how to add a journey using the journey map plugin.
Step 1: Set Up the Map
1. Go to Plugin Manager then select Journey Map.

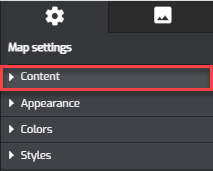
2. Under the map settings on the right panel, navigate to the Content section.
3. Add map image, click on the map image box to open the asset library where you can upload a new image or select an image that is already there.
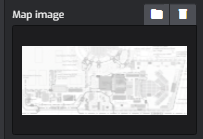
Once you add the map image, you can proceed to the next step connecting panoramas to the map.
Step 2: Create the main journey
1. Connect the map to Panoramas. To connect the map to panoramas in the tour, you can navigate to the dots list.
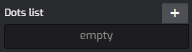
2. On the dots list, you see the plus `+` button that will be used to add the active panoramas to the map. Remember that before you connect a panorama to the map, you have to select the panorama first and put that pano in an active position. You see in the example below pano number #198 is the active pano. Click the plus `+` button to add the active pano to the map.
3. Overlay will add a dot or marker of the active panorama to the map but the position of the dot does not automatically follow the map image so you have to adjust it manually.
4. To adjust the dot position, you can drag it around the map then place it to its right position like in the following example.
5. You can repeat the steps above to connect more panoramas.
6. You can also adjust the marker position using the POS function that allows you to place the change marker position using the XY coordinates. Pos Adjustment is usually required when the path is on a straight line.
7. If the path has intersections, you can use the sub-pano feature by pressing "in" over the desired in the dot list. This will add the pano to the parent pano where the intersection is started.
If you want to cancel the sub-pano, you can click the “out” button over the selected sub-pano.
8. To provide more information about the area on the map, you can also name the marker as needed.
Step 3: Add multiple journeys
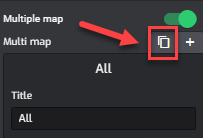
1. Enable the multiple map toggle.

2. Click on the plus `+` to add a journey and name the journey.

Pro tip: You can also add a new journey by copying the main journey map then change the name and the path as well. The advantage of copying a map is that you may easily change the path for a new journey by eliminating some panoramas as needed.
3. The next step is adding panoramas to the new journey, placing the markers on the map and naming the markers as well. This process is the same as adding panoramas to the main journey map in the previous section.
Step 4: Save & Publish
Before you publish the tour, you can try to click on the map markers to make sure that the panoramas are already connected properly. If it works the marker will bring you to the connected panorama on the tour. Finally, click “save” and “publish” to apply all the changes and see the results.