How to apply a nadir image to your panoramas using GoThru
The Nadir Manager screen is where you can put a nadir logo on your 360° photo in order to hide the tripod and display the logo of your company or the clients. You can Upload a Nadir if you want to download pre-stitched panoramas with a nadir. The nadir has to be a transparent PNG file and it has to be a square 2048px x 2048px.
The following are the steps on how to apply a nadir:
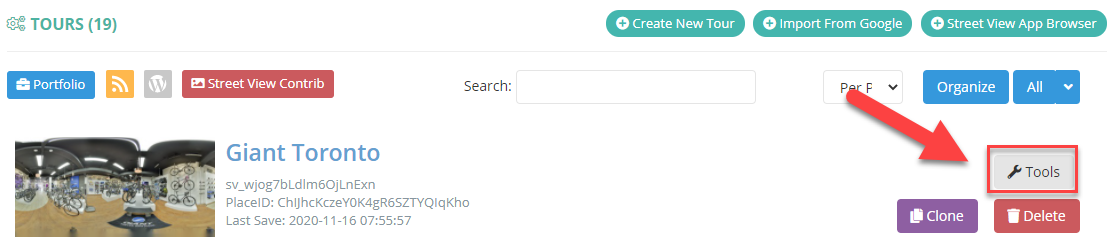
1. In GoThru Constellations, select your tour from the list and press the Tools button.
2. In the Tools screen, press Nadir.

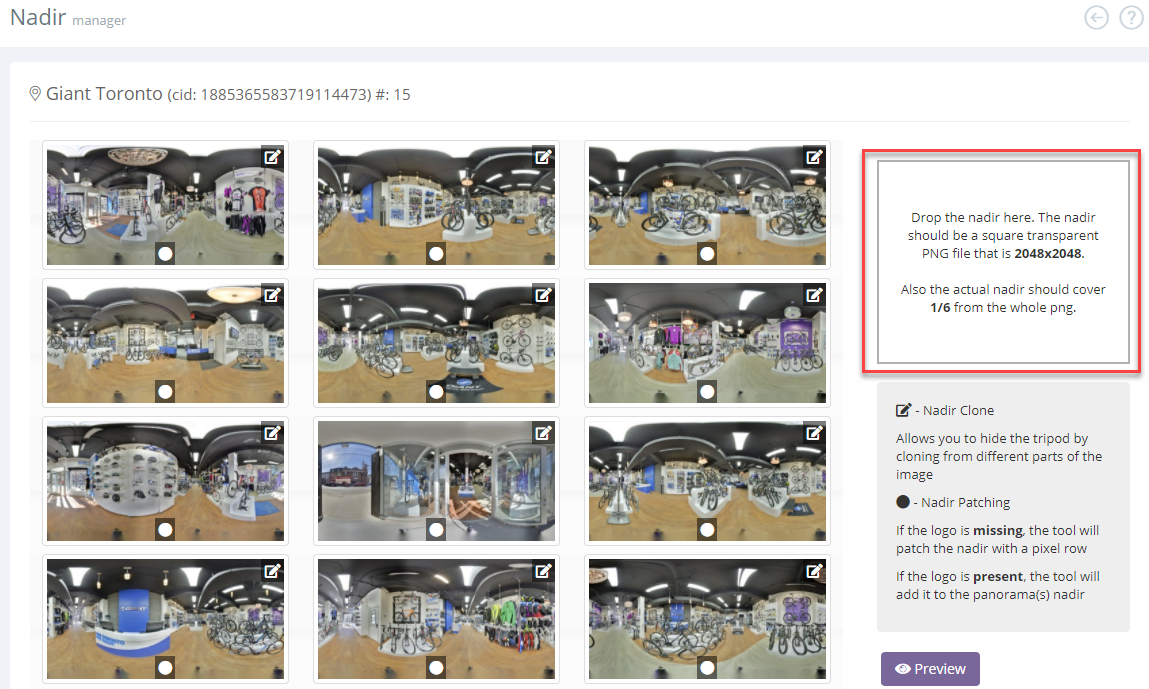
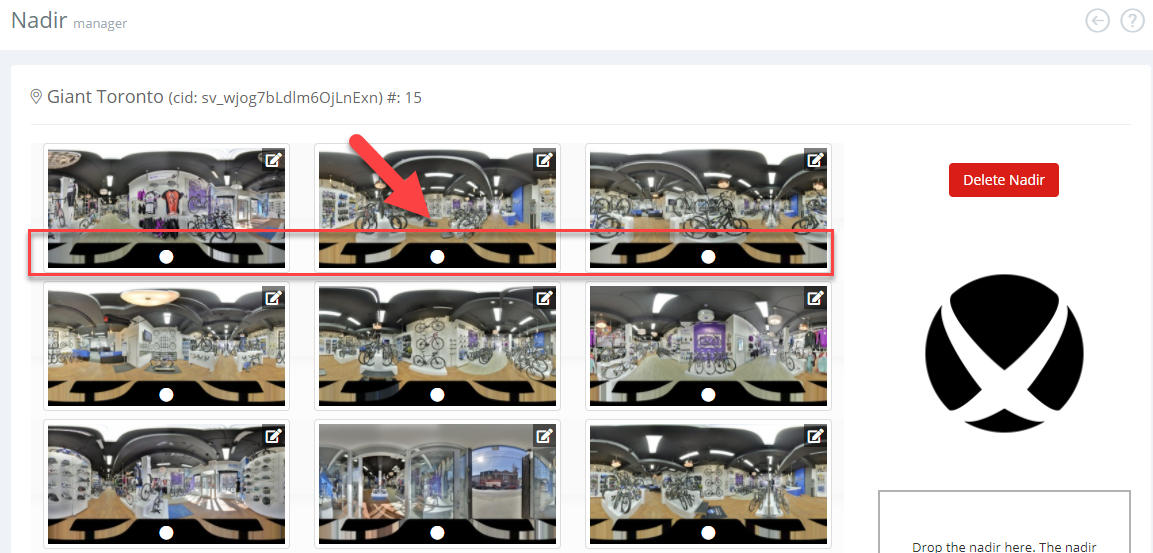
3. The Nadir manager will open. Here you will find a dropbox where the nadir will be uploaded. The nadir image must be a square transparent image, with the size of 2048 x 2048 pixels. The actual nadir should cover 1/6 of the whole png.
Note: In order to create a nadir, please refer to the GoThru tutorial covering the creation of a nadir image in Photoshop.
4. Drag and drop the nadir image into the dropbox to upload it. After the upload is finished, reload the page (press Ctrl + R) to see the uploaded image.
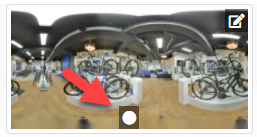
5. Click on the Patch Nadir button on a panorama to adjust the size and start patching the nadir to the panoramas.
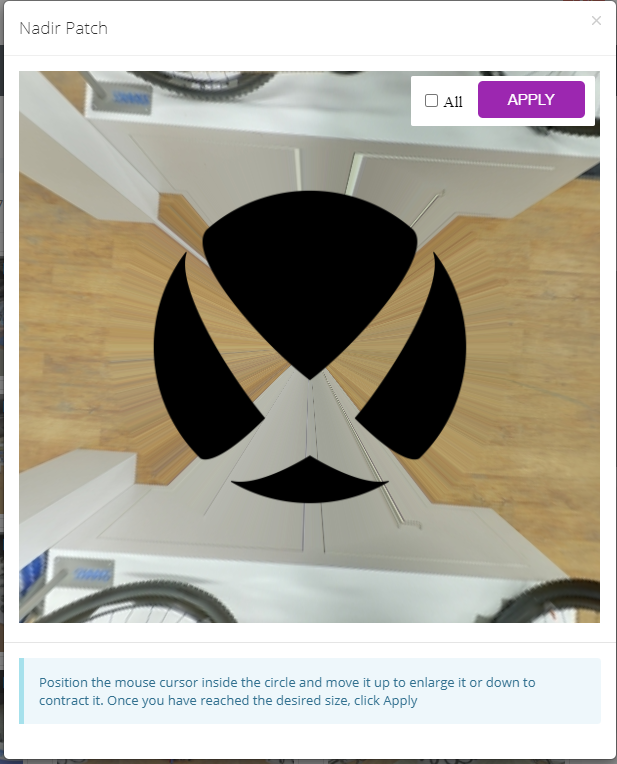
6. Position the mouse cursor inside the circle and move it up to enlarge it or down to contract it. You can also rotate it by using your mouse wheel scroll. Once you have got the best nadir setup, click Apply.
7. You will now see the nadir applied to all the listed panoramas.
8. Back in Constellations Manager find the tour and press Tools -> Create Navigation.

9. The nadir is now visible in the Moderator. Now press the Preview button.
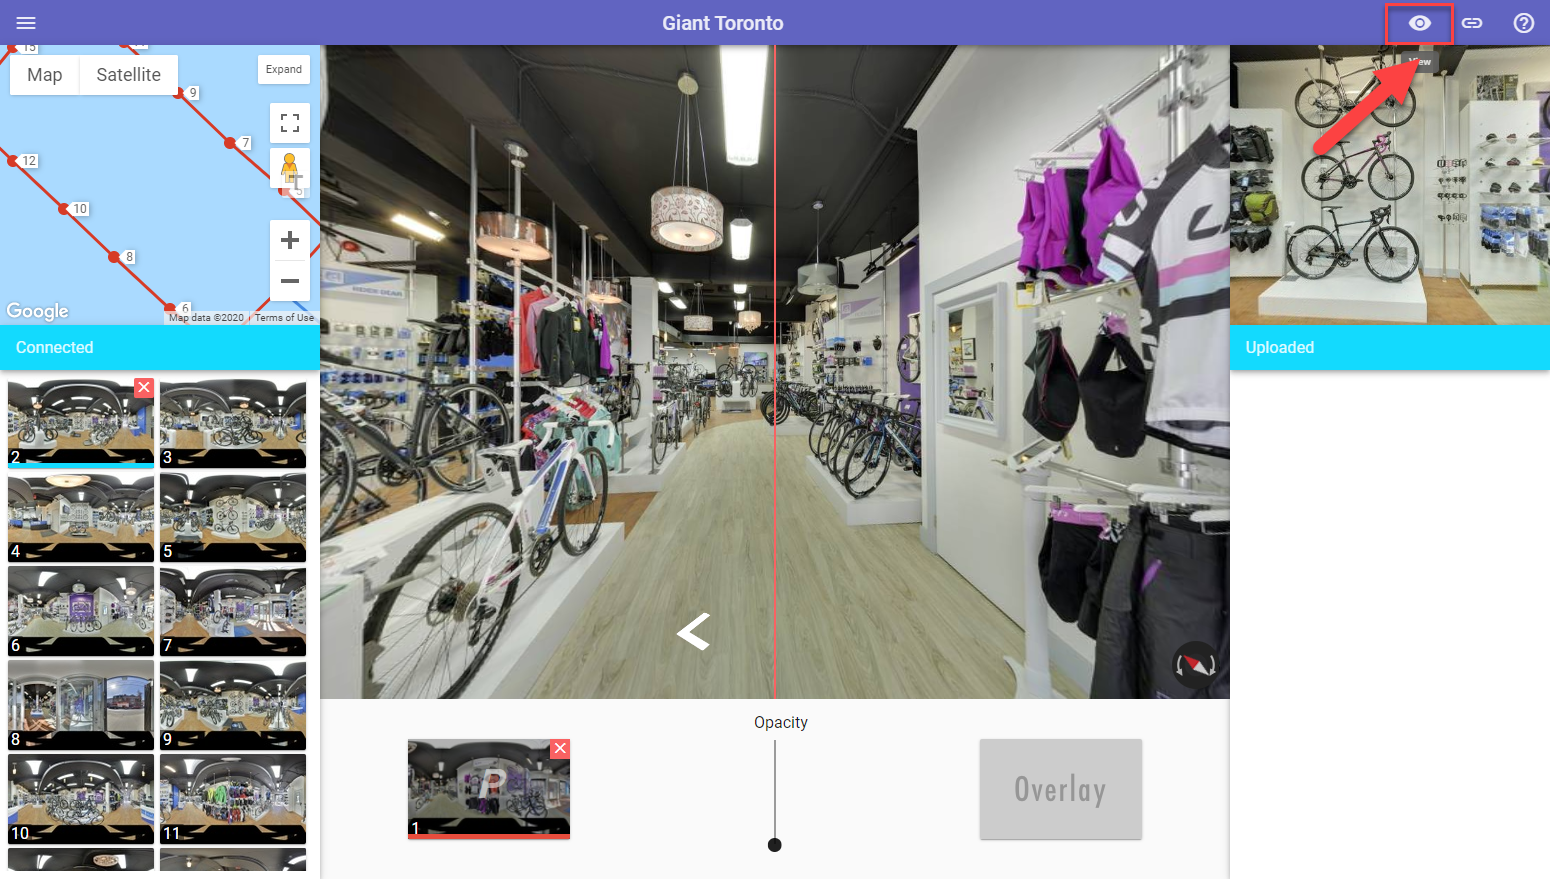
10. The nadir is visible in the preview too.